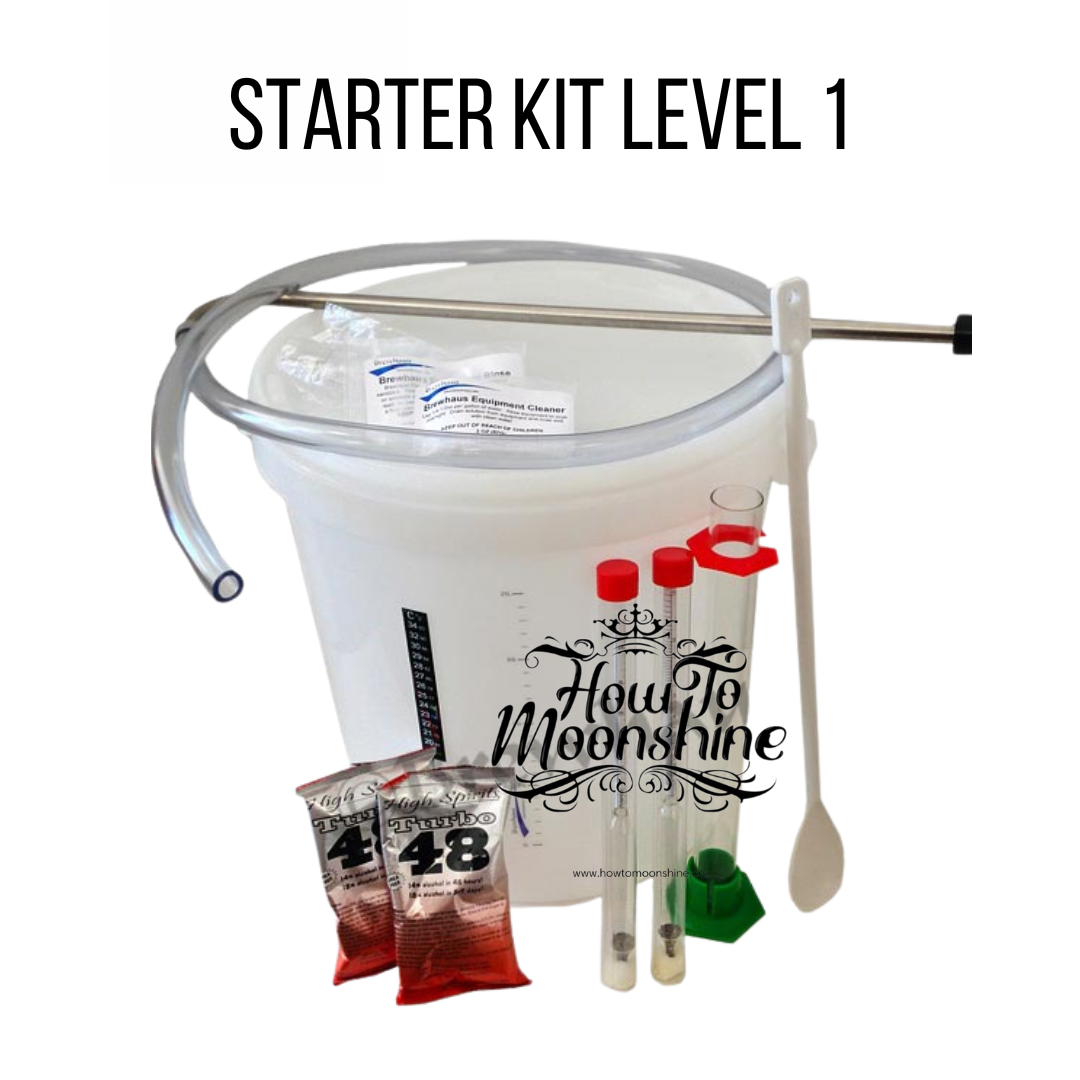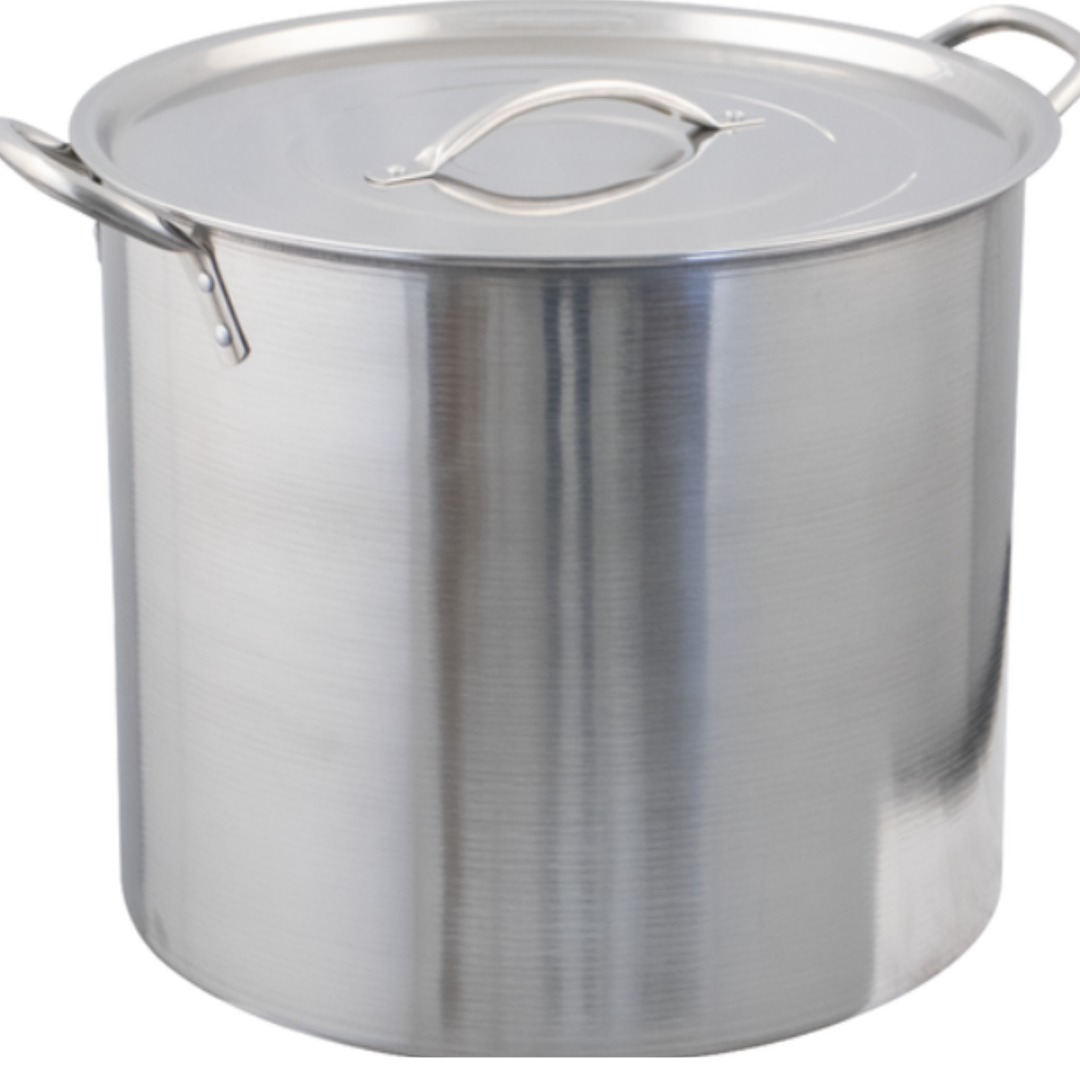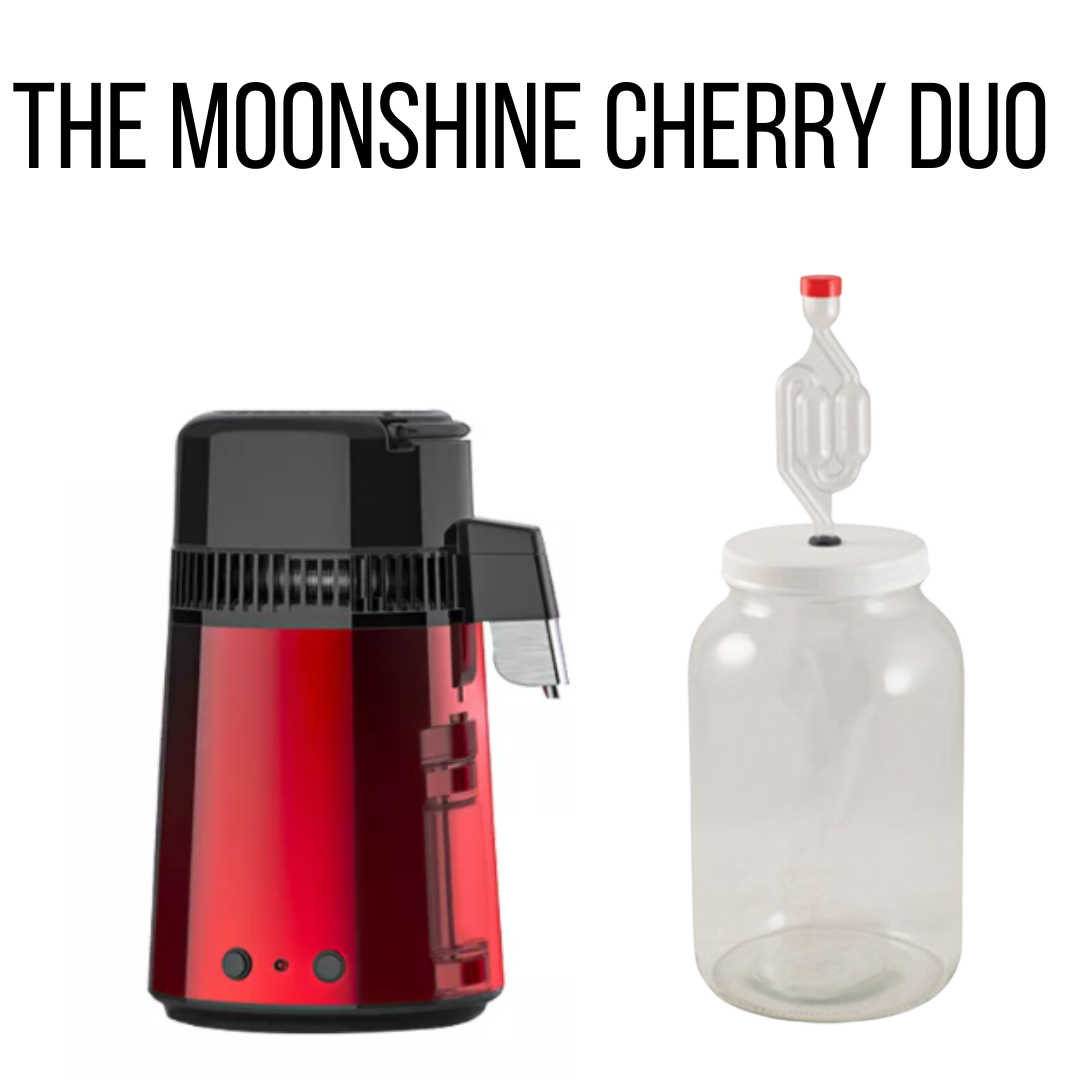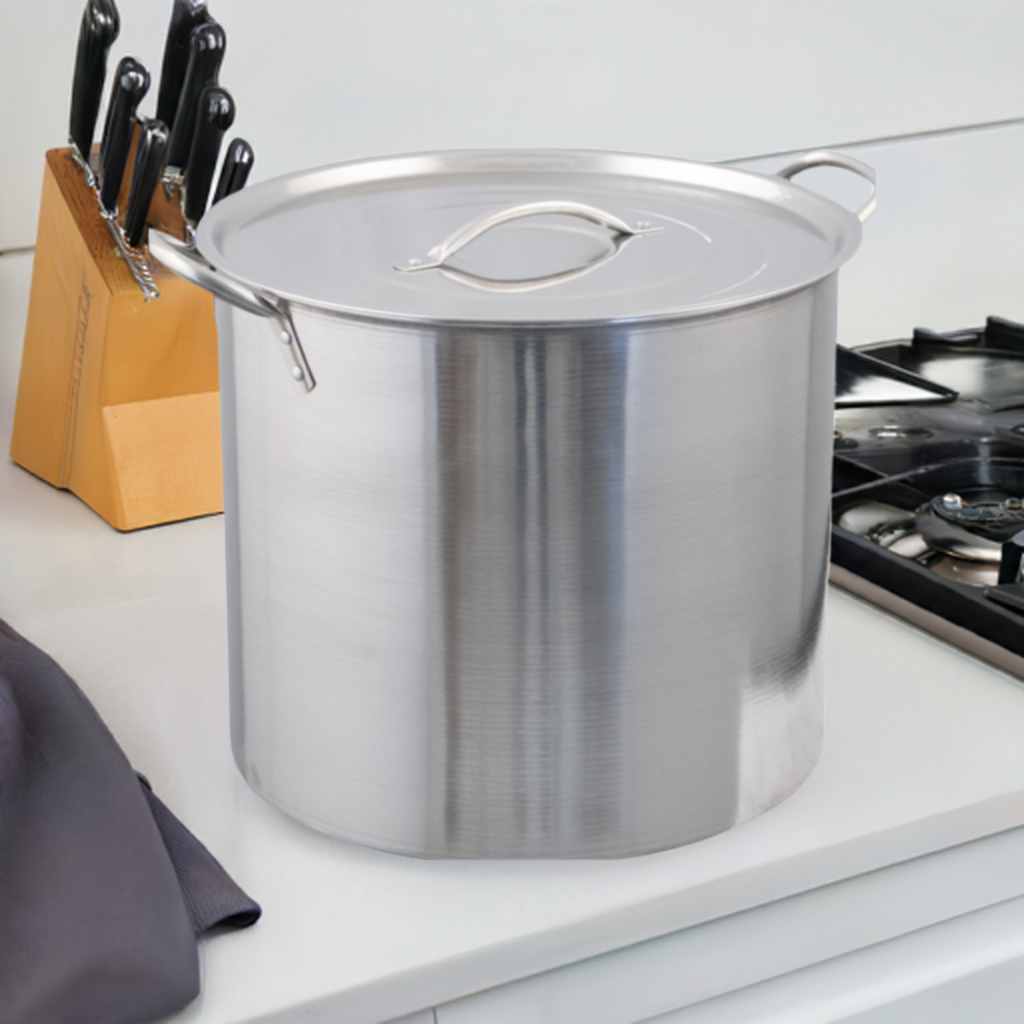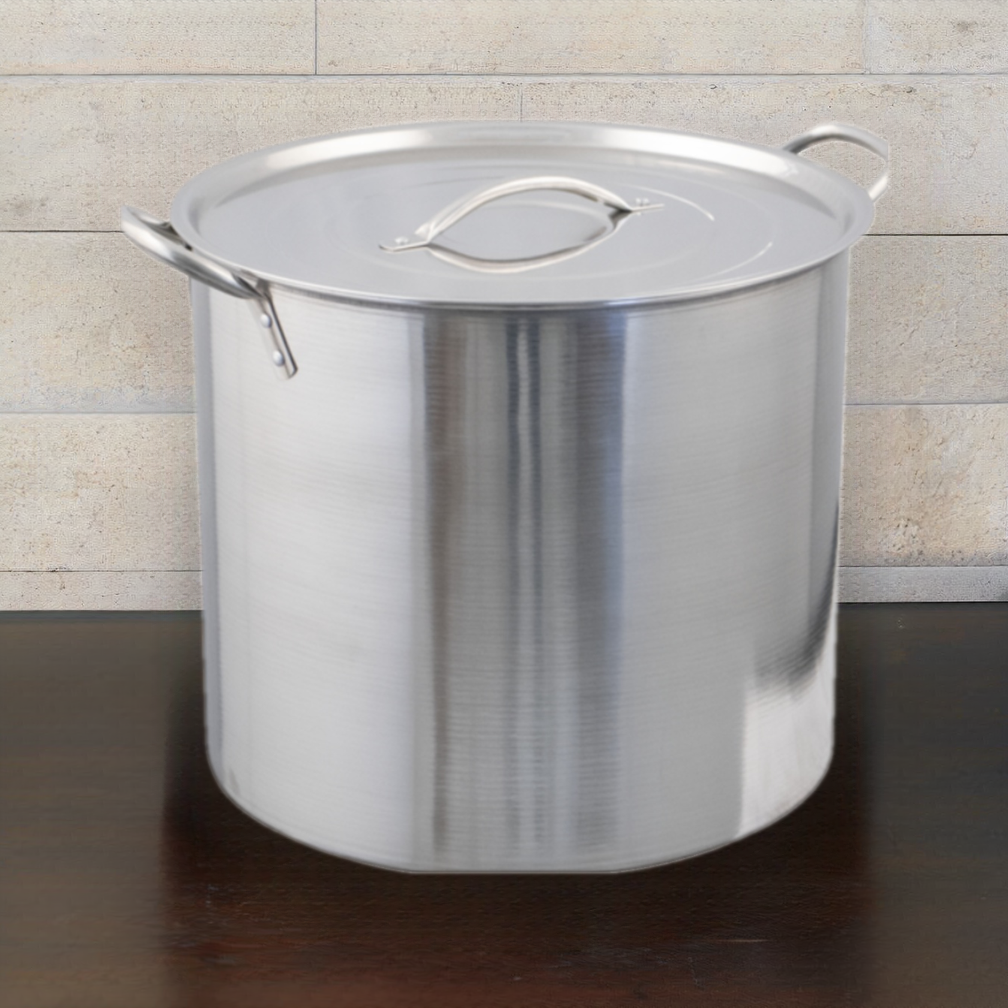


Brew your own moonshine with this comprehensive starter kit. Everything you need to create your first moonshine mash is included—a 5 gallon pot, a thermometer, a hydrometer, cheesecloth, a mash paddle and a copy of our How to Make Moonshine e-book.
-
Get all the essential moonshine tools in one place
-
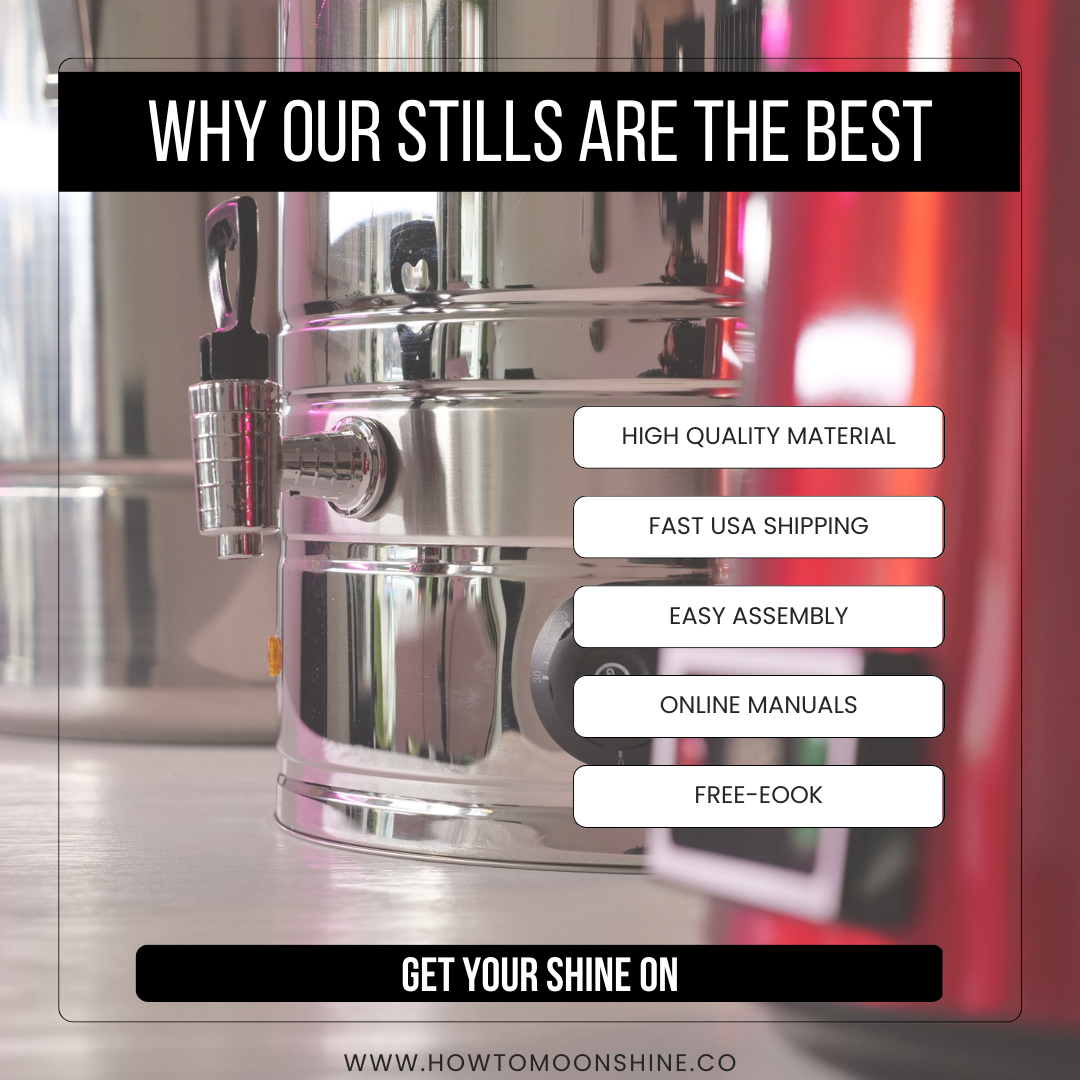
High quality tools and materials
-
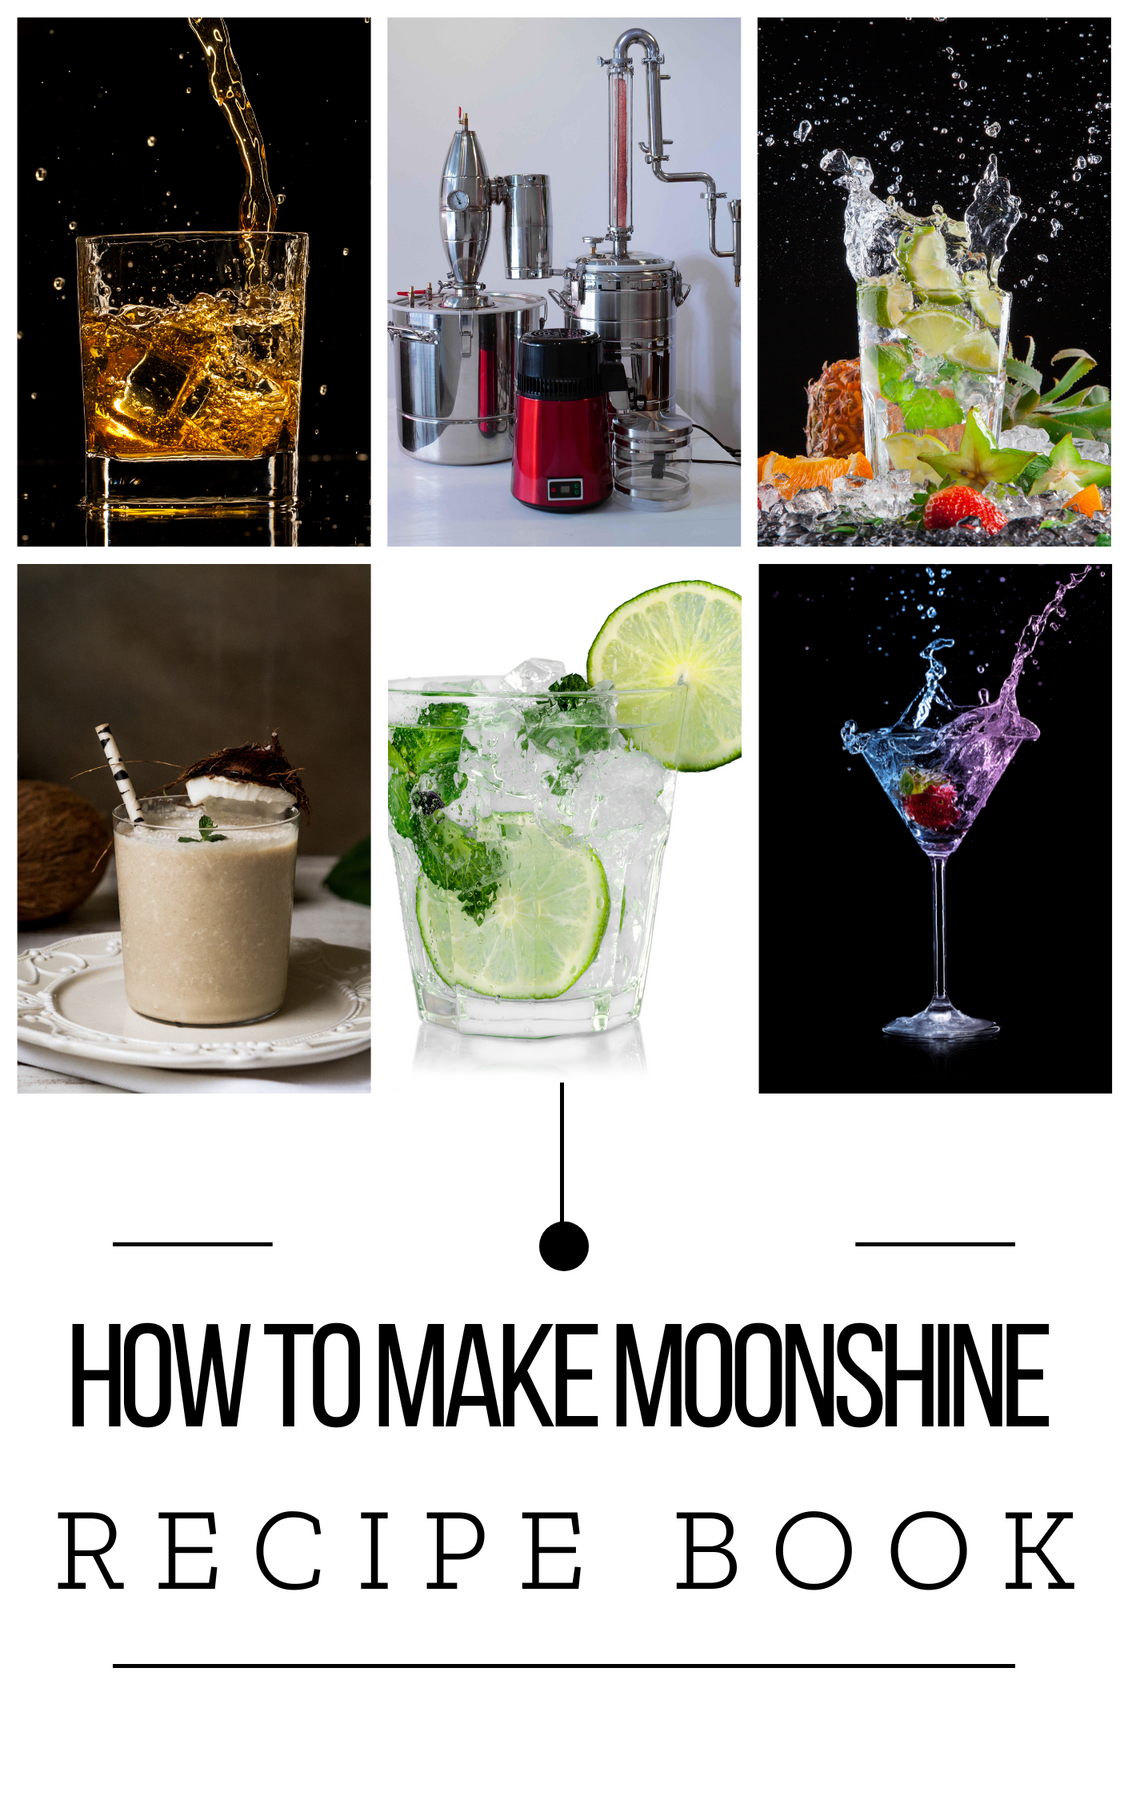
Includes How to Make Moonshine E-book!
Dare to begin your own distilling adventure and let the fun begin! Explore the subtlety of flavors and aromas with your own batch of moonshine.
With the help of the included instructions, you'll be distilling your own delicious liquid in no time!
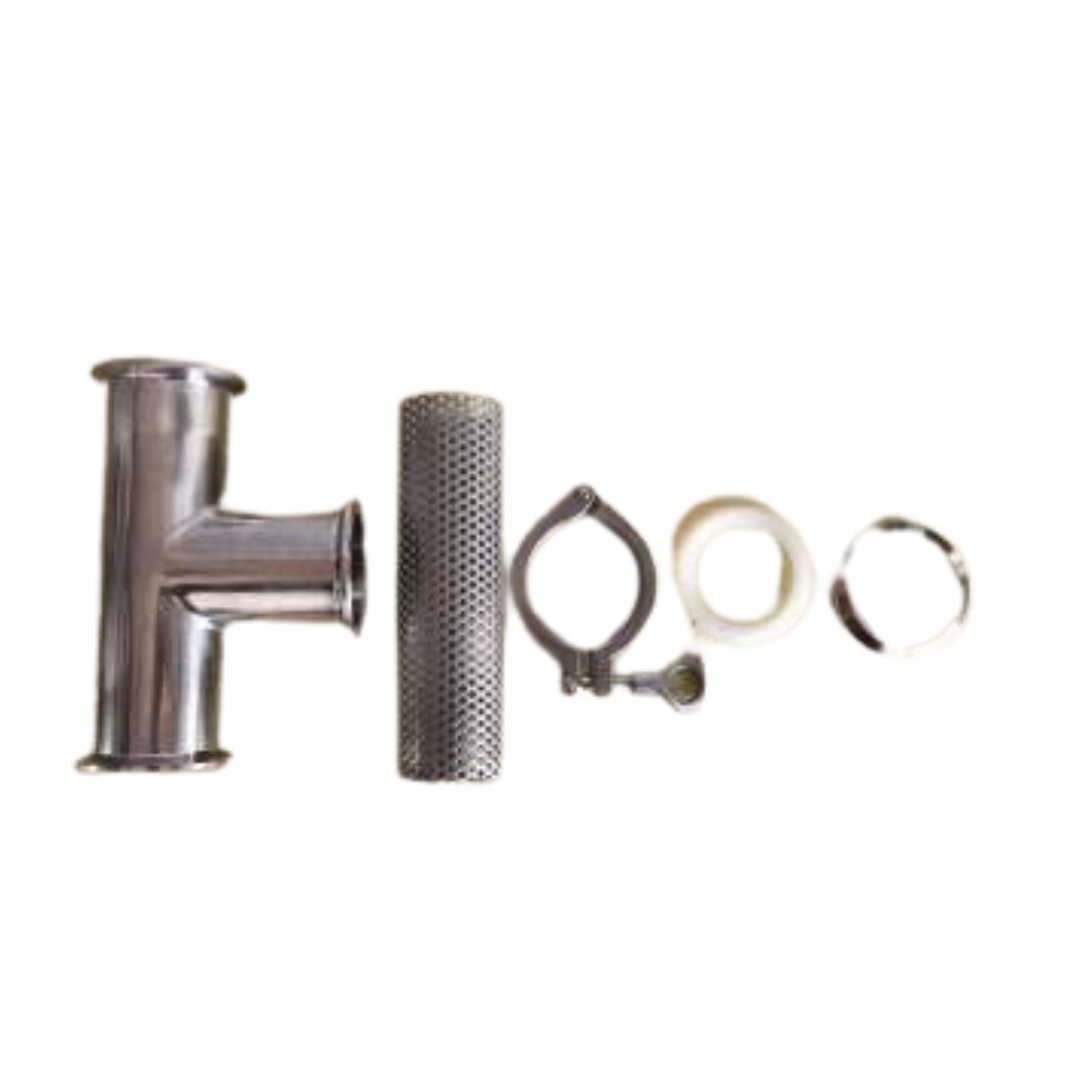
Your Moonshine Starter Kit Includes:
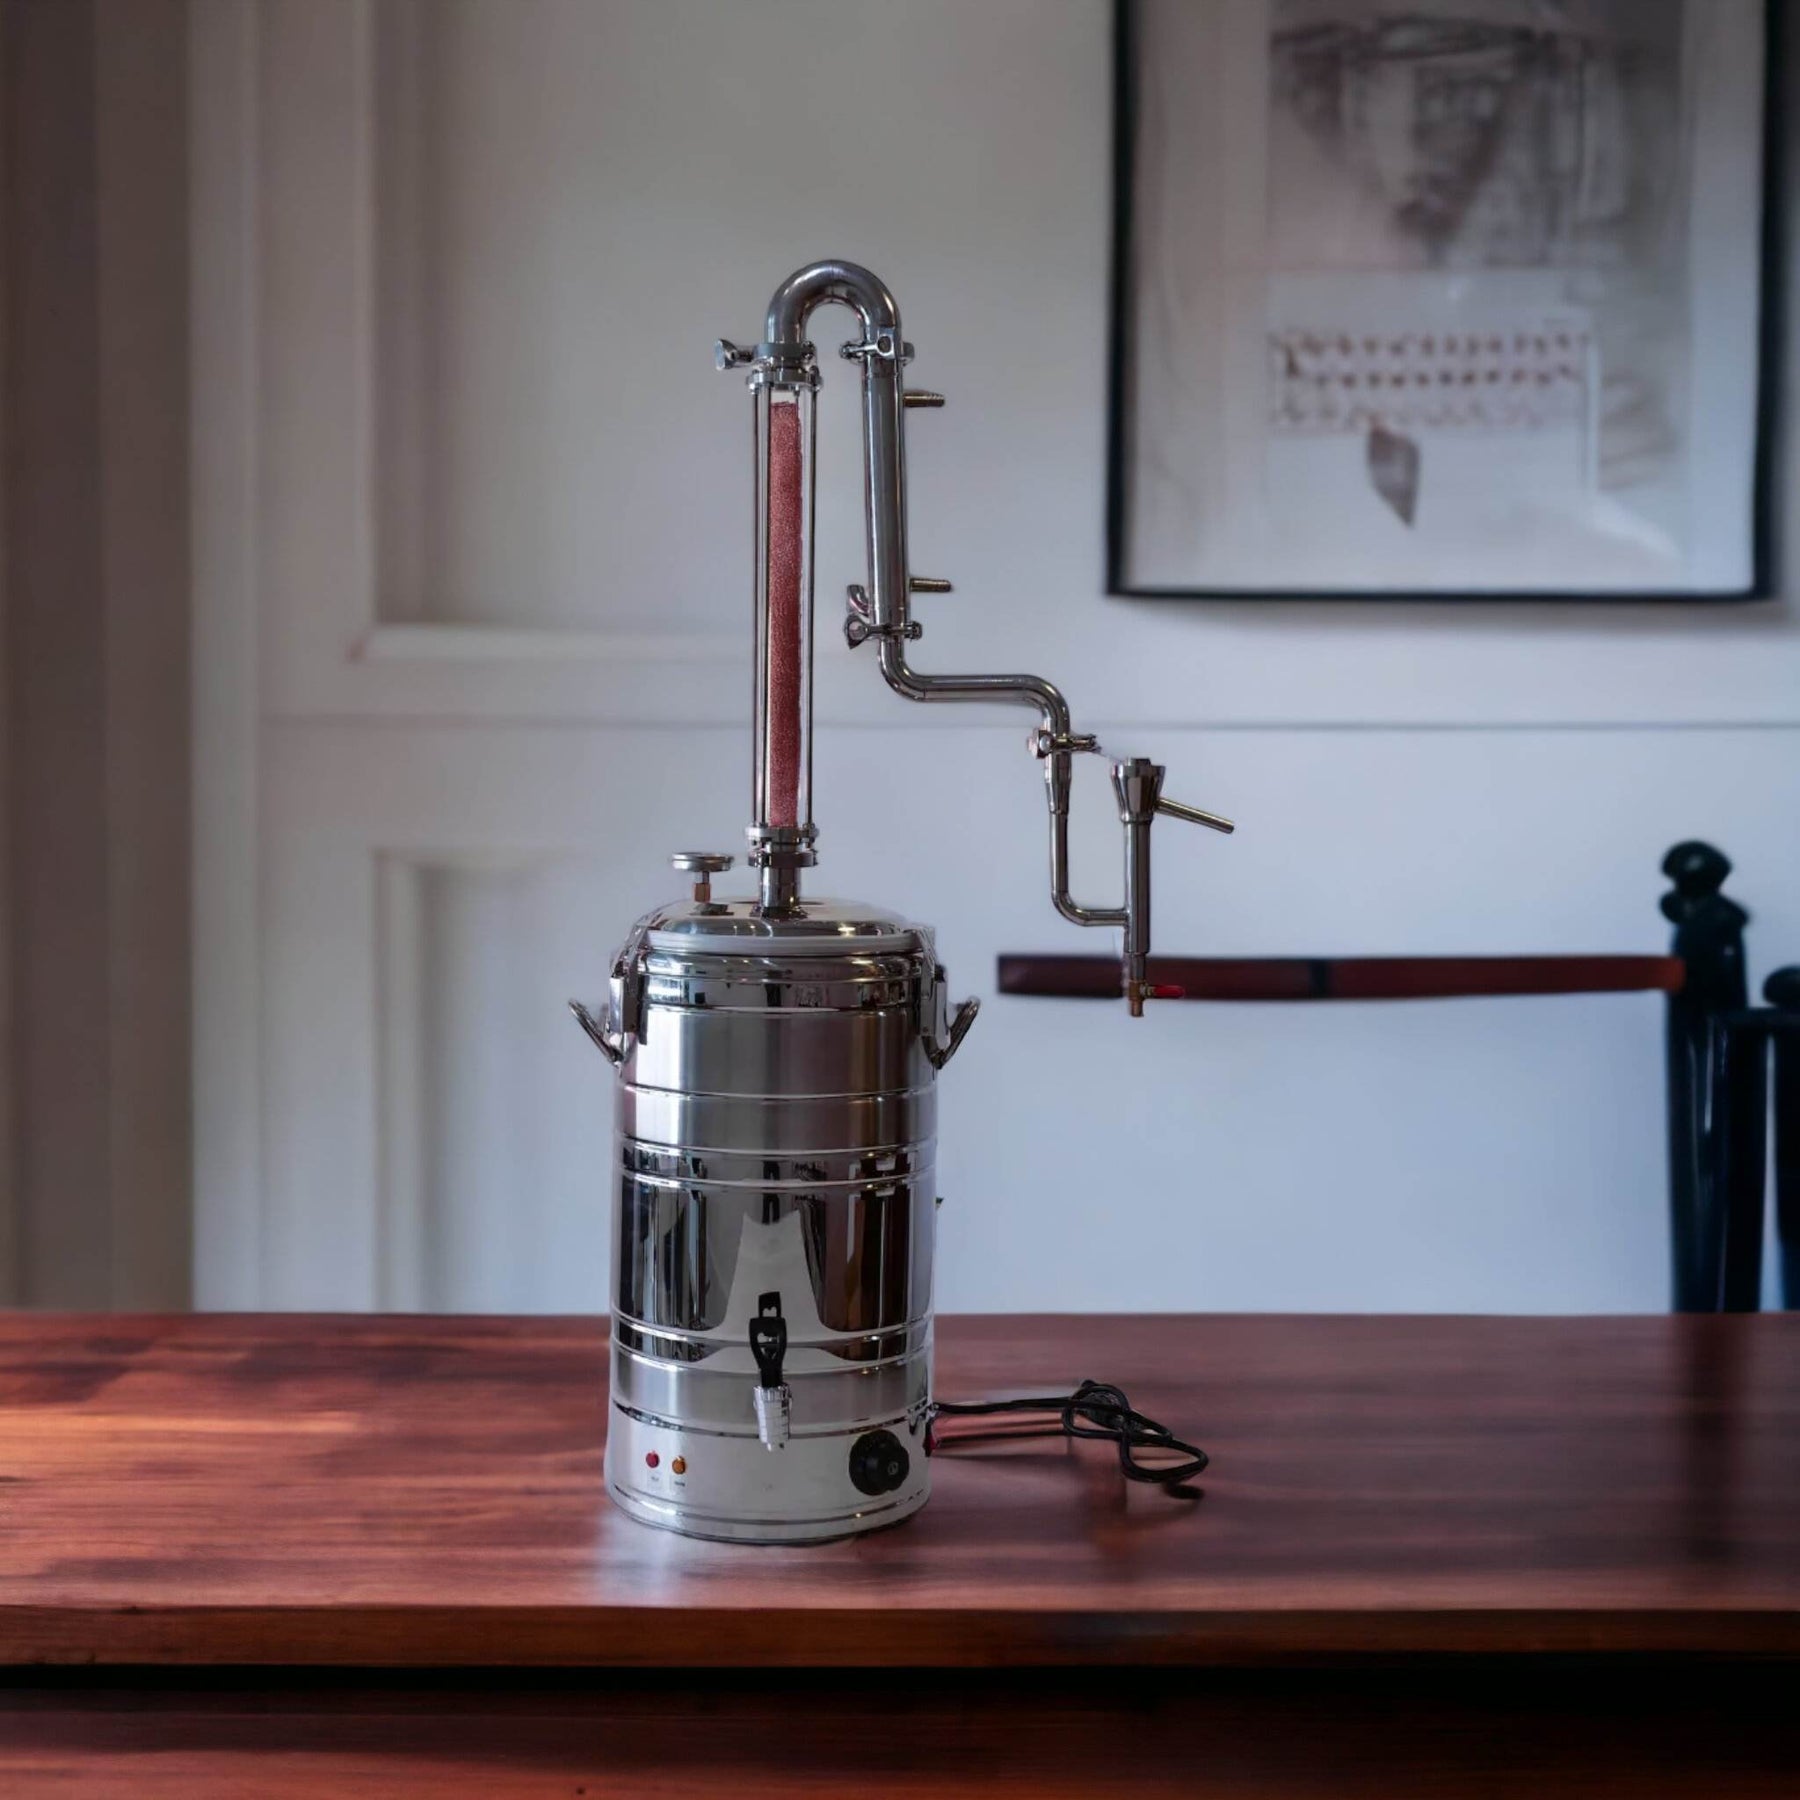
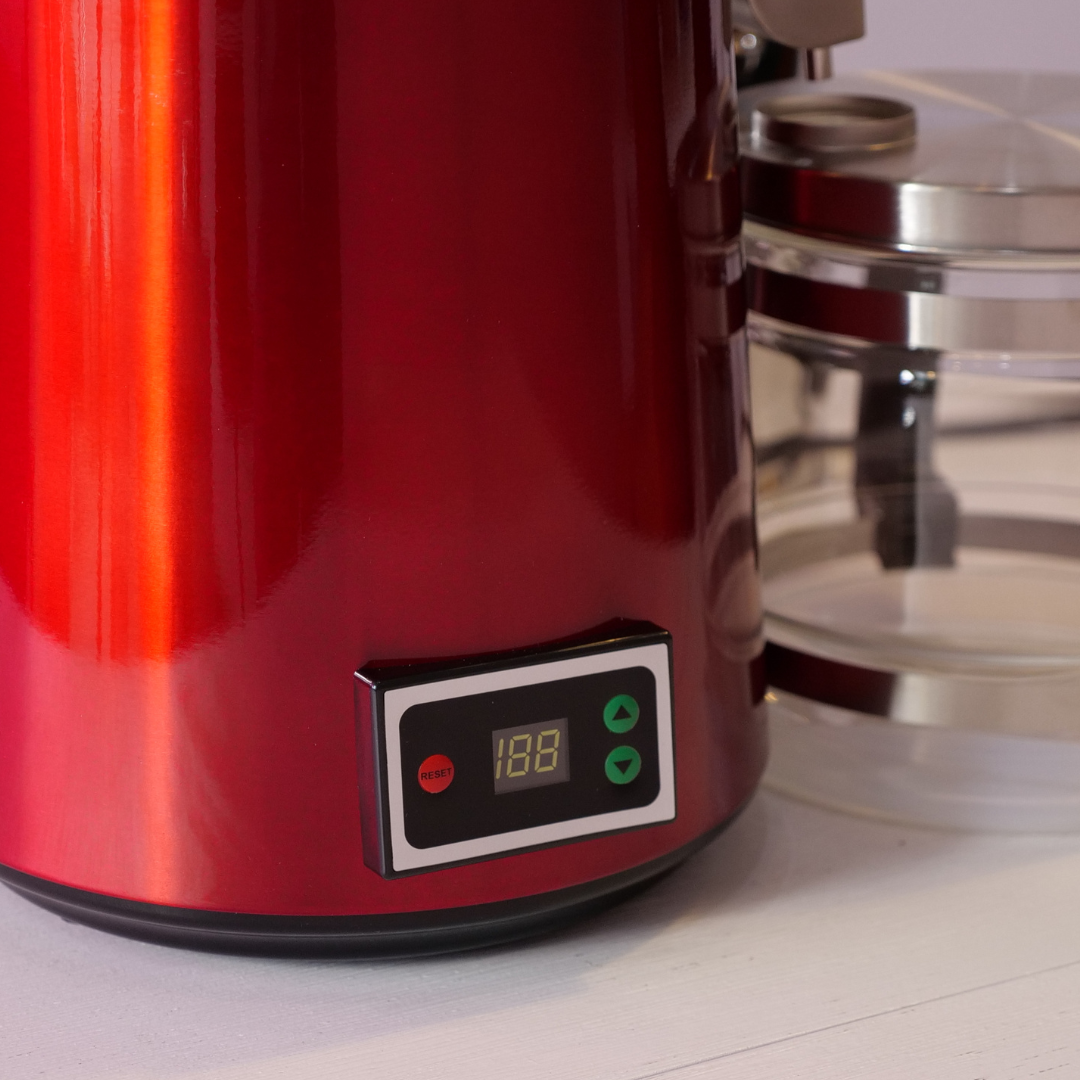
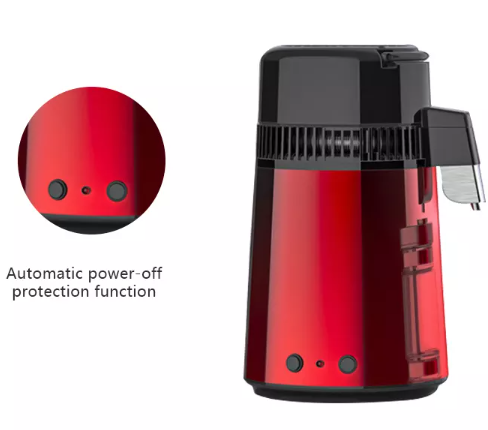
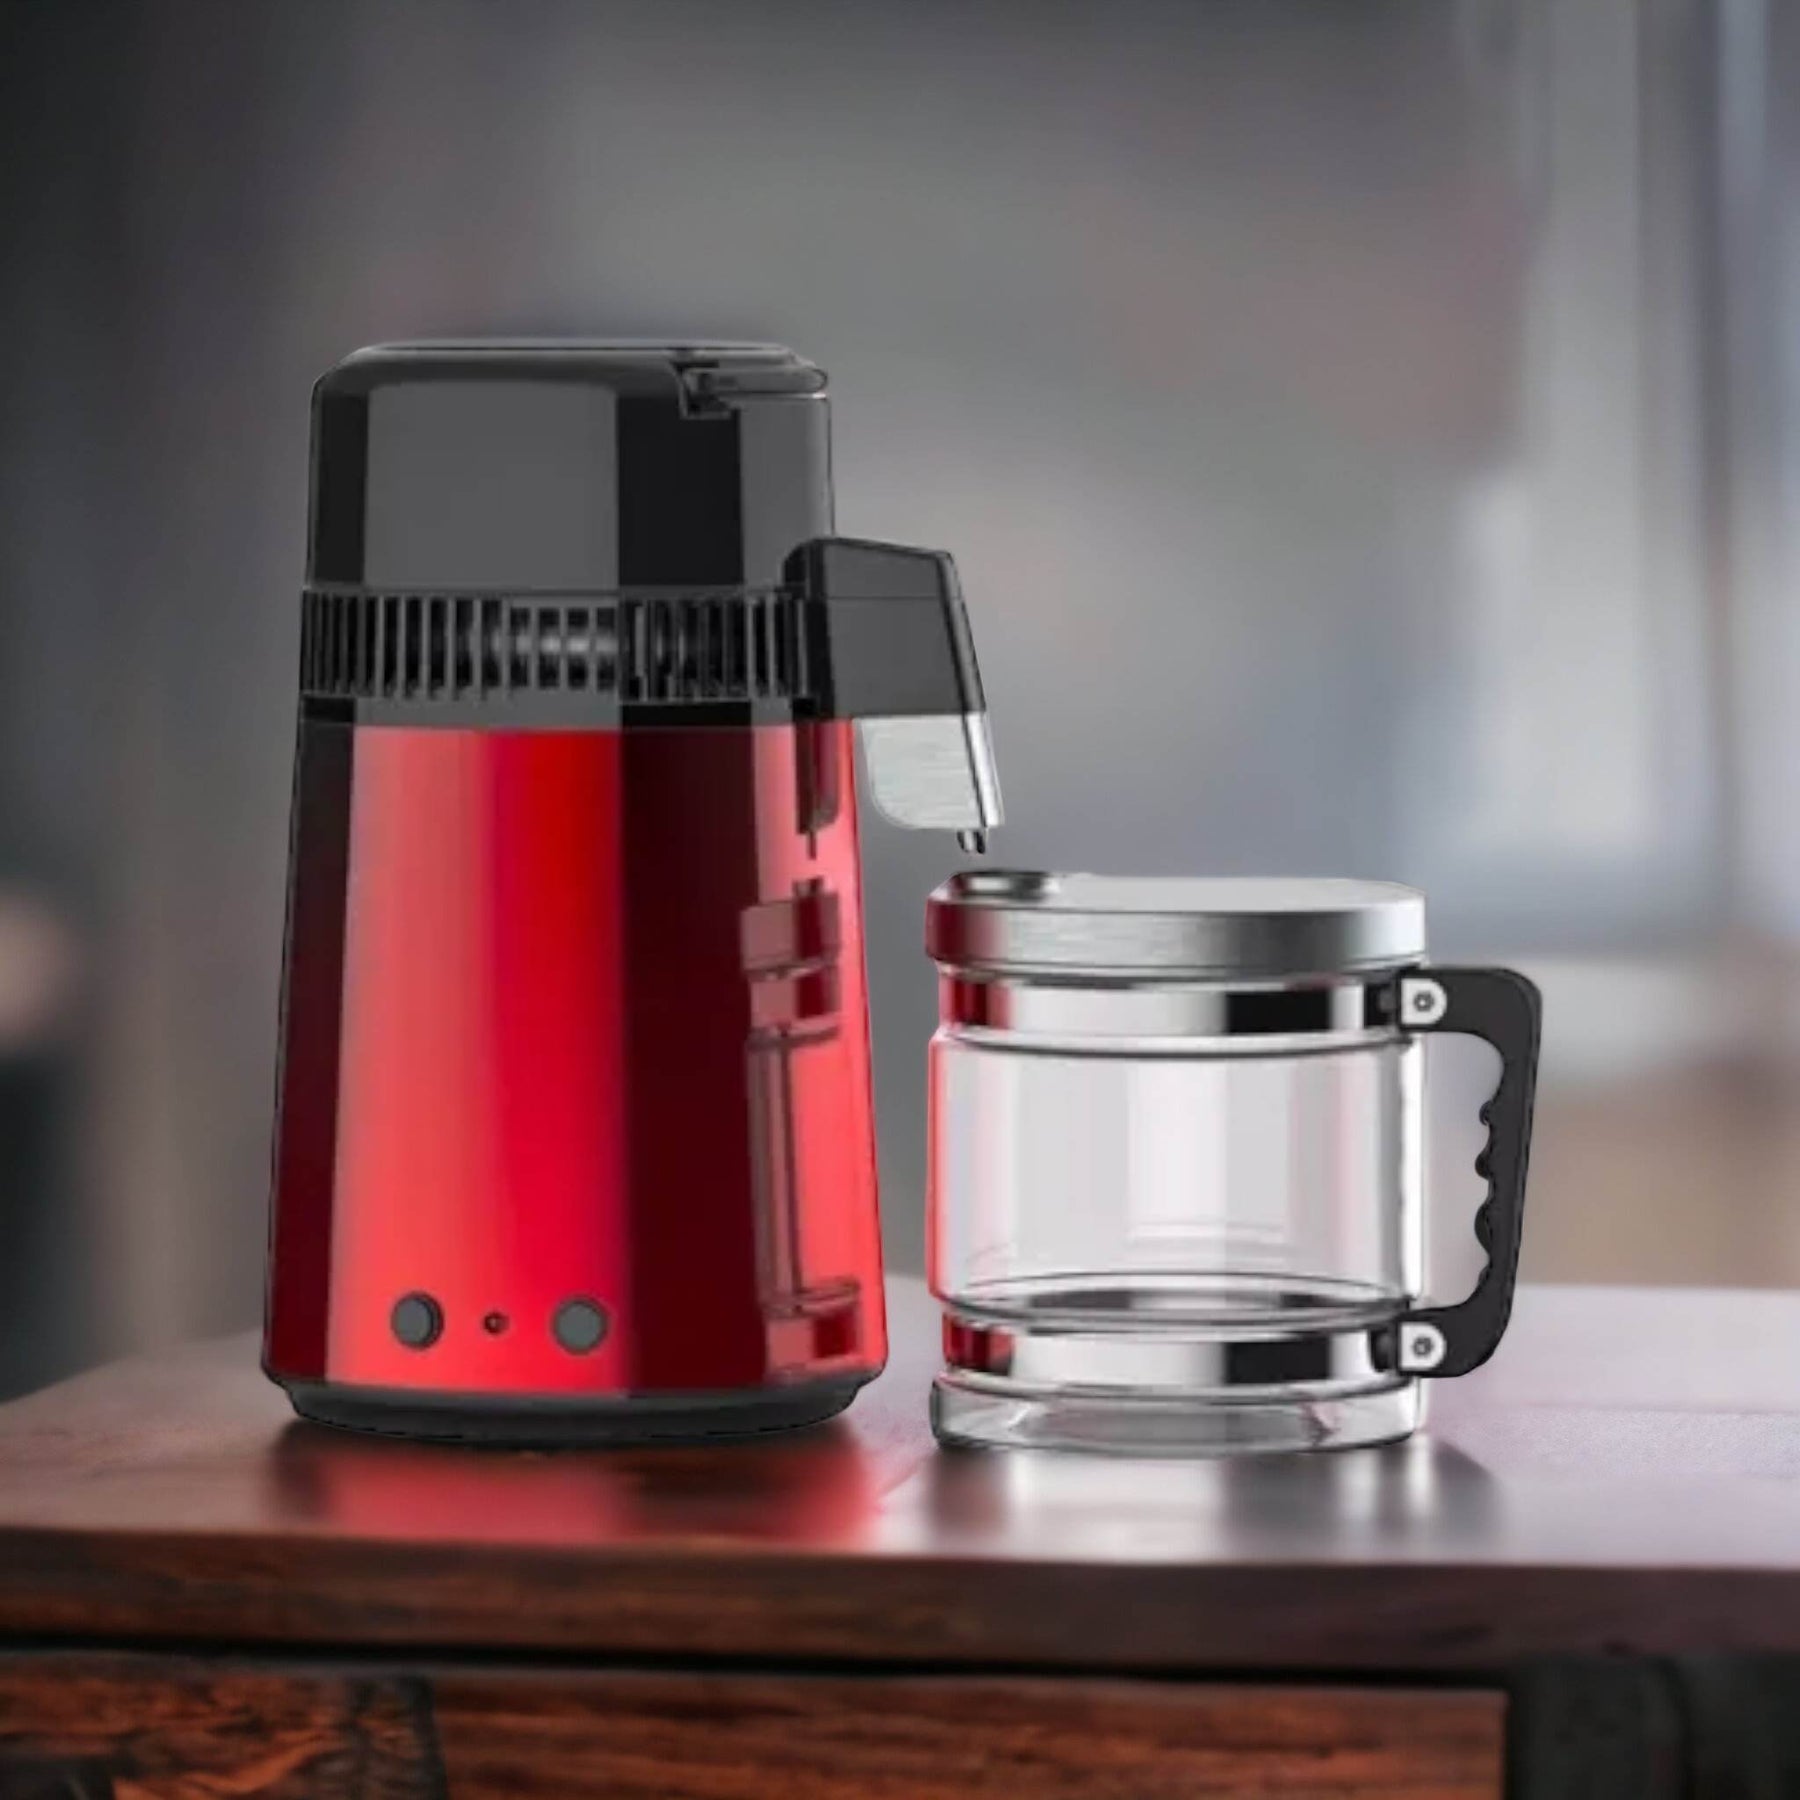
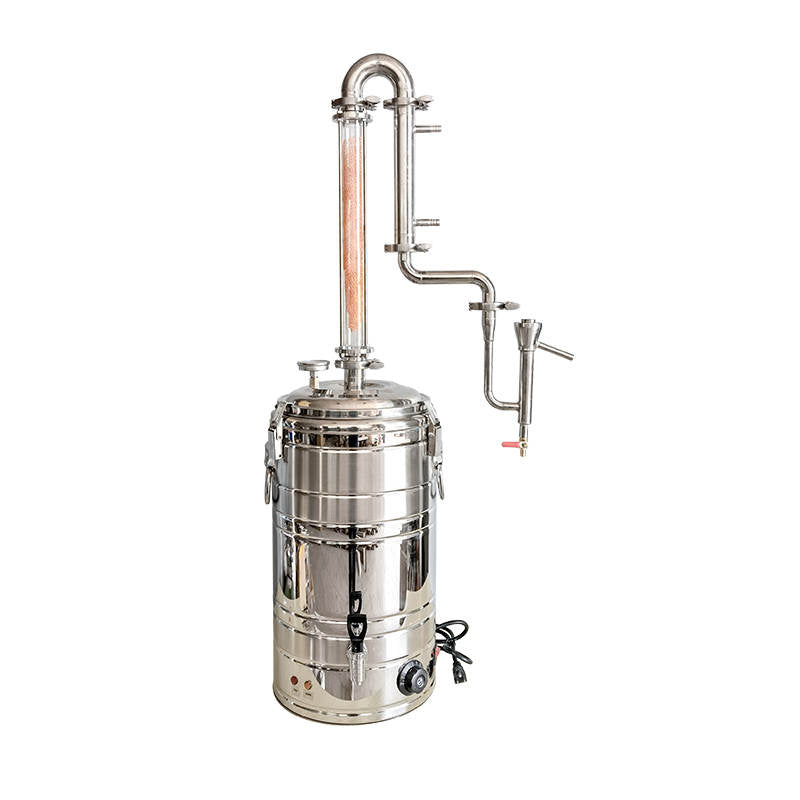
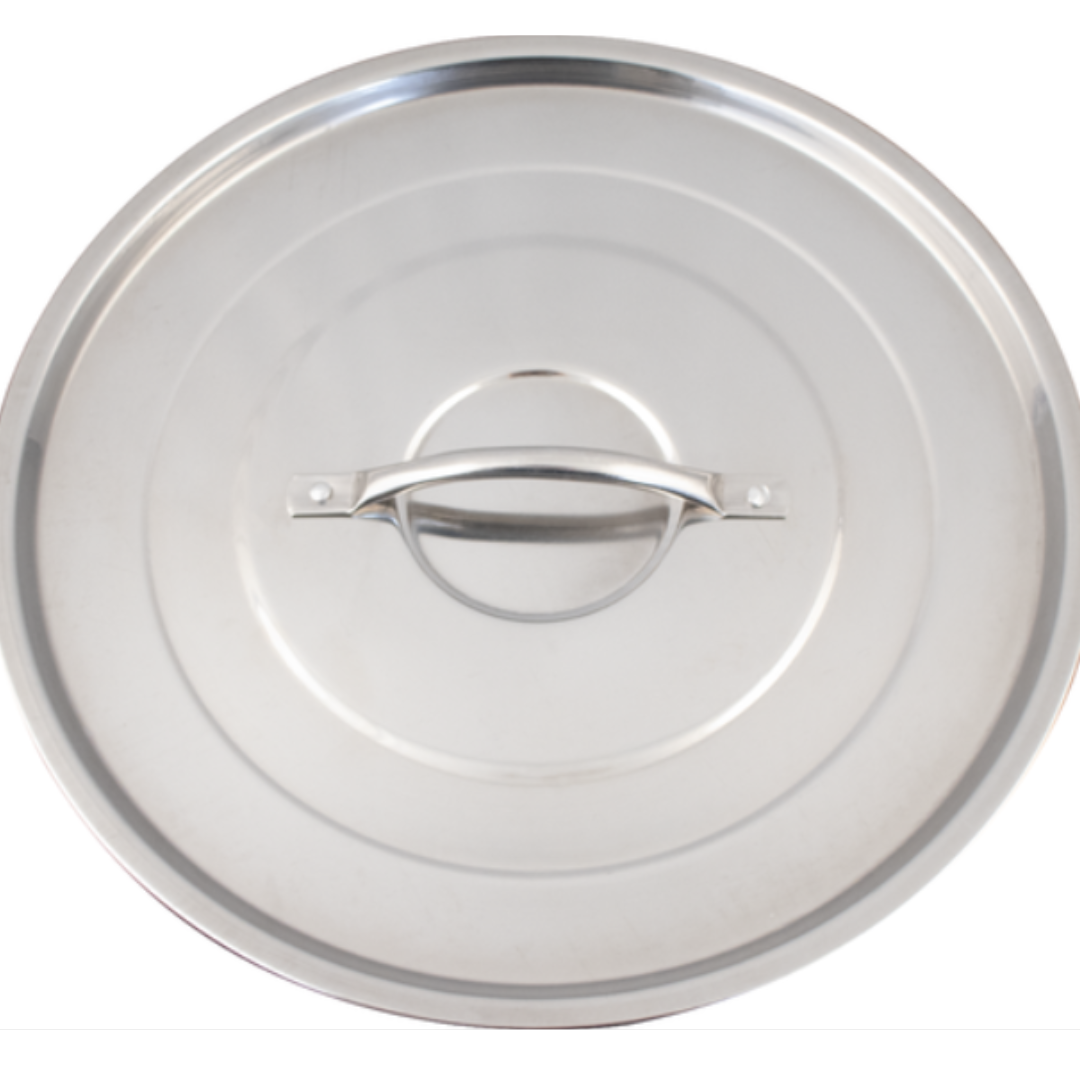
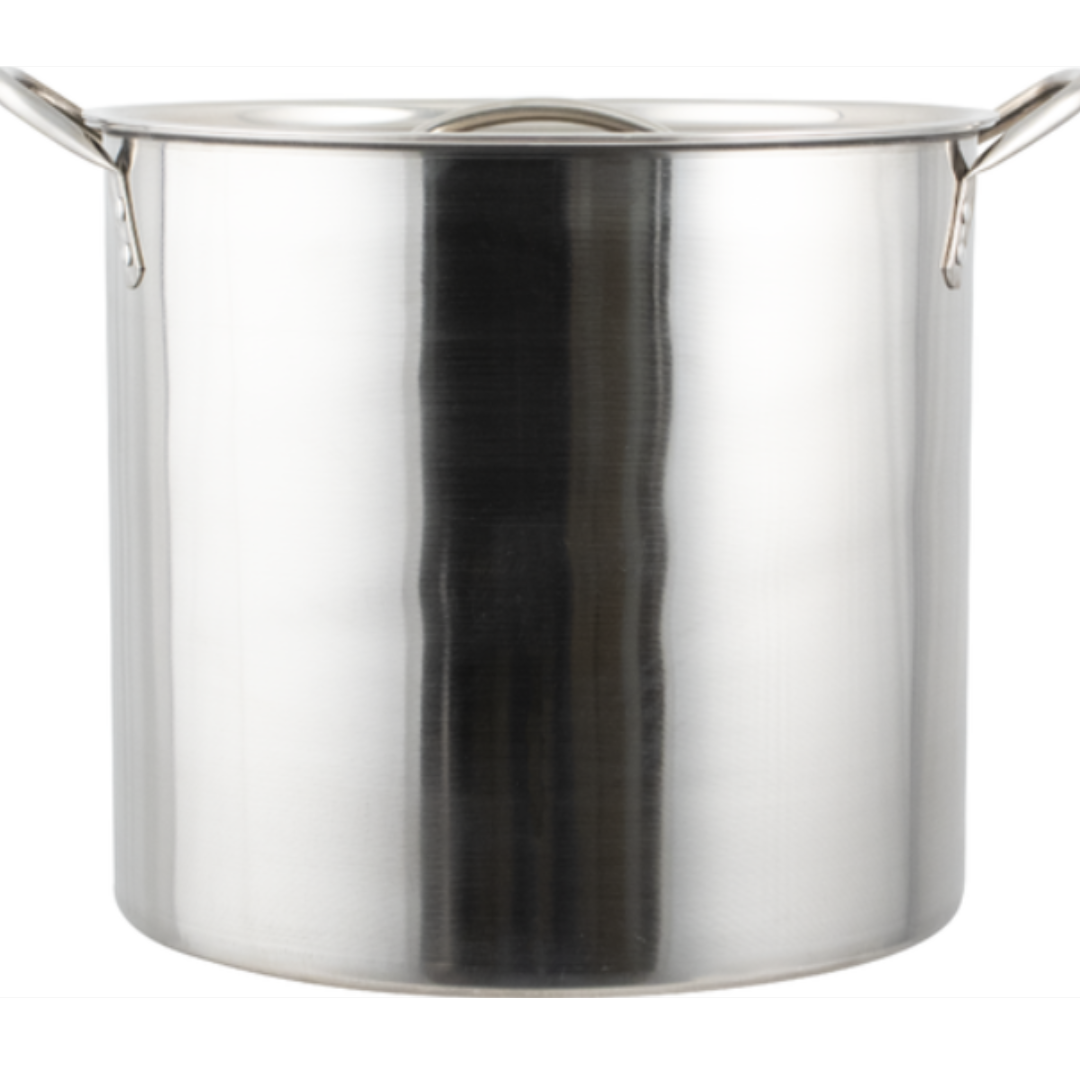
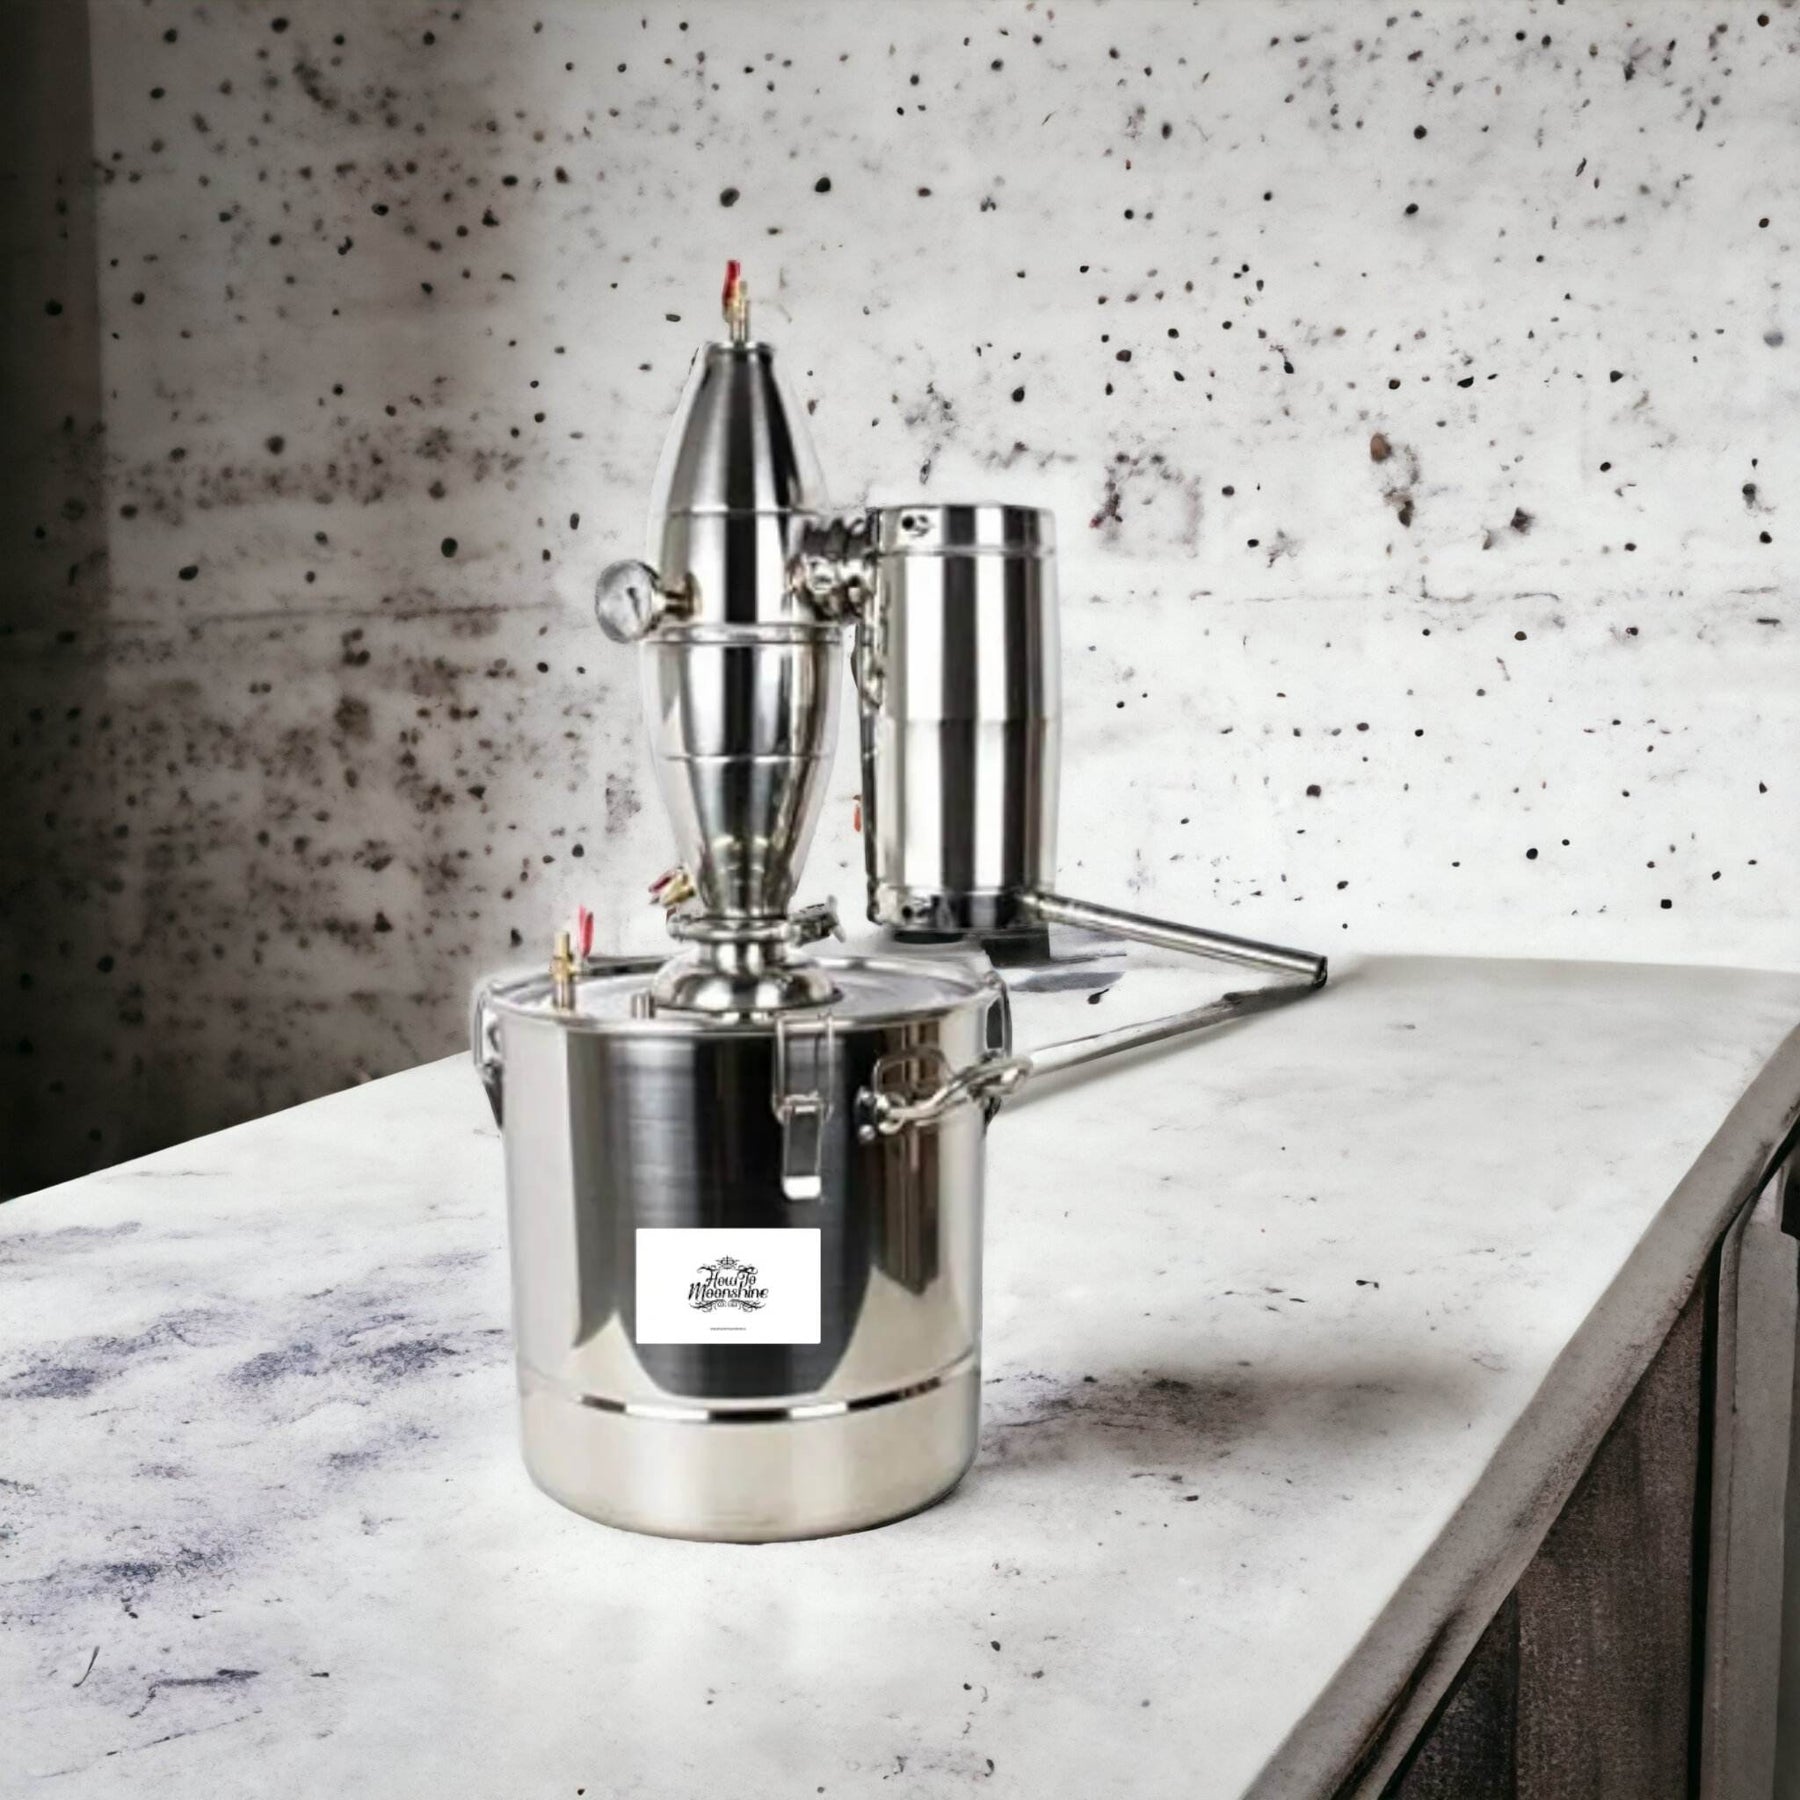
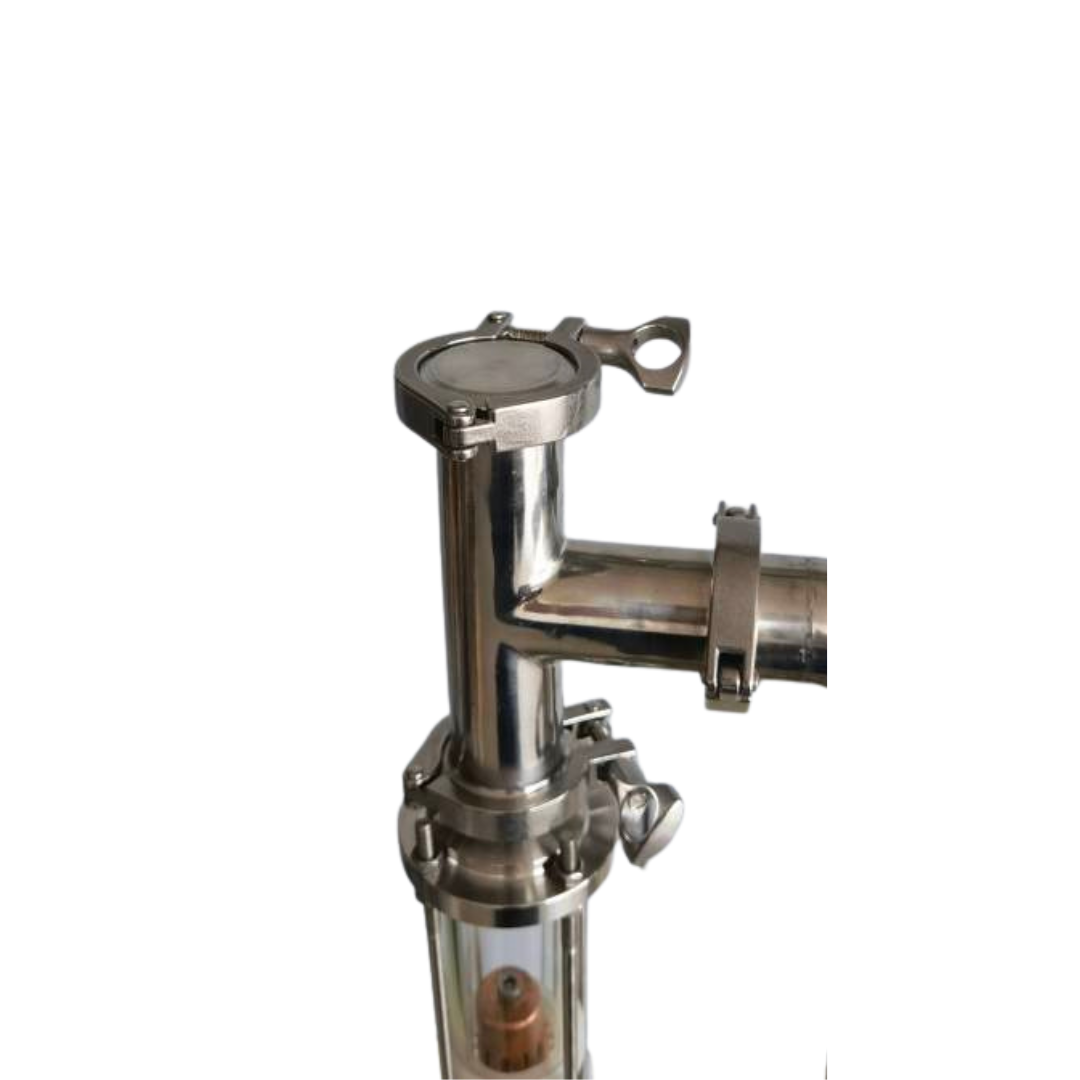
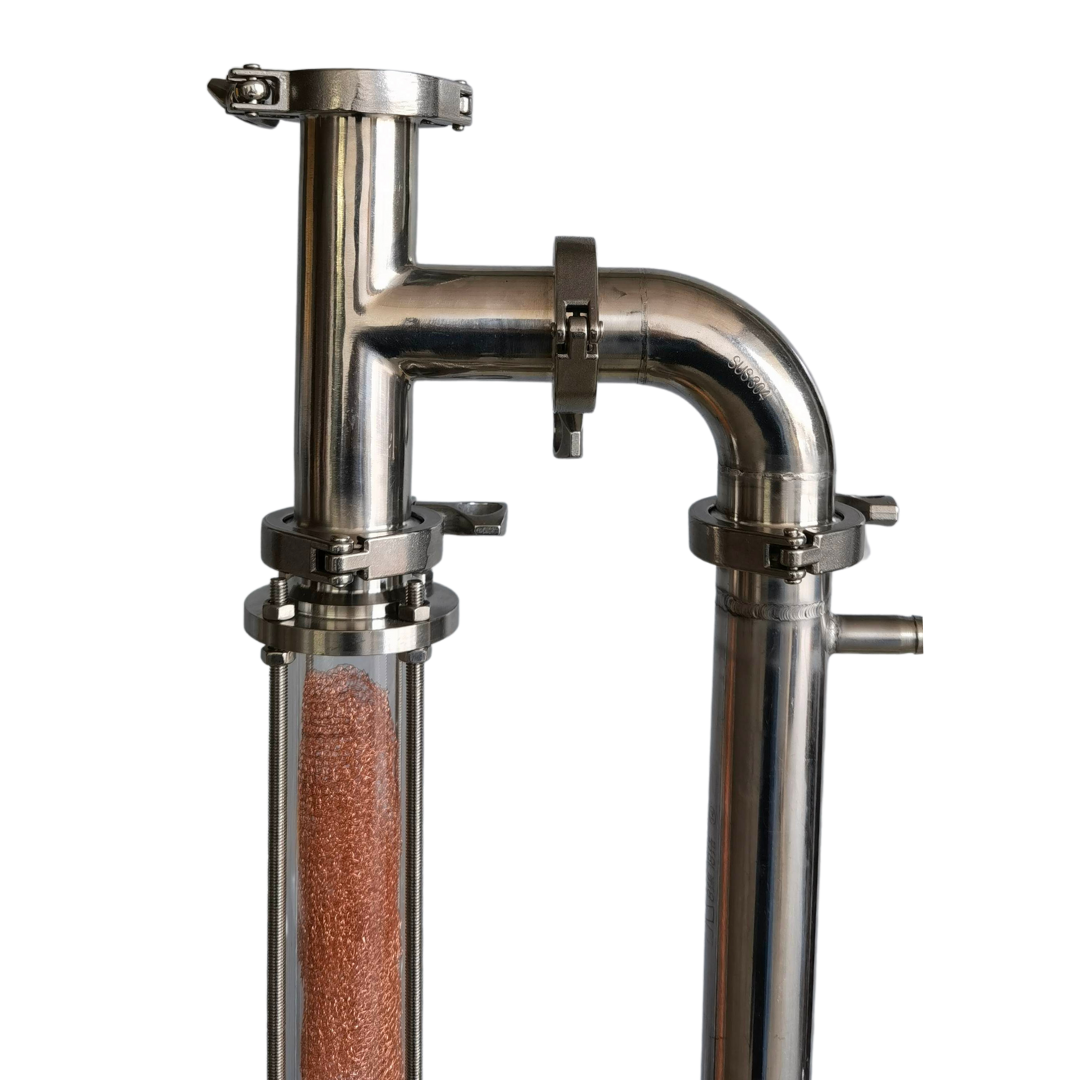
- Moonshine Kettle
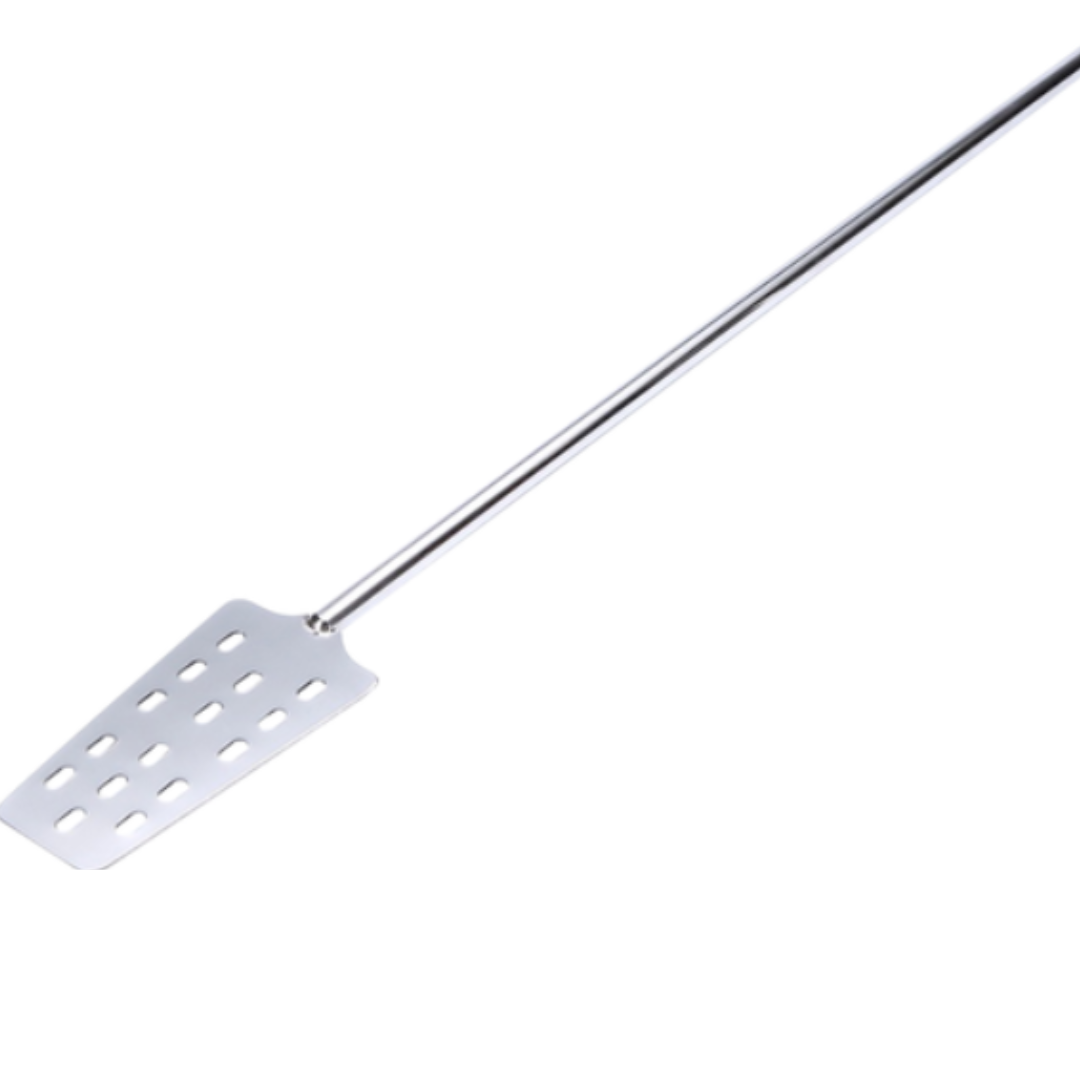
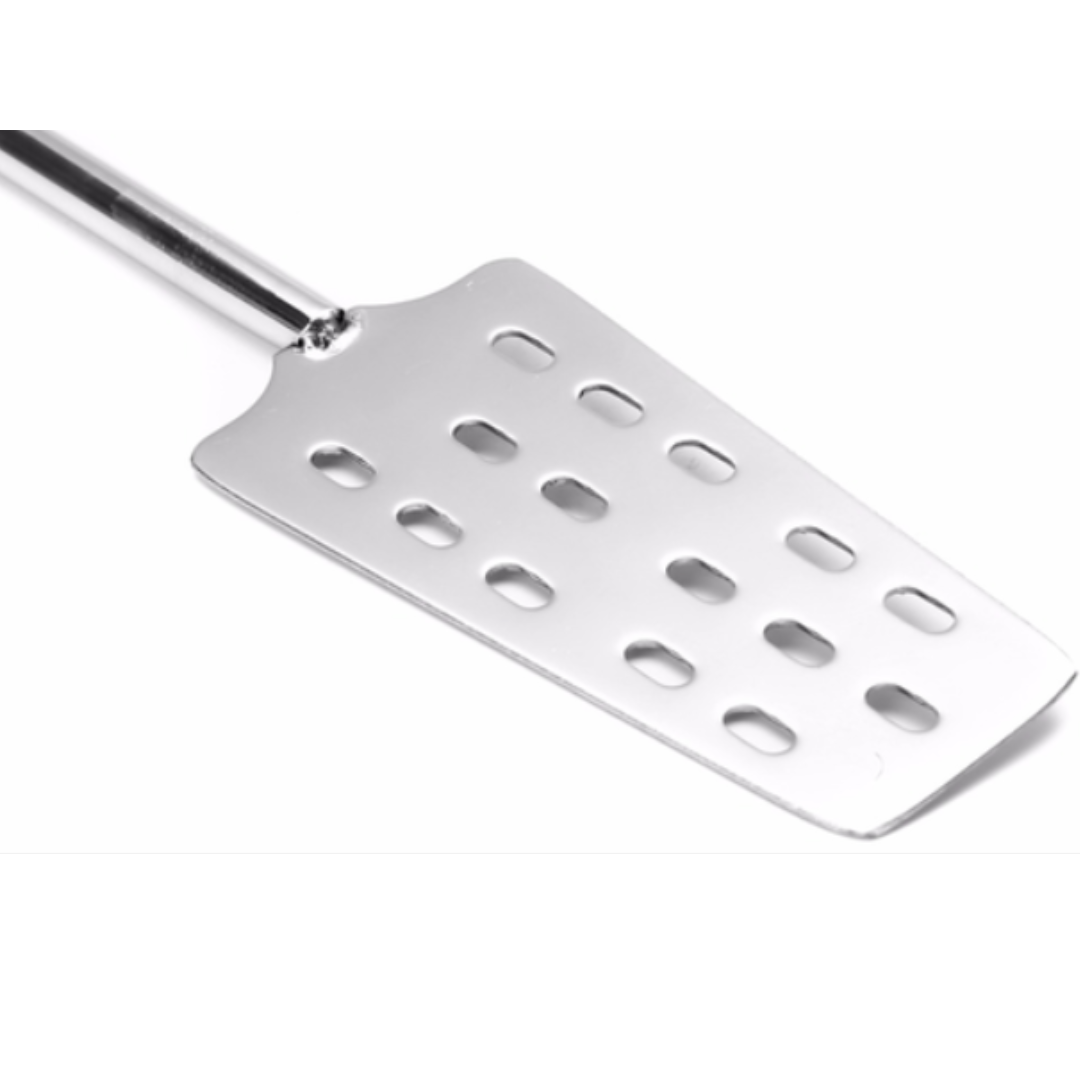
- Mash Paddle
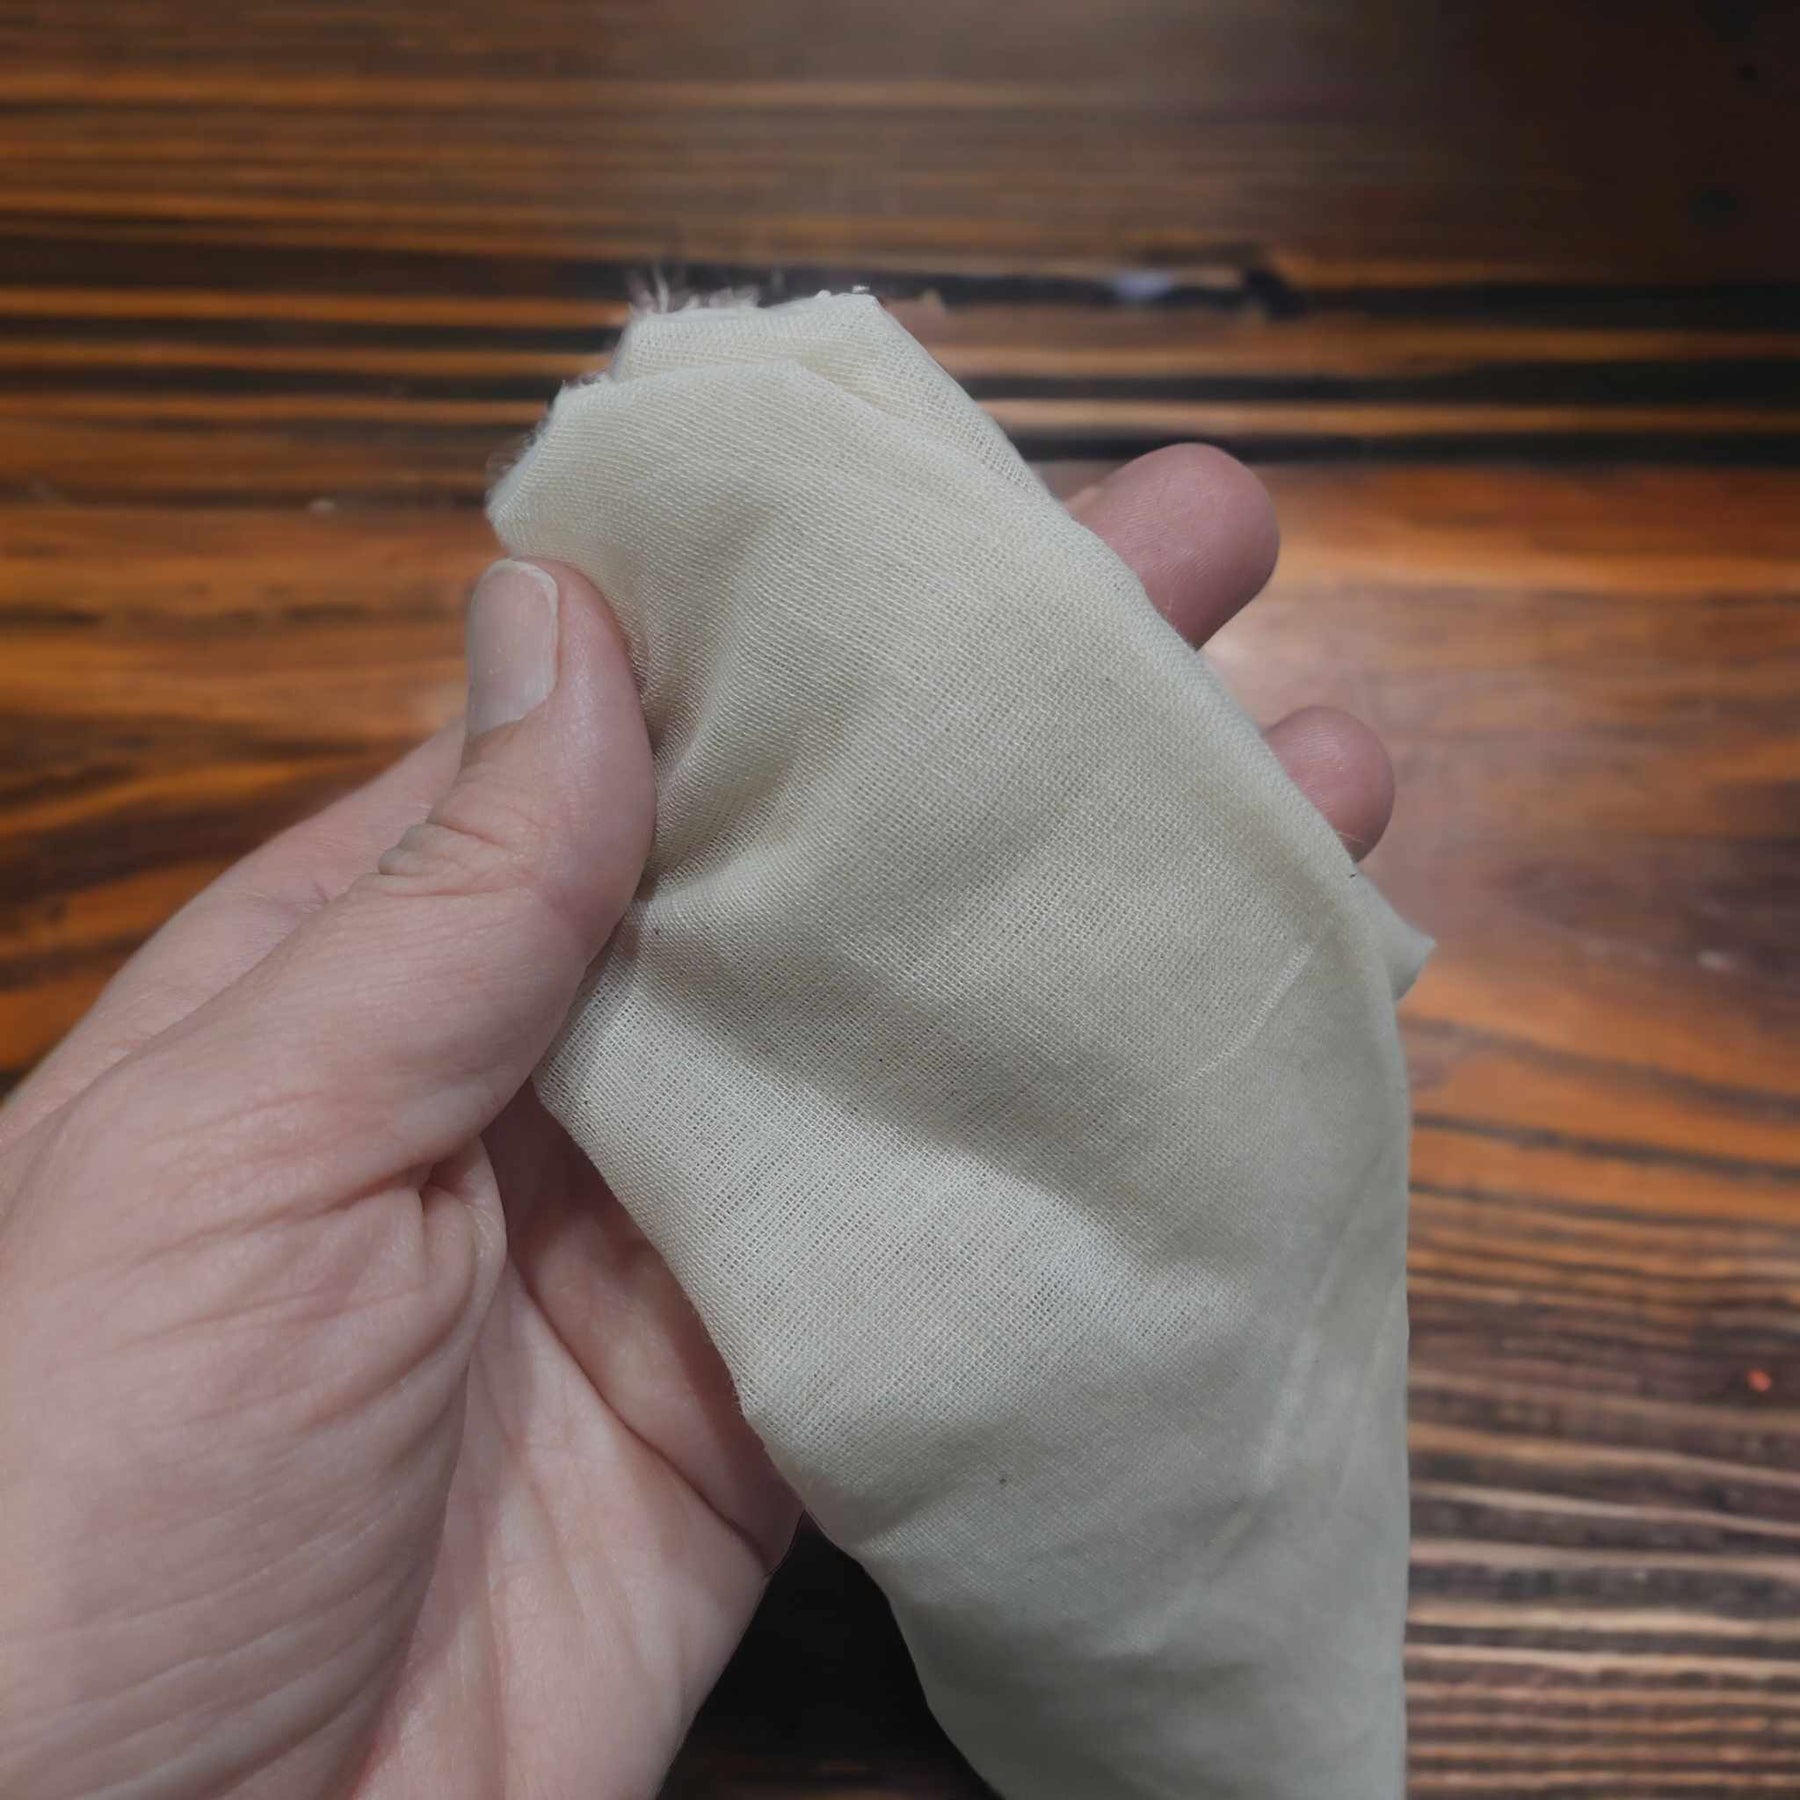
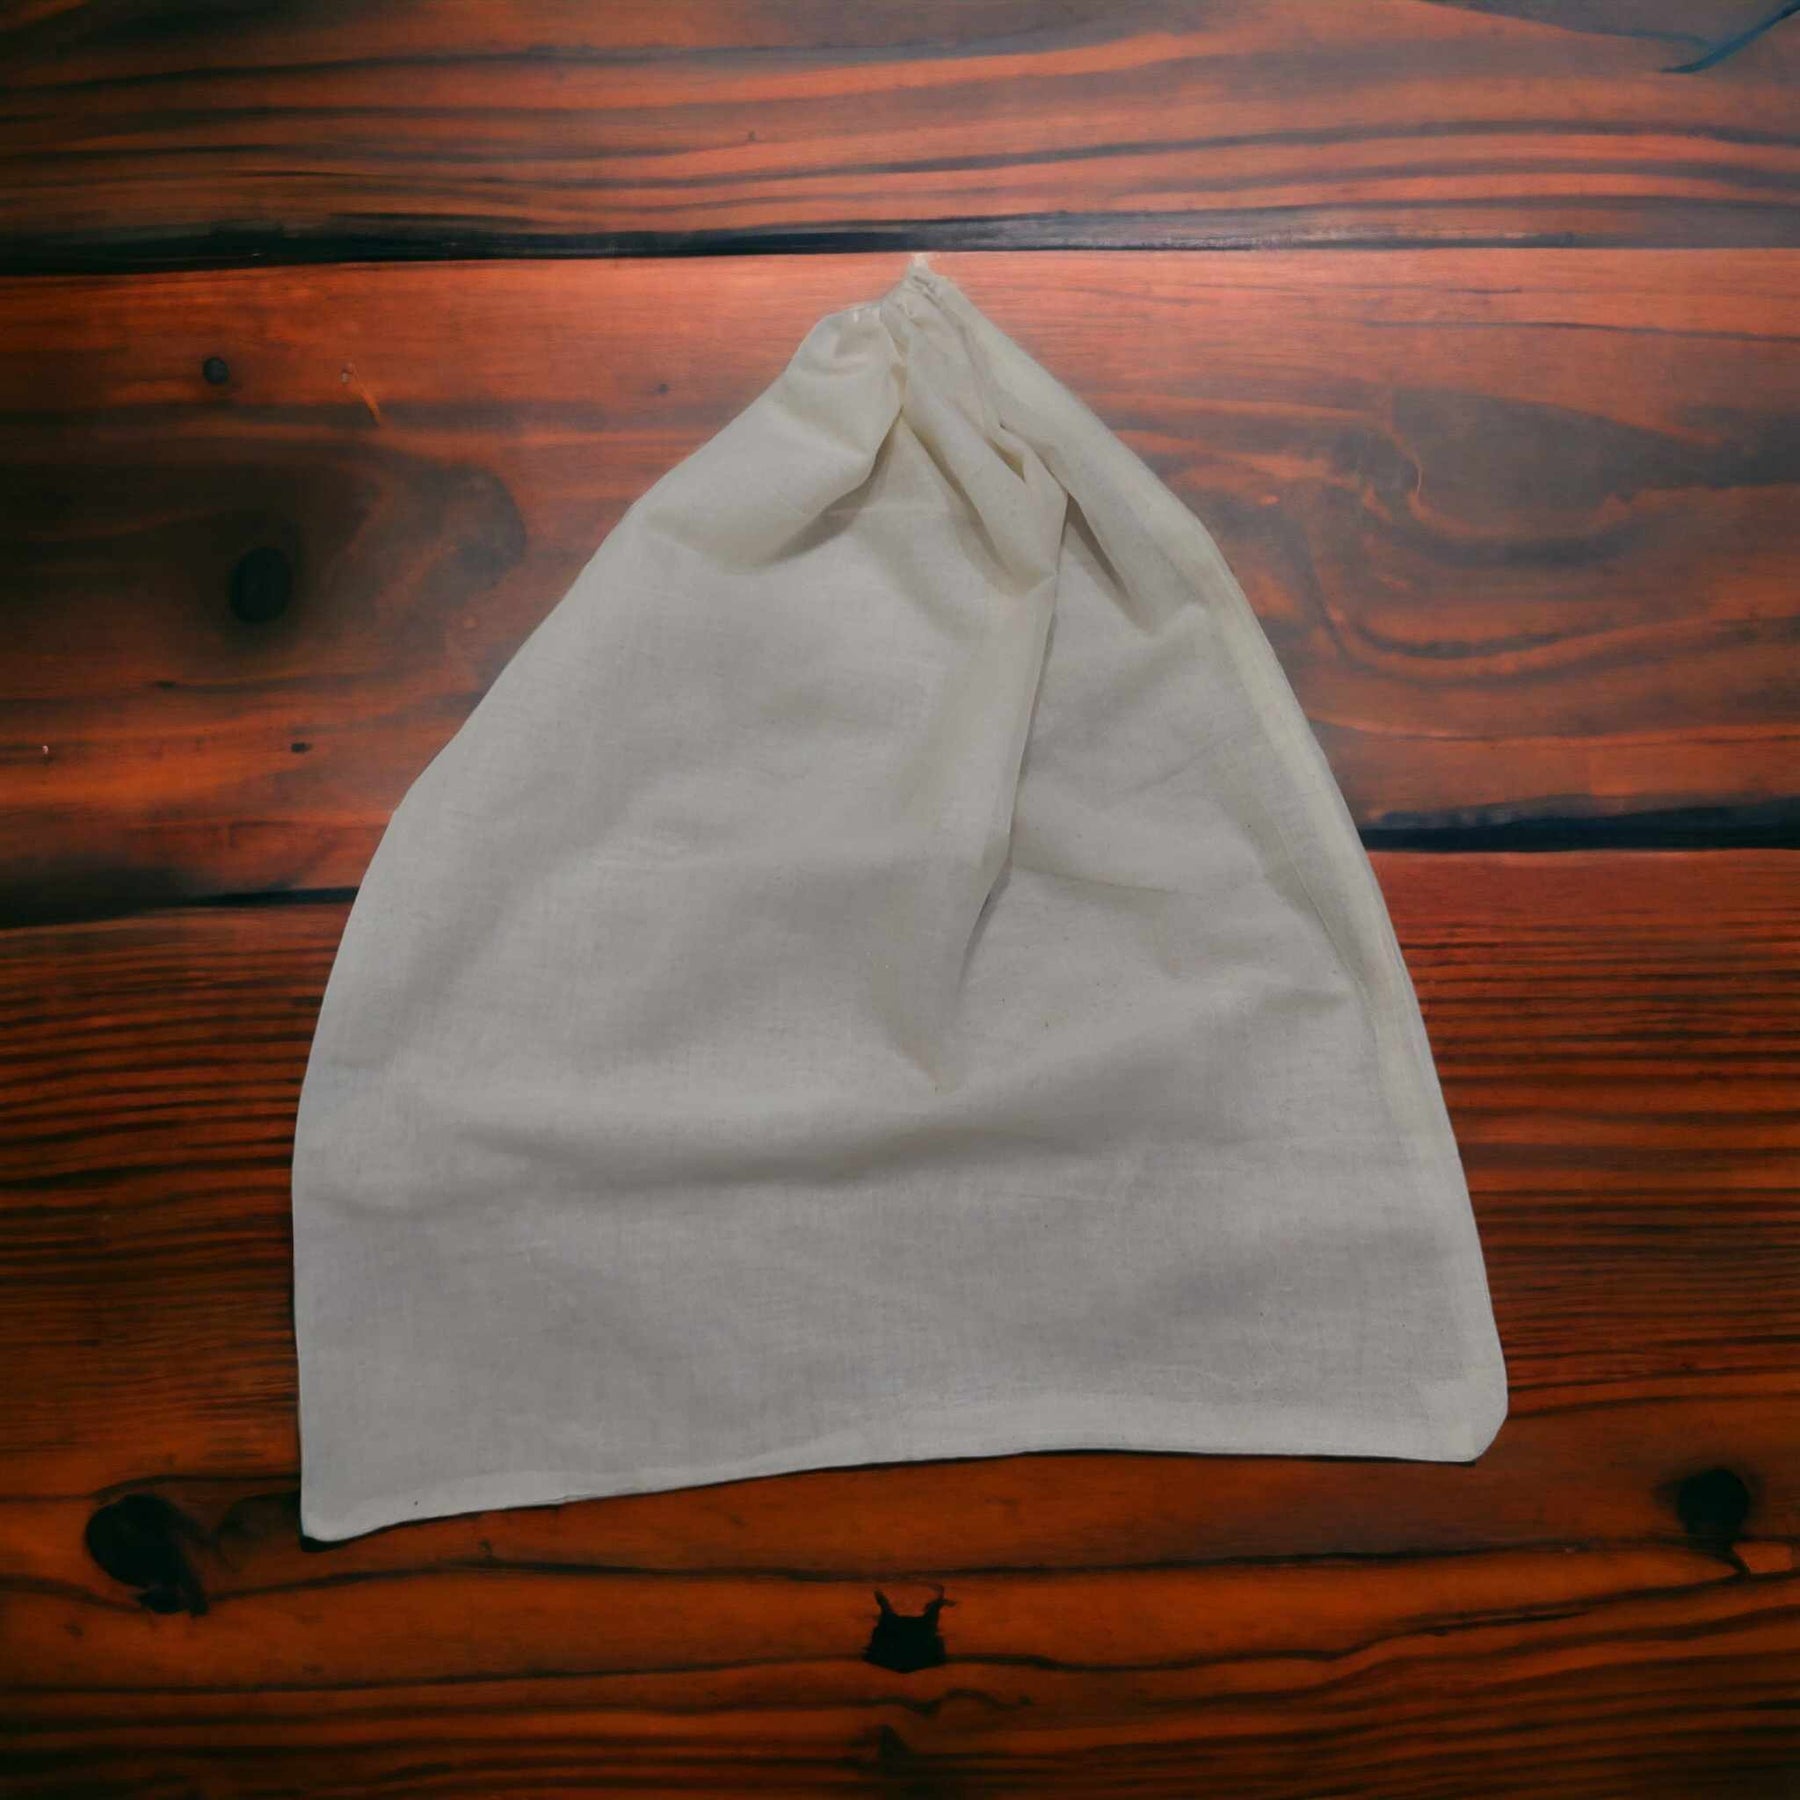
- Cheesecloth
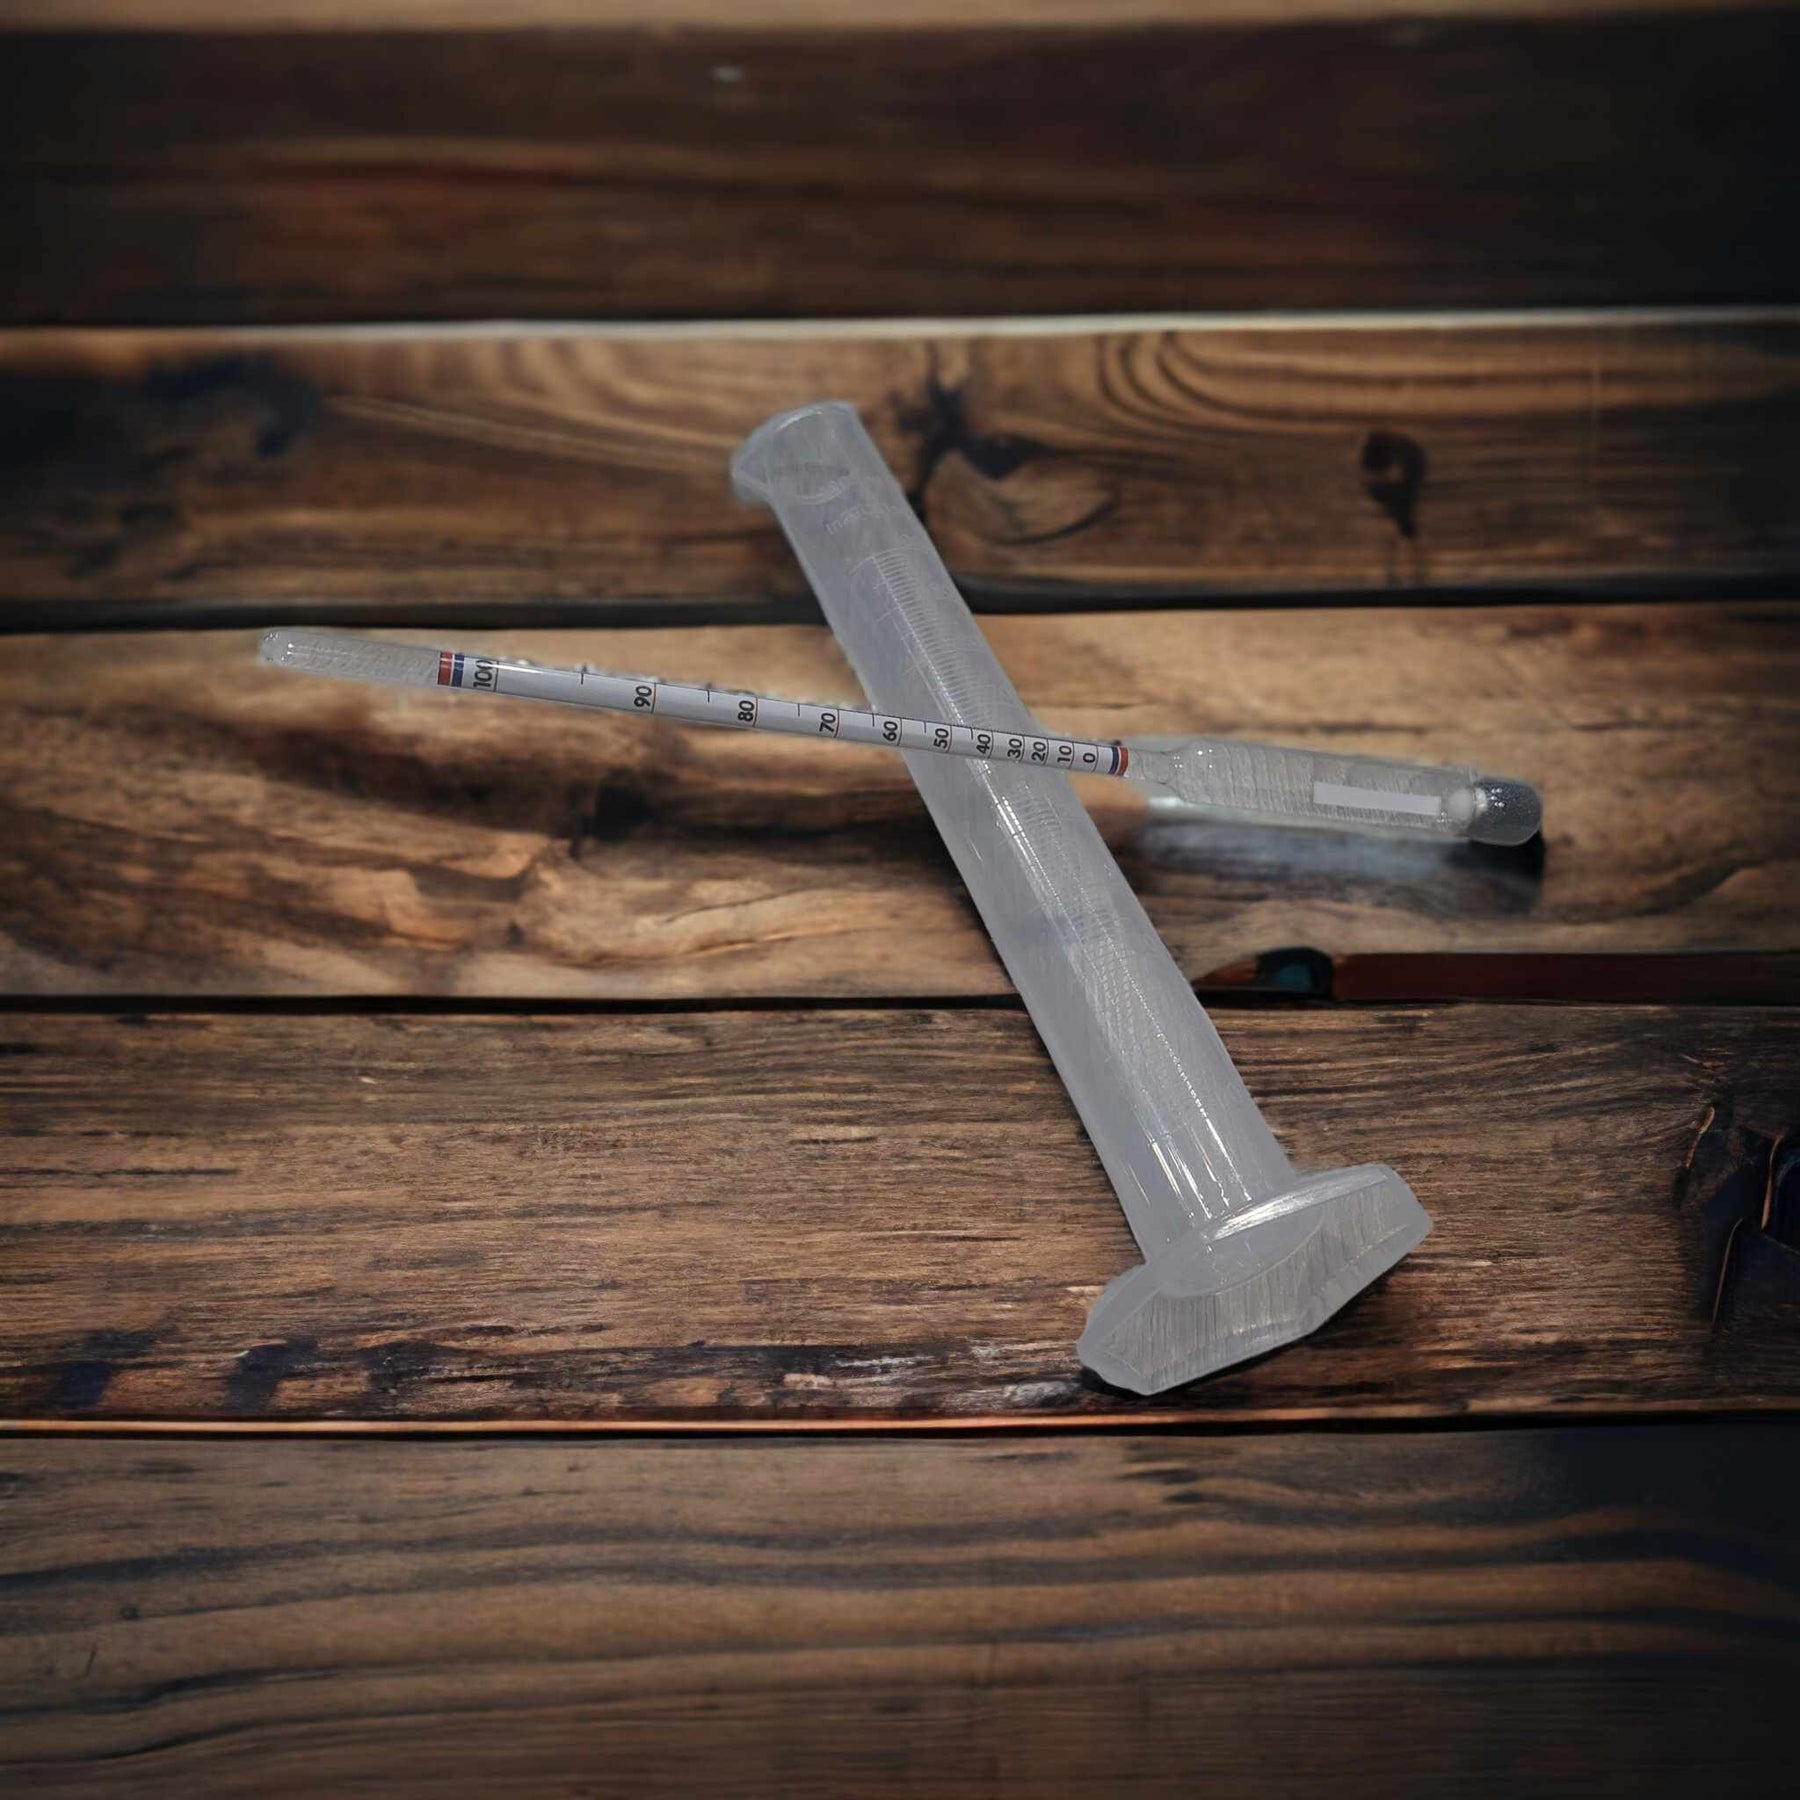
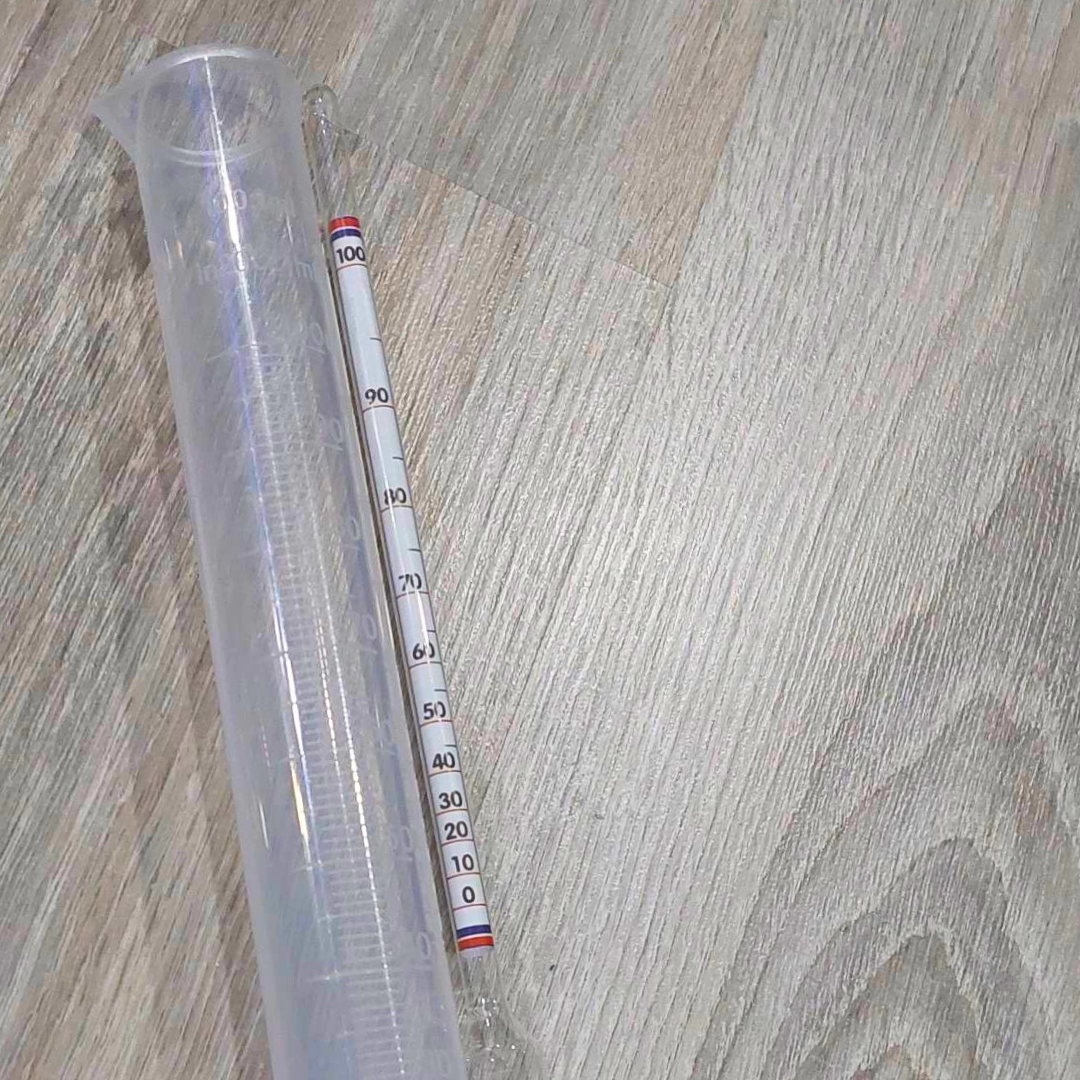
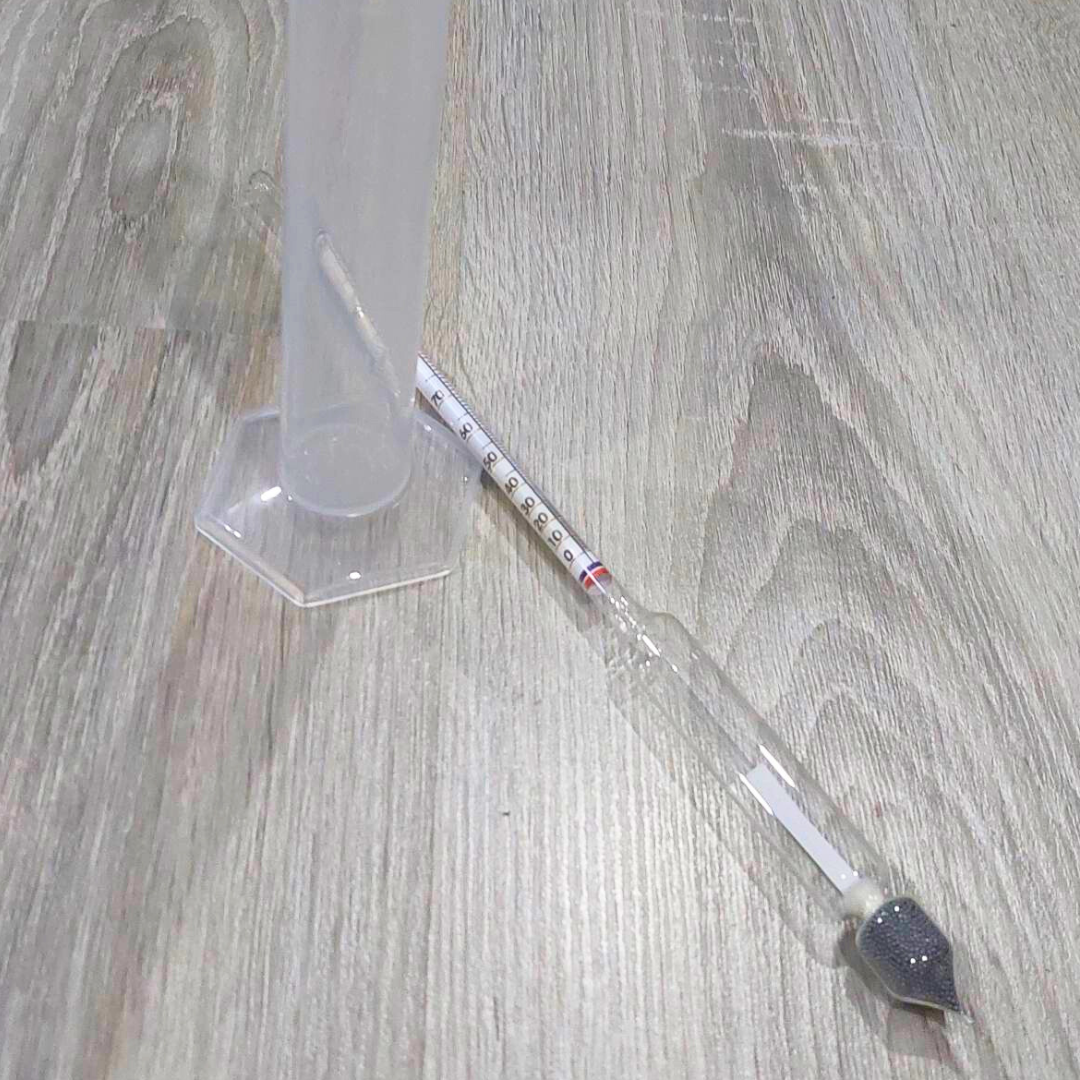
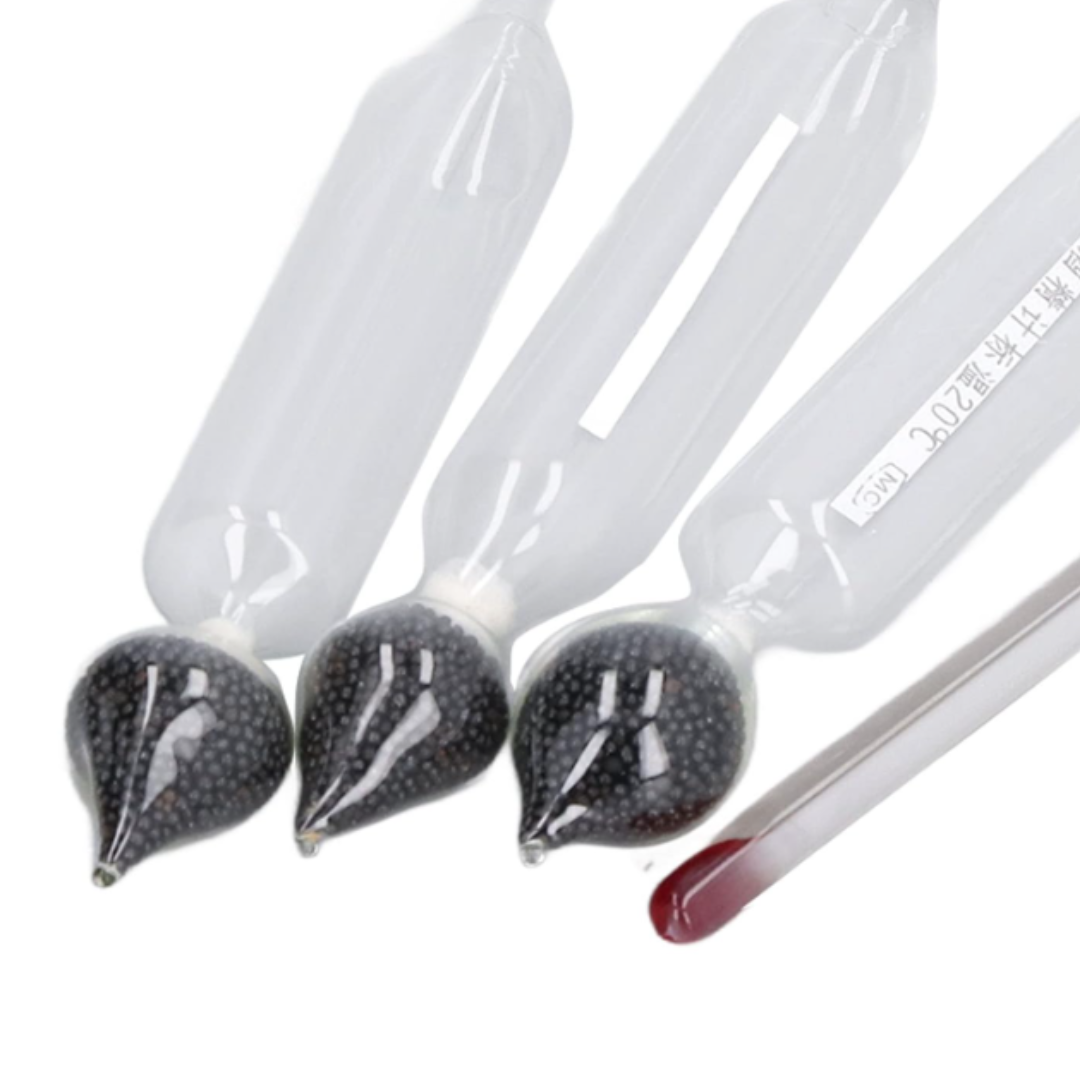
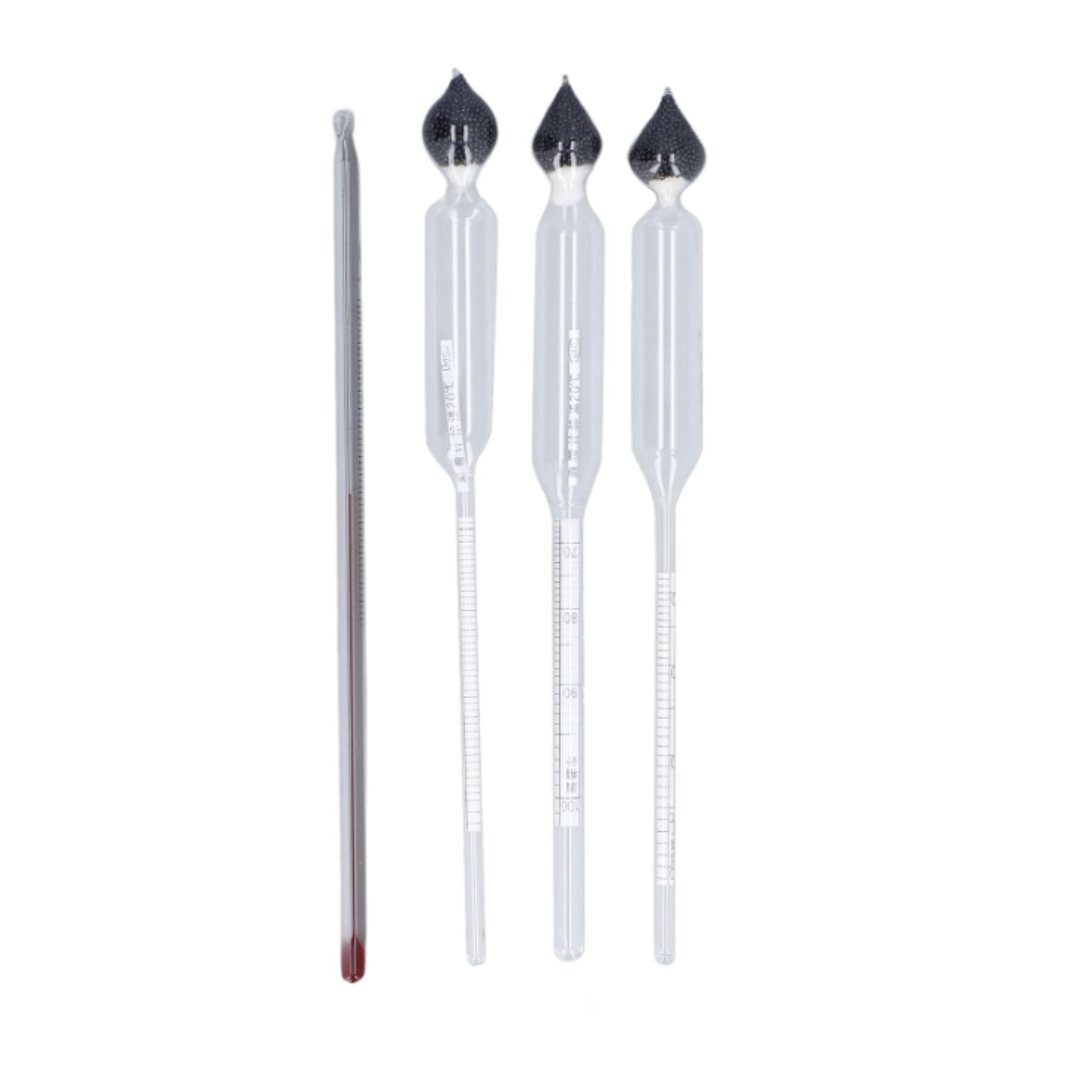
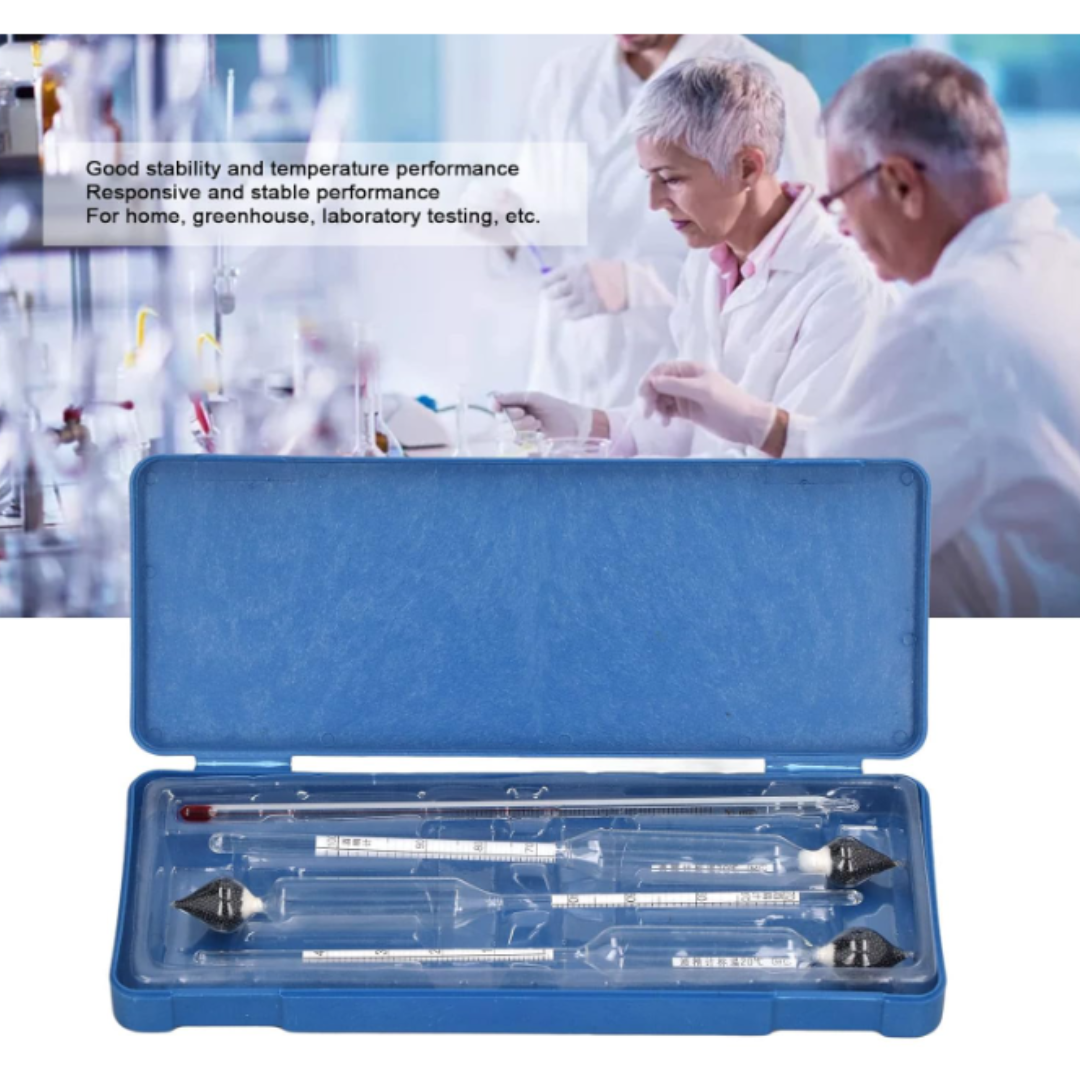
- Hydrometer (Deluxe)
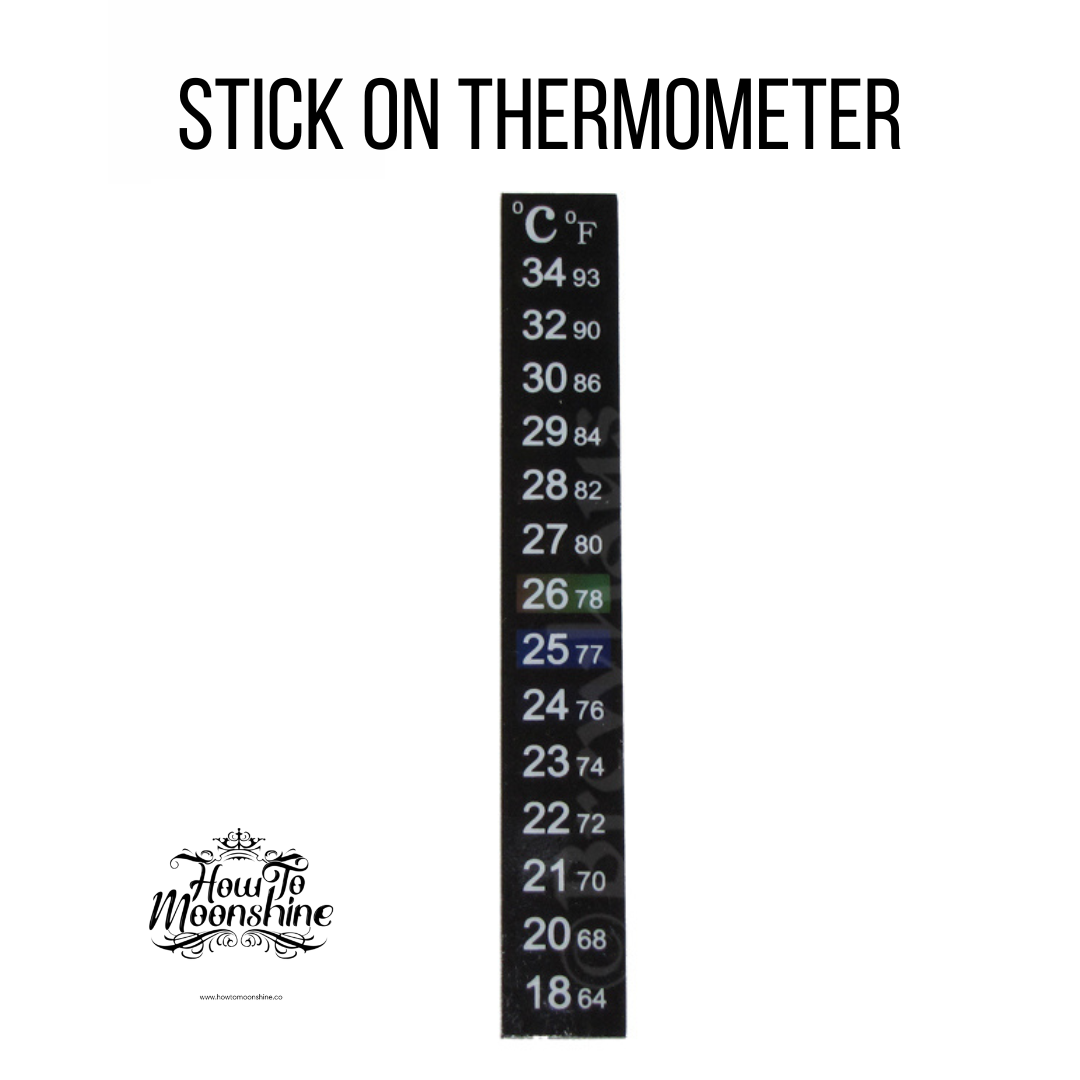
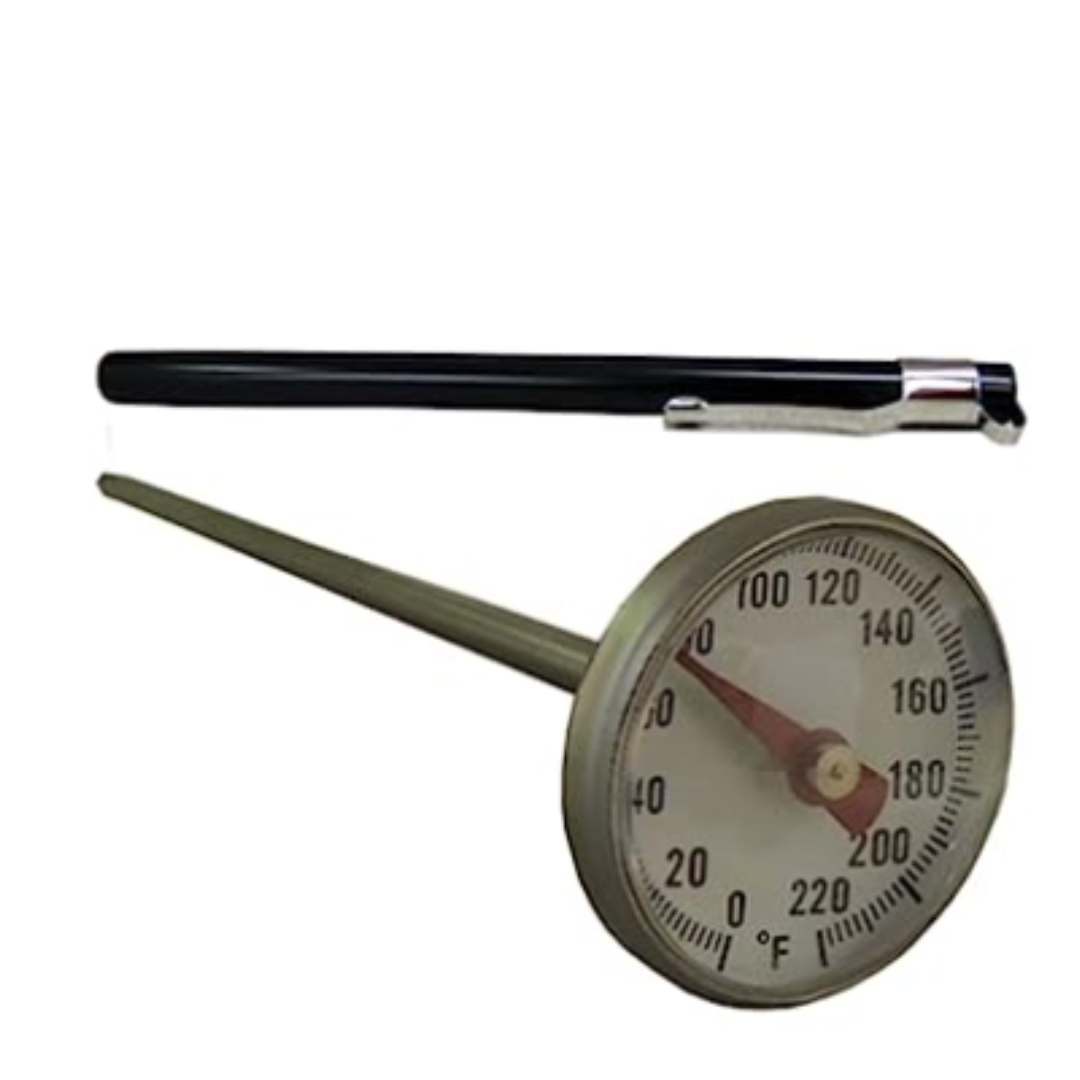
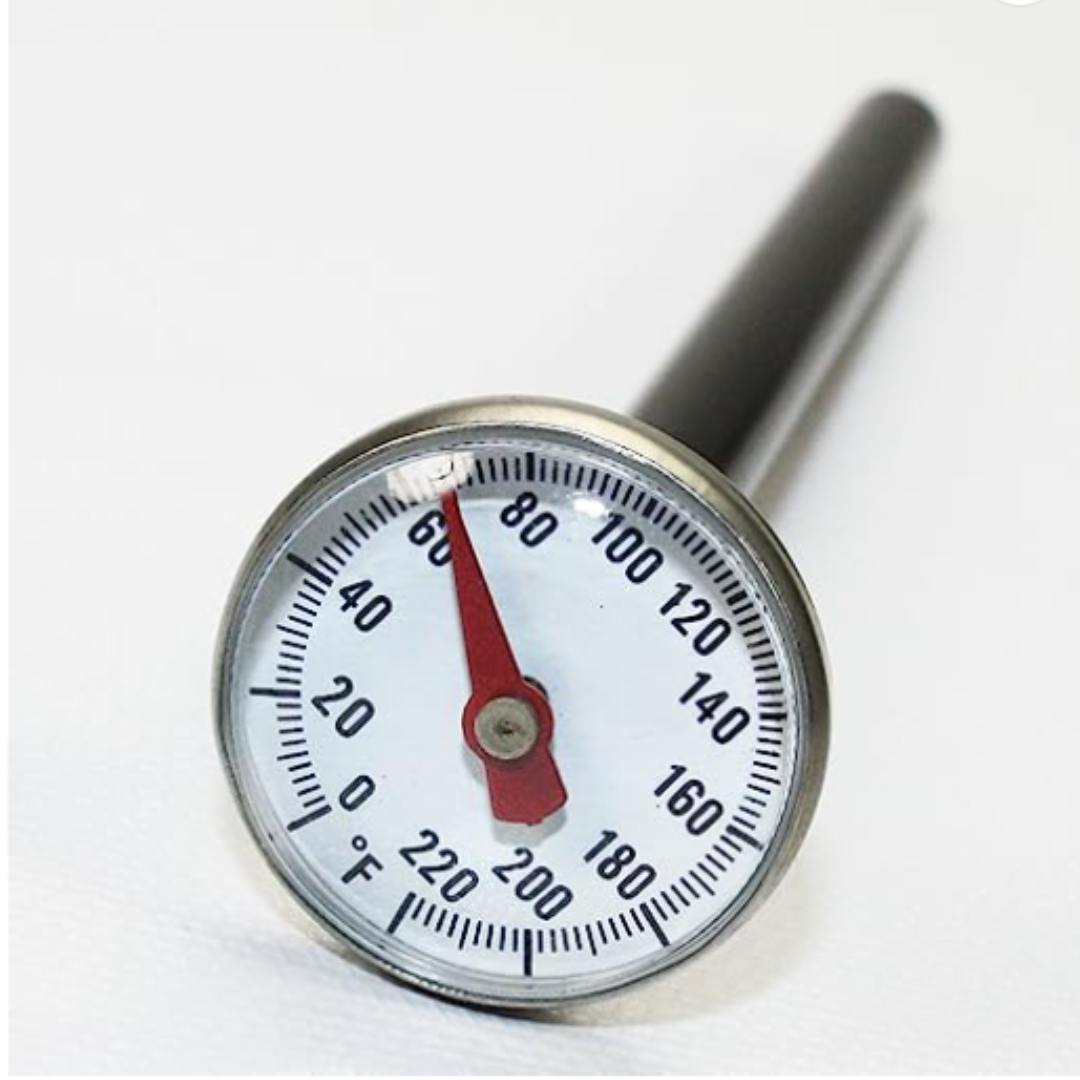
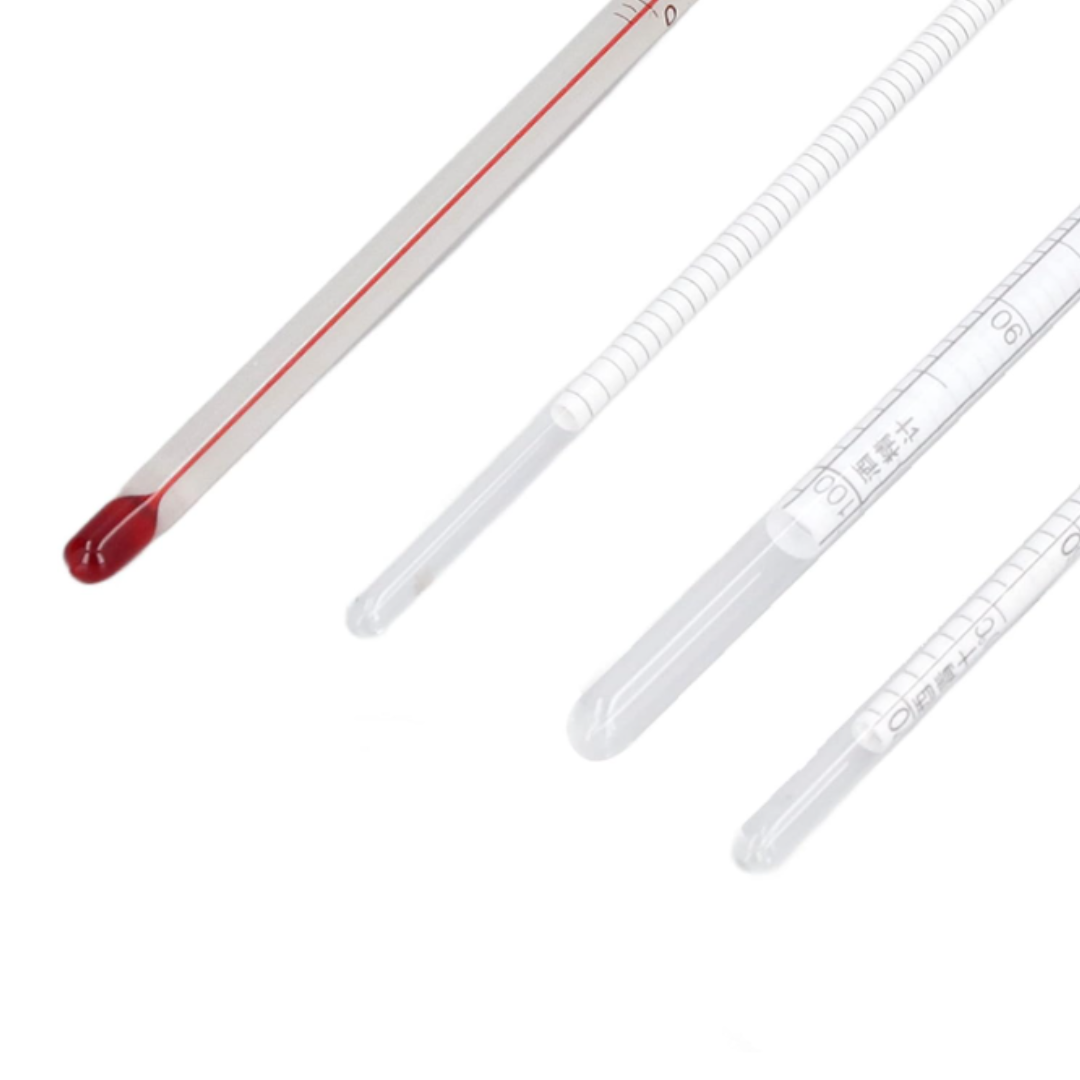
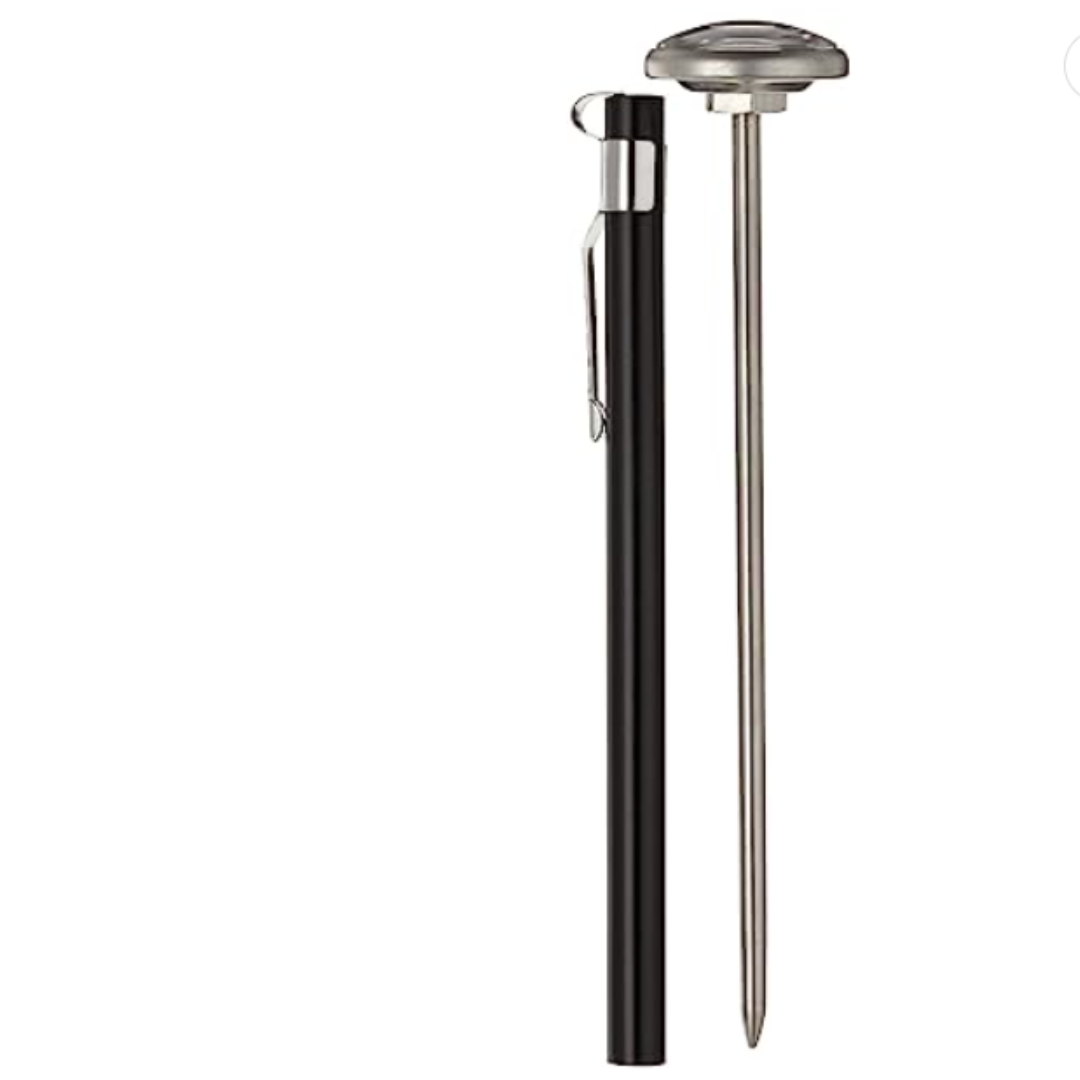
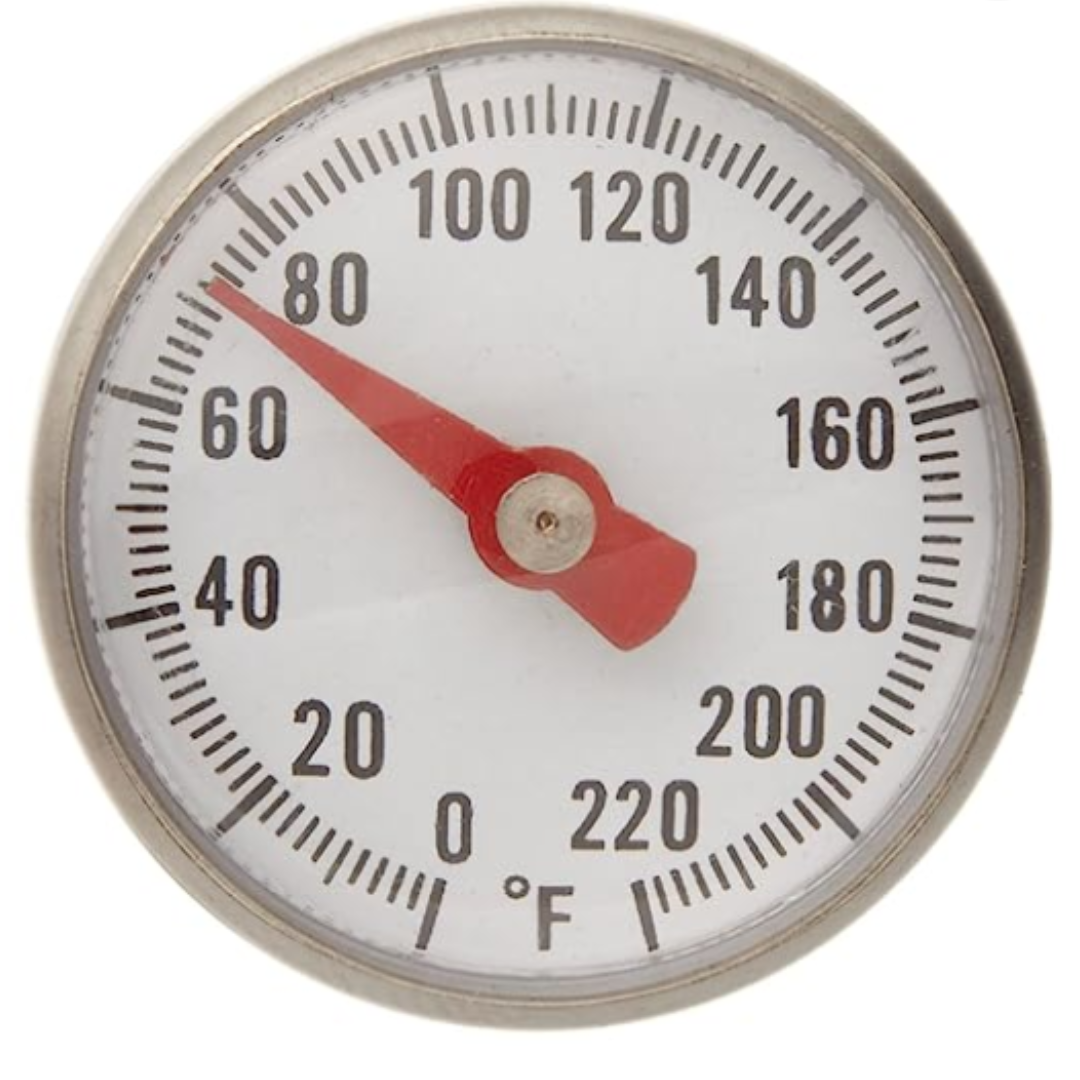
- Moonshine Thermometer
- How to Make Moonshine E-book
The Ultimate Guide to Creating Delicious Moonshine with a Starter Kit
Are you a fan of homemade spirits? Have you ever wanted to try your hand at making moonshine? Look no further than a starter kit to guide you through the process.
Creating delicious moonshine can seem like a daunting task, but with the right tools and a little bit of patience, you can have your own homemade batch in no time.
Not only is it a fun and rewarding hobby, but it also allows you to customize your spirits to your own taste preferences.
In this ultimate guide, we’ll take you through the step-by-step process of making moonshine with a starter kit, from selecting the right ingredients to properly distilling and aging your finished product.
So, grab your kit and let’s get started on creating a smooth and flavorful moonshine that will impress even the most discerning palate.
What is a Moonshine Starter Kit?
Before we dive into the details of making moonshine with a starter kit, it's important to understand what a starter kit is and what it includes.
A moonshine starter kit is a comprehensive set of tools and materials that are designed to help beginners make their own moonshine at home.
Our Moonshine starter kit includes your Moonshine Kettle, Moonshine Paddle, Thermometer, Hydrometer, cheesecloth and a digital copy of our ebook ‘How to Make Moonshine’.
One of the biggest advantages of using a starter kit is that it takes the guesswork out of the process.
Instead of having to source your own materials and figure out the right ratios and techniques, a starter kit provides you with everything you need to get started.
This makes it easier for beginners to try their hand at making moonshine without feeling overwhelmed.
You can make the process even easier by choosing one of our grain kits and our all-in-one quality craft still kits.
Benefits of Using a Starter Kit
There are several benefits to using a starter kit when making moonshine. First and foremost, it simplifies the process and provides you with all of the necessary components in one convenient package.
This means that you can focus on perfecting your technique without worrying about whether or not you have all of the necessary tools and materials.
Another advantage of using a starter kit is that it can save you money in the long run.
While purchasing a kit may seem like an upfront expense, it is often more cost-effective than buying each component separately.
This is especially true if you plan on making moonshine regularly, as you will be able to reuse many of the components from your starter kit.
Moonshine Making Supplies You Need
Before you start making moonshine with your starter kit, you will need to gather a few additional supplies. While your starter kit will provide you with many of the necessary components, there are a few other things you will need to ensure a successful brew.
Purchasing a grain kit is a great way to get all the ingredients you need for a great mash in one convenient place.
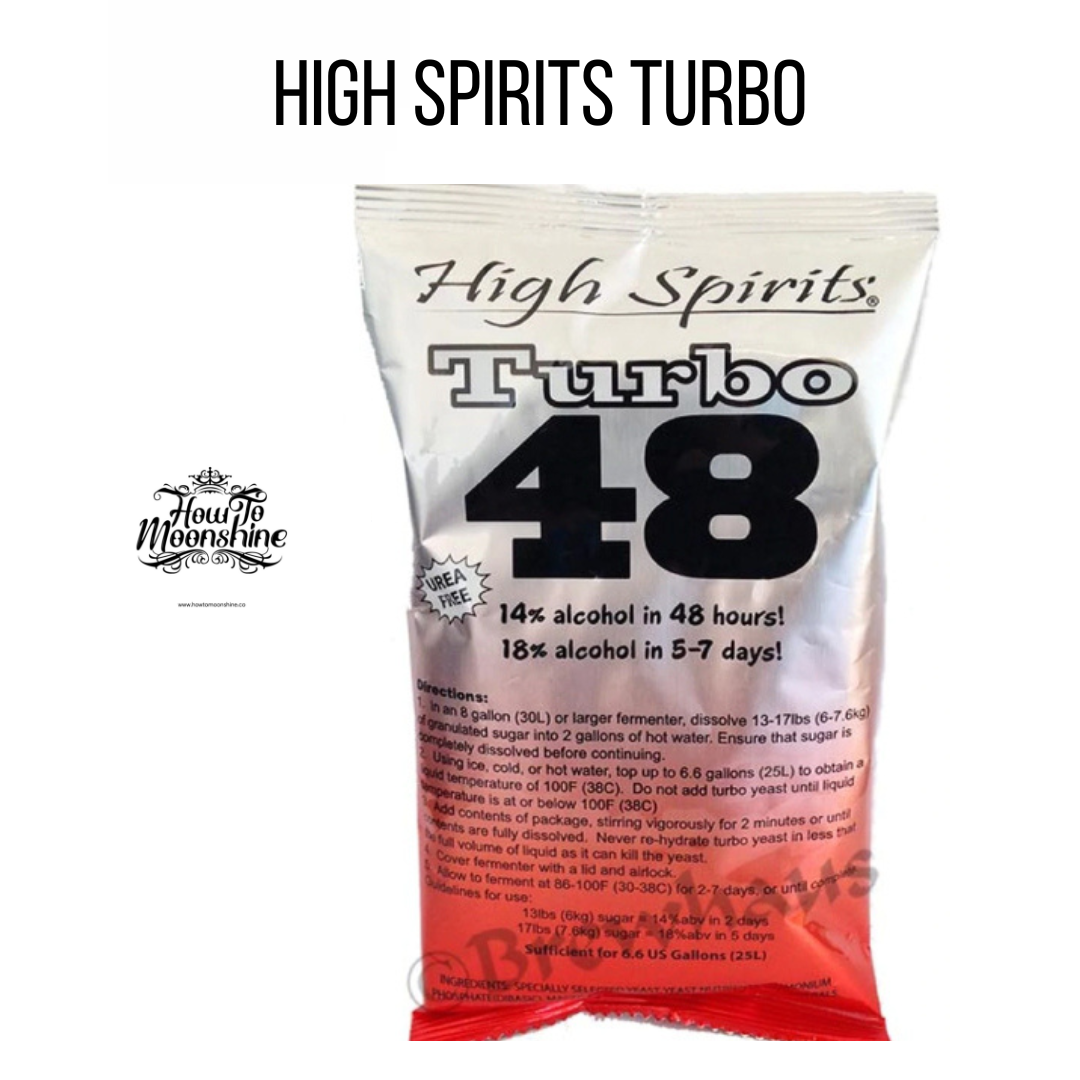
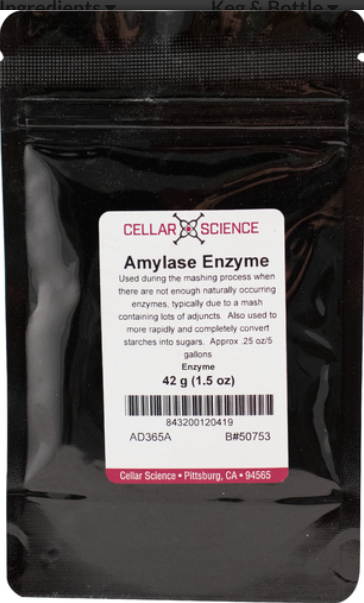
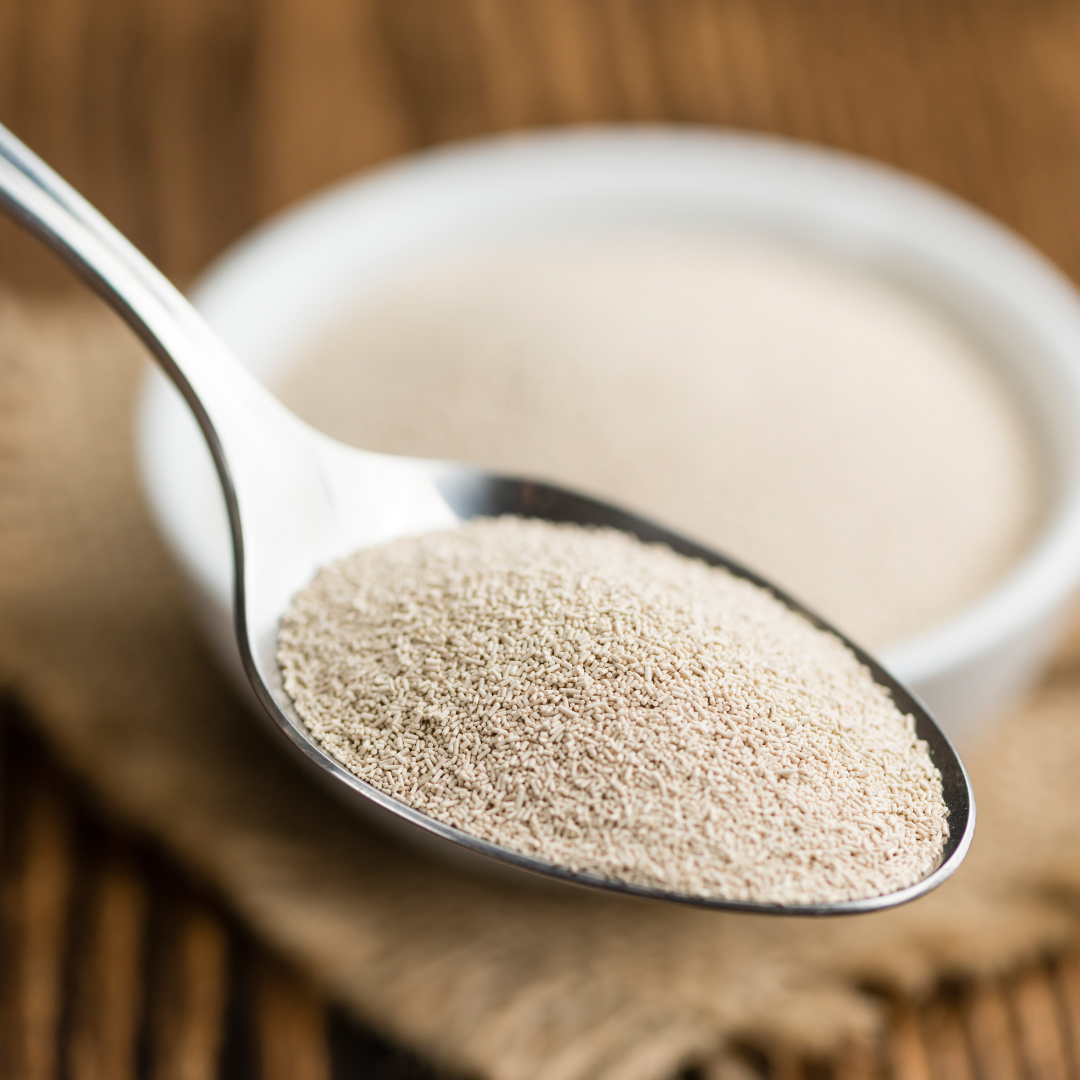
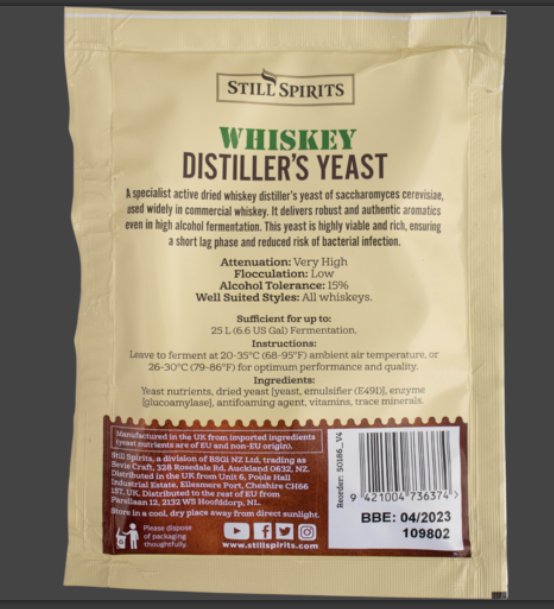
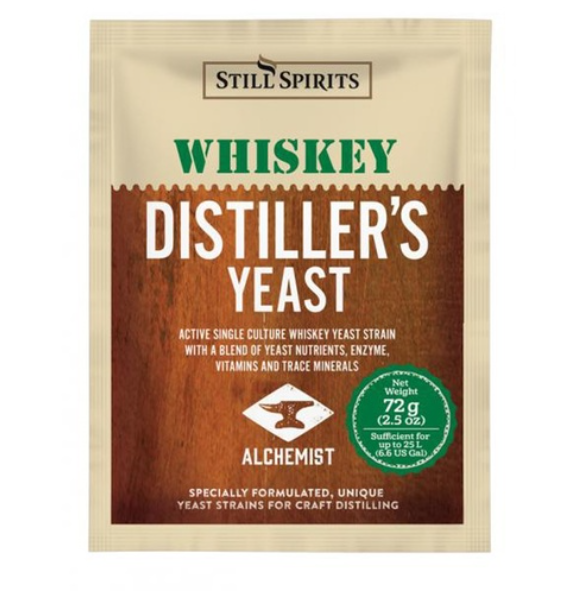
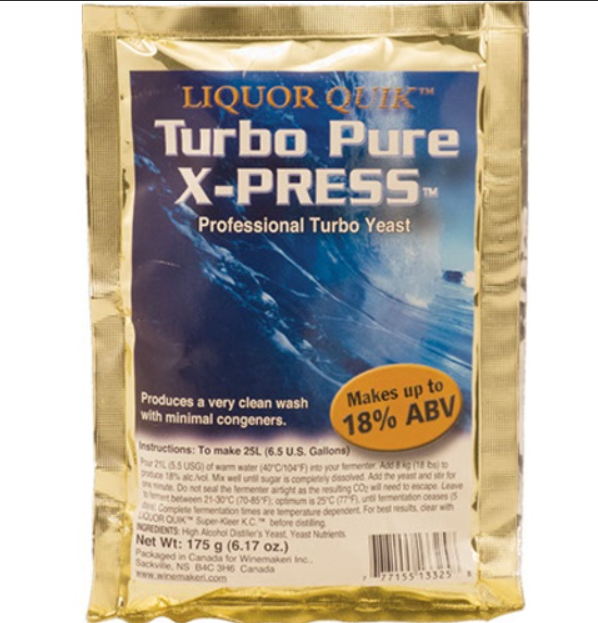
One of the most important supplies you will need is high-quality yeast. Yeast is a critical component of the fermentation process and can have a significant impact on the flavor and quality of your moonshine.
Look for a yeast that is specifically designed for distilling alcohol, as this will provide you with the best results.
At How to Moonshine, we carry both distiller’s yeast and turbo yeast for all your moonshine needs.
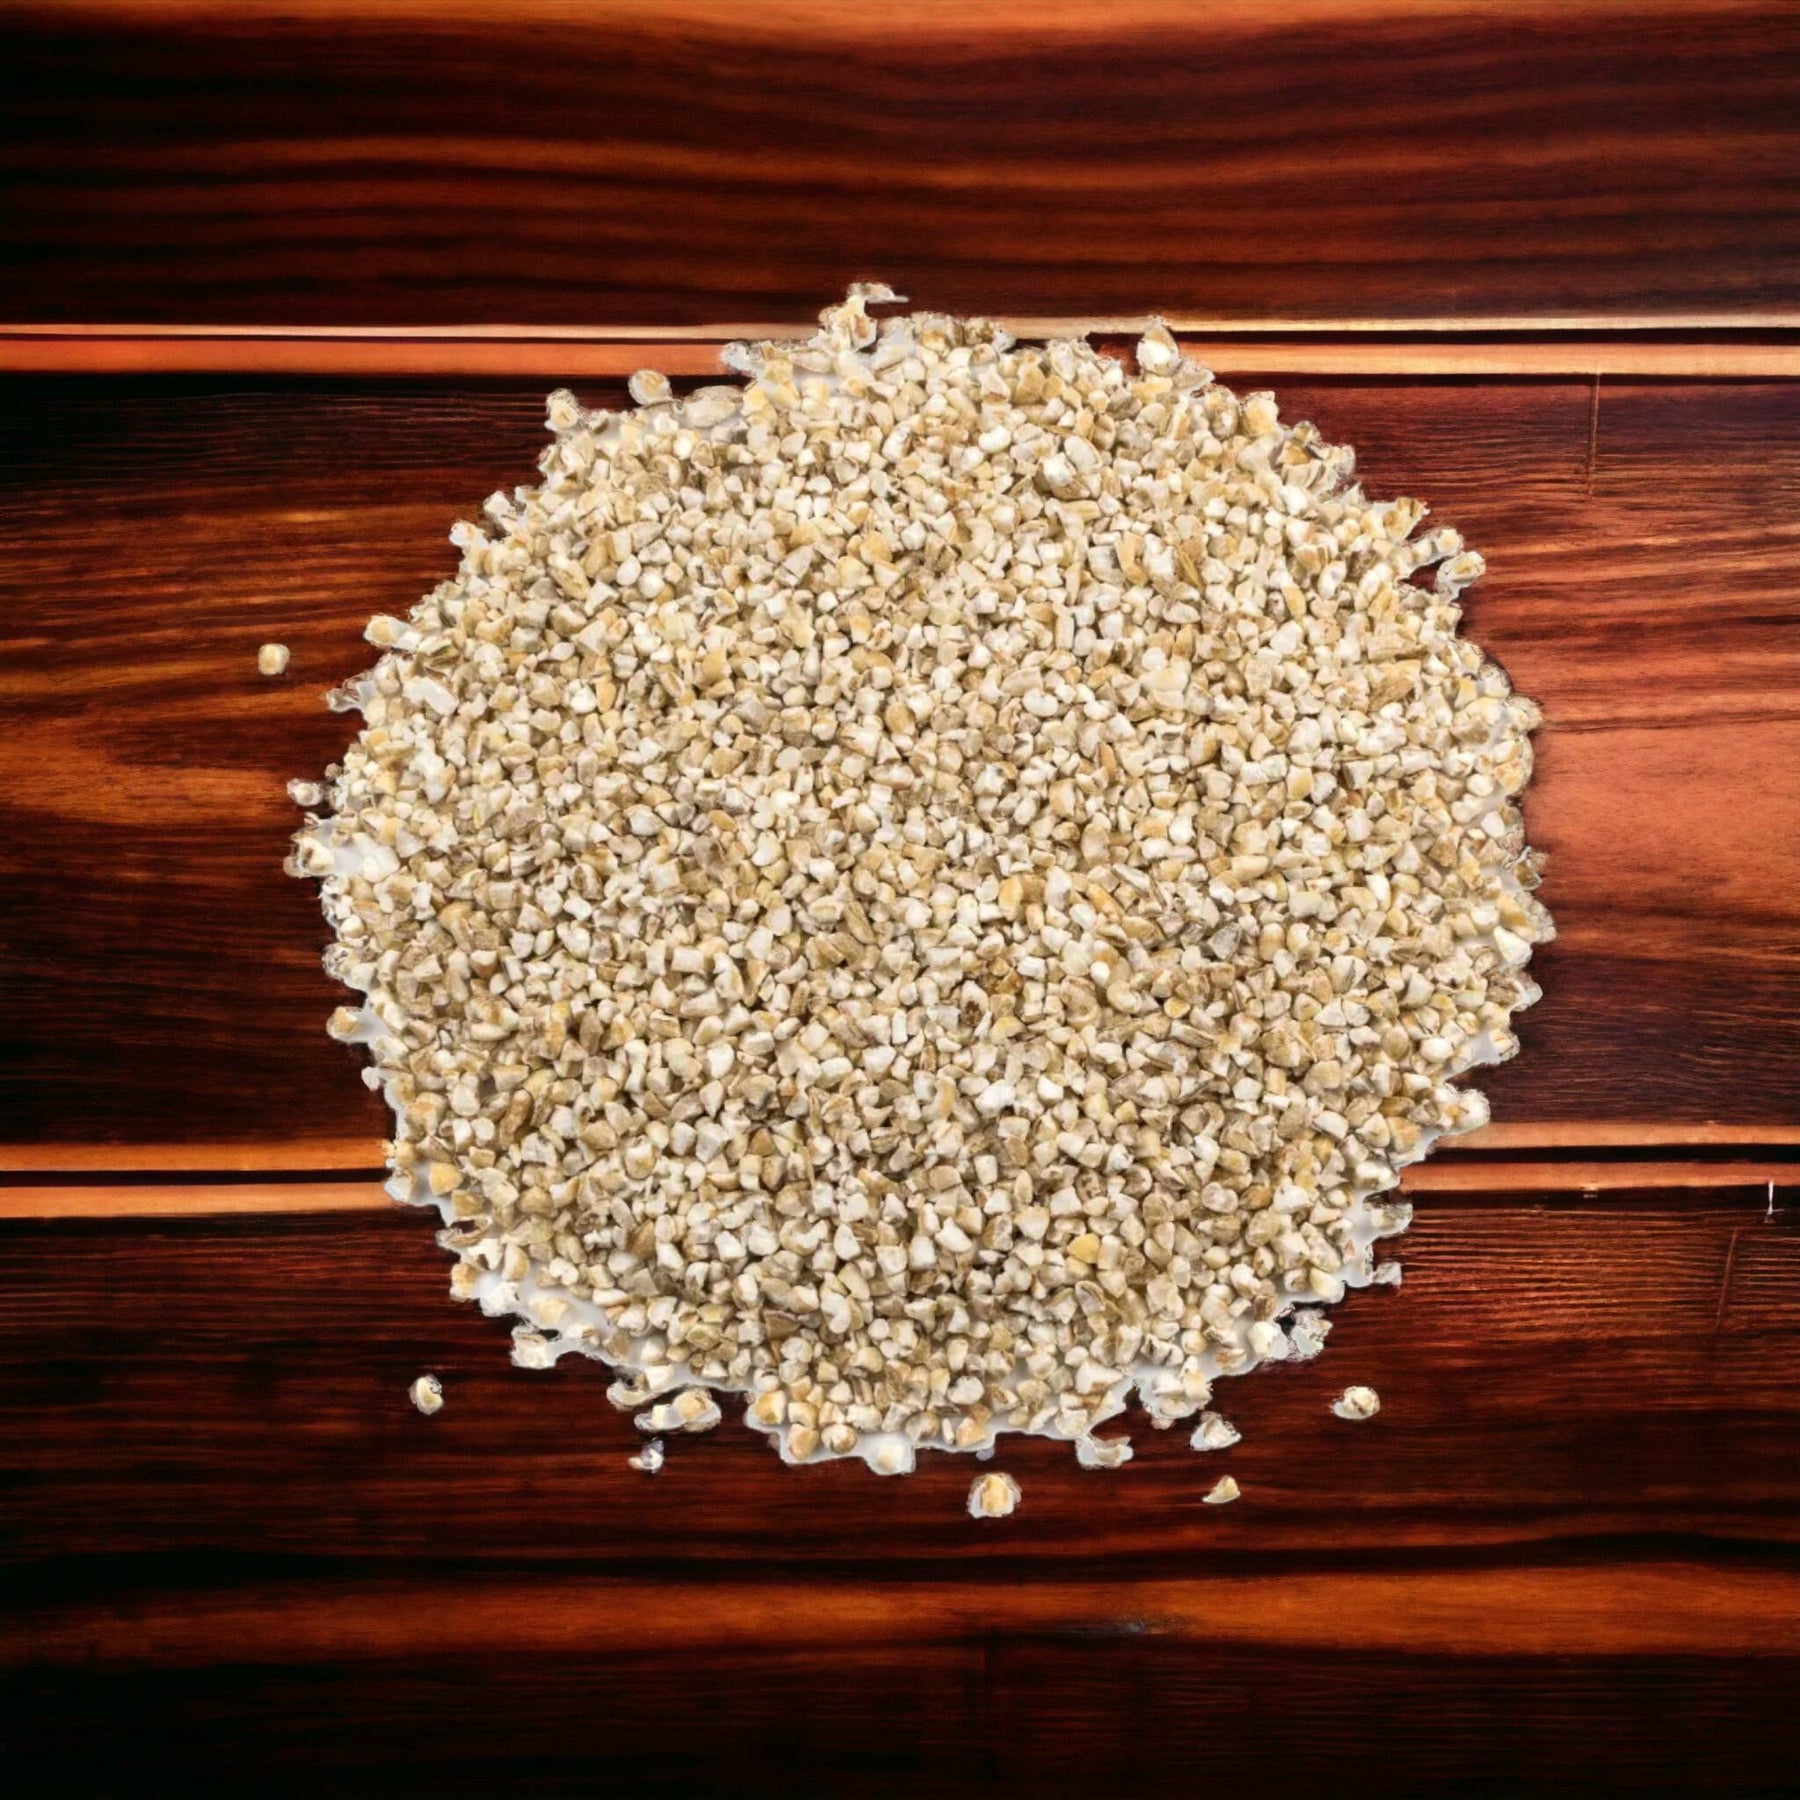
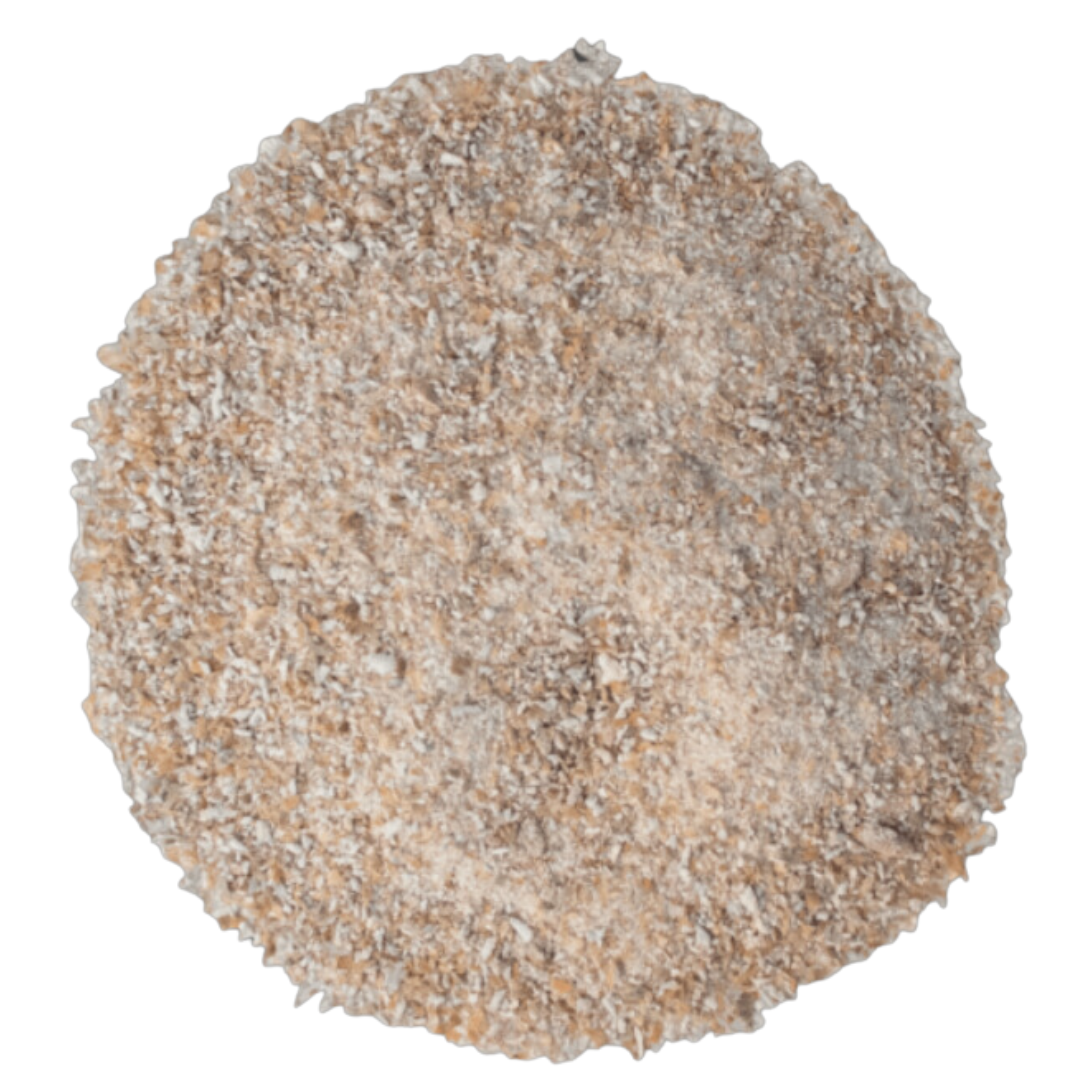
You will also need to choose your ingredients carefully. While many people associate moonshine with corn, you can use a variety of grains, fruits, and other ingredients to create unique and flavorful moonshine.
Some popular options include wheat, rye, apples, and peaches. Be sure to research the specific ingredients you plan on using to ensure that they are suitable for distilling.
A hydrometer is an important tool to help you with the process. A hydrometer is used to measure the specific gravity of your mash, a pH meter to monitor the acidity of your brew, and a refractometer to measure the sugar content.
While these tools are not strictly necessary, they can help ensure that your moonshine turns out as delicious as possible.
Step-by-Step Guide to Making Moonshine with a Starter Kit
Now that you have your supplies, it's time to start making moonshine! Follow these step-by-step instructions to create a smooth and flavorful batch of moonshine with your starter kit.
Step 1: Prepare Your Mash
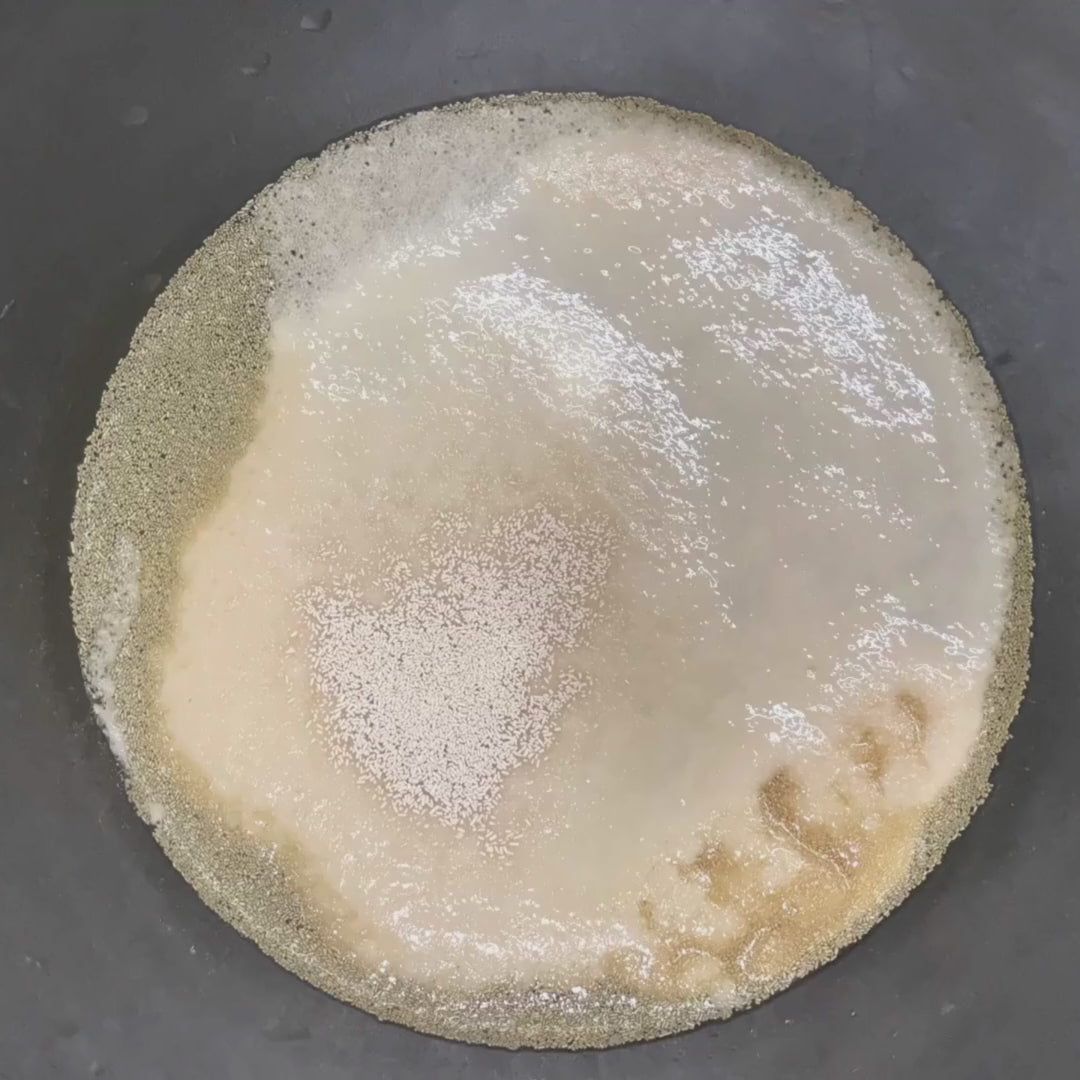
The first step in making moonshine is to prepare your mash. This involves mixing your chosen ingredients with water and yeast to create a sugary solution that will ferment into alcohol. Follow the instructions included with your starter kit to ensure that you mix your mash correctly.
Step 2: Ferment Your Mash
Once your mash is prepared, it's time to let it ferment. This typically takes several days, during which time the yeast will convert the sugars in the mash into alcohol. It's important to monitor the temperature and acidity of your mash during this process, as this can have a significant impact on the quality of your finished product.
Step 3: Distill Your Mash
After your mash has fermented, it's time to distill it using your starter kit. This involves heating your mash to a high temperature, which causes the alcohol to vaporize and separate from the water and other impurities. The vapor is then cooled and collected in a separate container, creating your finished moonshine.
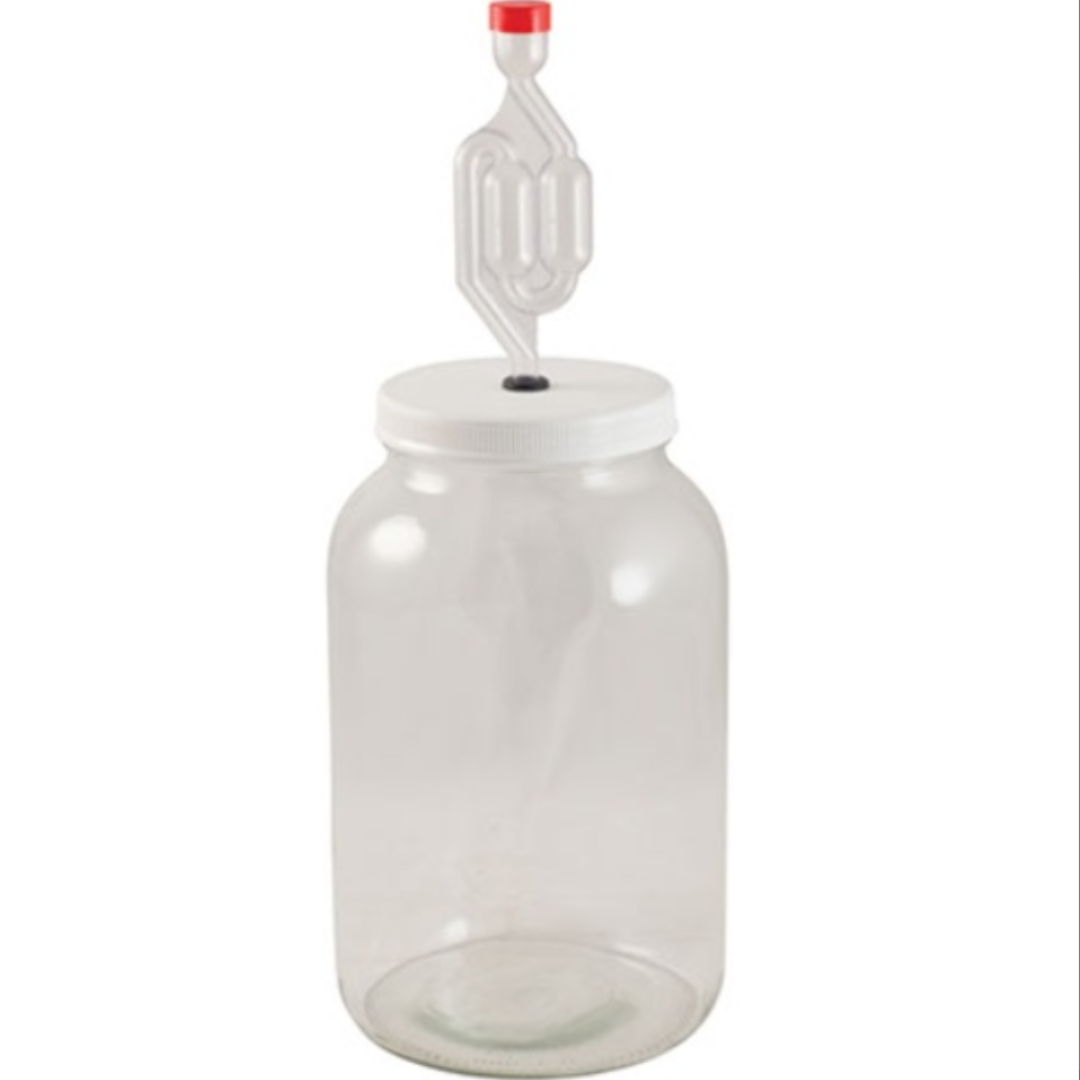
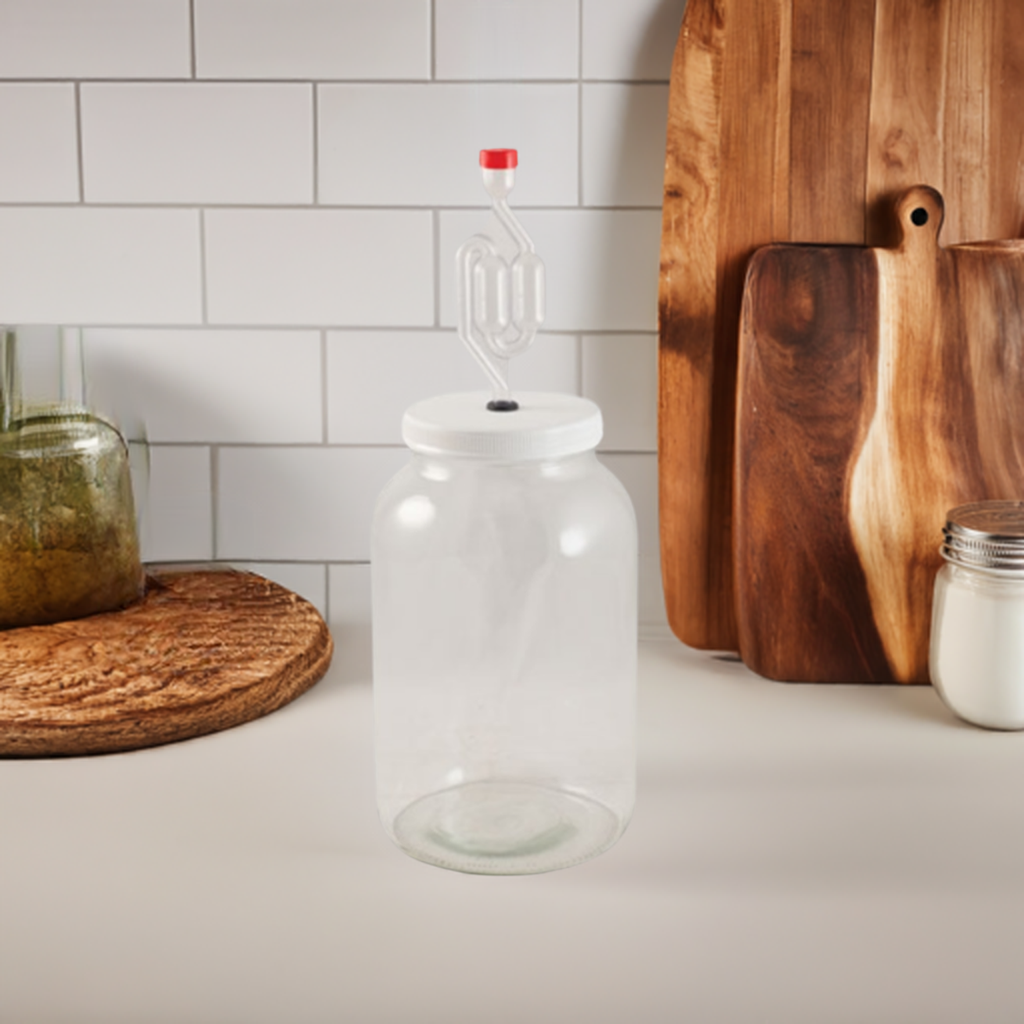
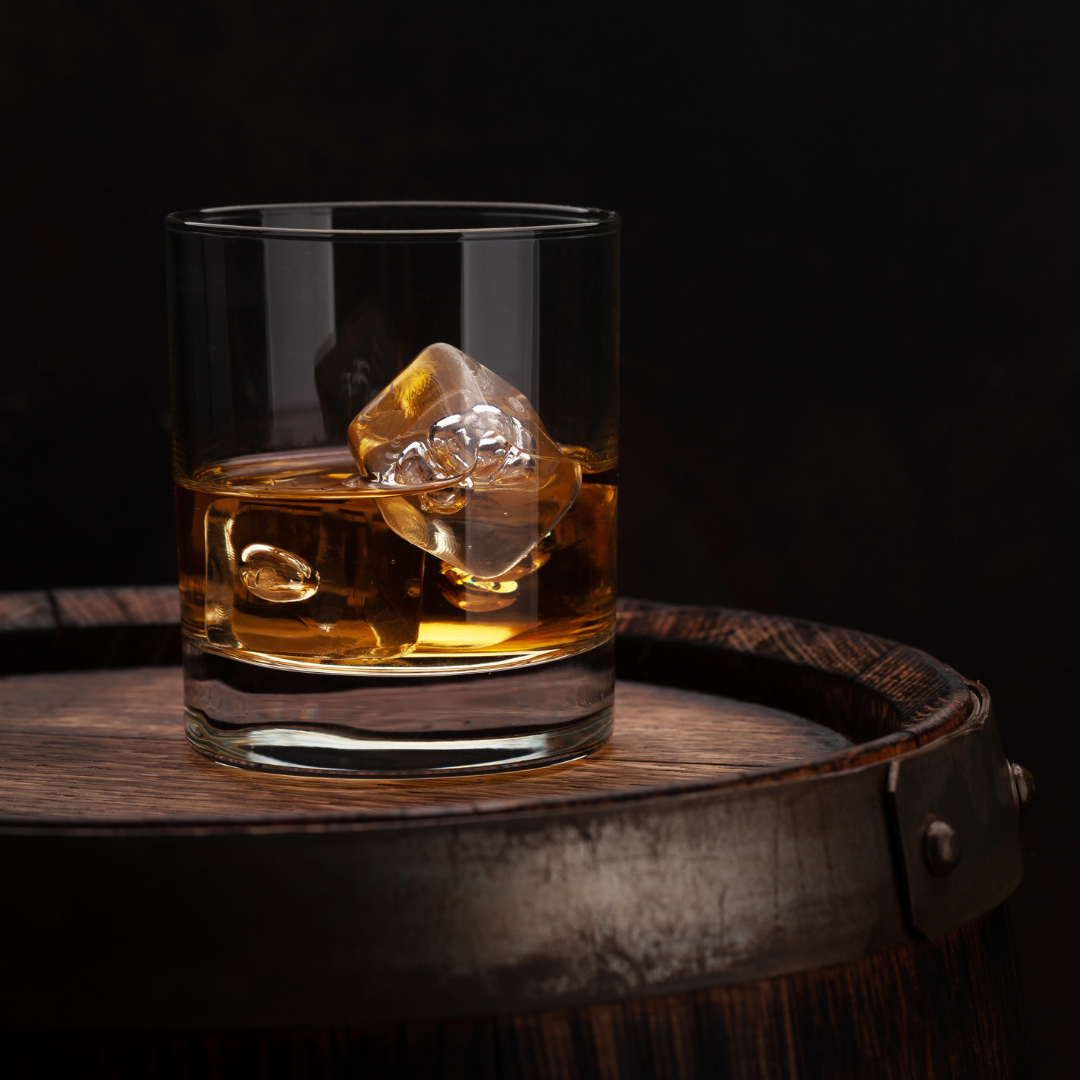
Step 4: Age Your Moonshine
While moonshine can be consumed immediately after distillation, many people prefer to age their moonshine to improve its flavor and smoothness. This typically involves storing your moonshine in a glass container for several weeks or months, allowing the flavors to meld together and mellow out over time.
Flavoring Your Moonshine
One of the great things about making moonshine with a starter kit is that you can easily customize the flavor to your liking. There are several ways to flavor your moonshine, including adding fruit, herbs, or spices to your mash or aging your moonshine with oak chips or other flavoring agents.
When flavoring your moonshine, it's important to start with small amounts and taste frequently to ensure that you don't overpower the natural flavor of the moonshine. Be sure to research the specific ingredients you plan on using to ensure that they are safe and suitable for use in moonshine.
Check out: The Top 21 Best Moonshine Recipes
Bottling and Storing Your Moonshine
Once your moonshine is finished, it's time to bottle and store it properly. Moonshine should be stored in a cool, dark place away from direct sunlight and extreme temperatures.
It's also important to use high-quality glass bottles that are designed for use with alcohol, as these will help ensure that your moonshine stays fresh and flavorful.
When bottling your moonshine, be sure to label each bottle with the date and any relevant information about the flavor or ingredients. This will help you keep track of your creations and ensure that you know exactly what you're drinking.
Moonshine Making Safety Tips
While moonshine making can be a fun and rewarding hobby, it's important to take proper safety precautions to ensure that you and your loved ones stay safe. Here are a few tips to keep in mind when making moonshine:
- Always follow the instructions included with your starter kit carefully.
- Use high-quality materials and tools to ensure the safety and quality of your moonshine.
- Avoid using plastic equipment, as this can leach chemicals into your moonshine and cause health problems.
- Only distill in a well-ventilated area to avoid exposure to harmful fumes.
- Never drink or taste your moonshine until it has been properly distilled and aged.
Frequently Asked Questions About Moonshine Making
Q: Is it legal to make moonshine at home?
A: The legality of making moonshine at home varies depending on where you live. In some states, it is legal to make a limited amount of moonshine for personal use, while in others it is strictly prohibited. Be sure to research the laws in your area before attempting to make moonshine at home.
Q: How long does it take to make moonshine with a starter kit?
A: The length of time it takes to make moonshine with a starter kit depends on several factors, including the specific kit you are using, the ingredients you choose, and the temperature and humidity of your environment. Generally speaking, the process can take anywhere from a few days to several weeks.
Q: How do I know if my moonshine is safe to drink?
A: Moonshine can be dangerous if not made properly, as it can contain harmful chemicals and impurities that can cause illness or even death. To ensure that your moonshine is safe to drink, it's important to follow proper safety precautions and only use high-quality materials and equipment.
Conclusion
Making moonshine with a starter kit is a fun and rewarding hobby that allows you to create a unique and delicious spirit that is sure to impress.
By following the steps outlined in this ultimate guide, you can create a smooth and flavorful moonshine that is customized to your taste preferences.
Remember to always follow proper safety precautions and use high-quality materials to ensure the safety and quality of your moonshine. Cheers to your new hobby!