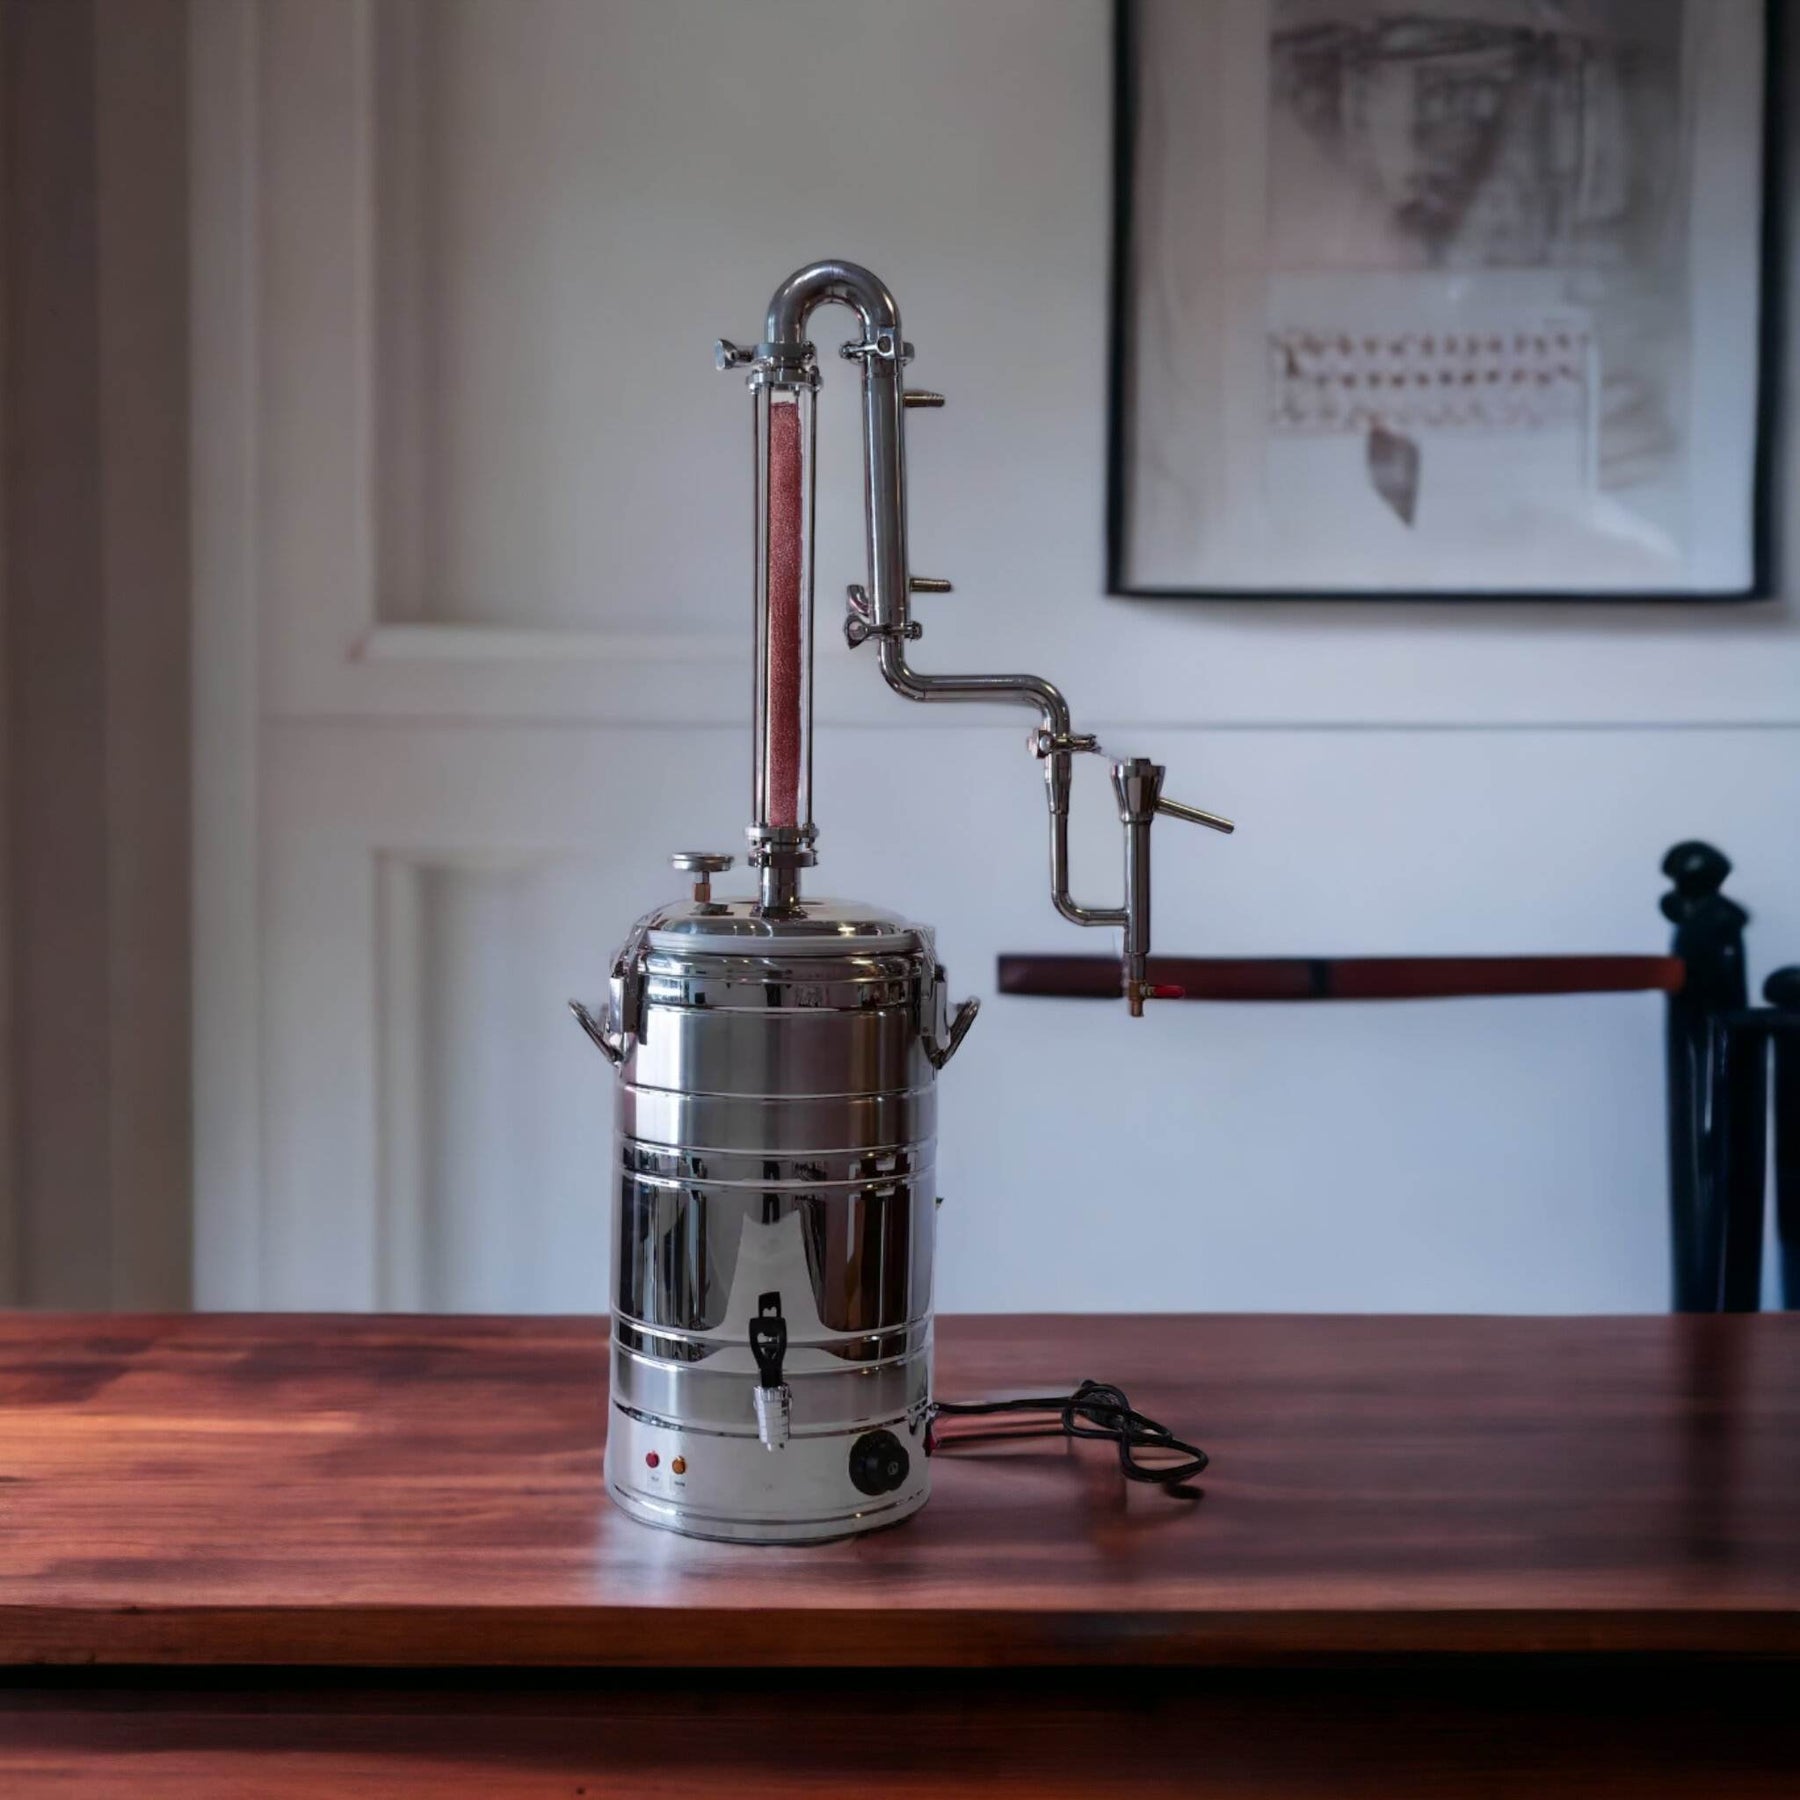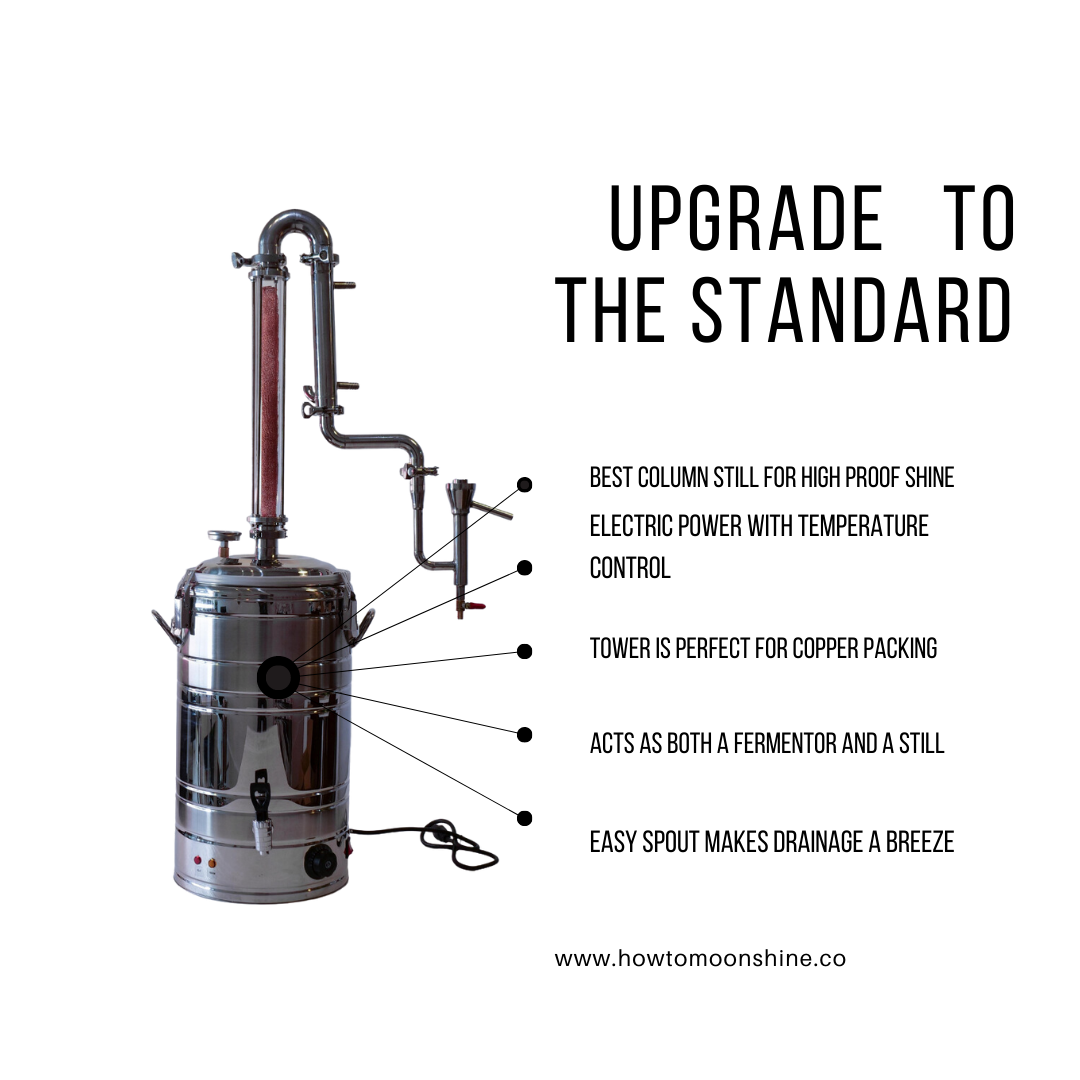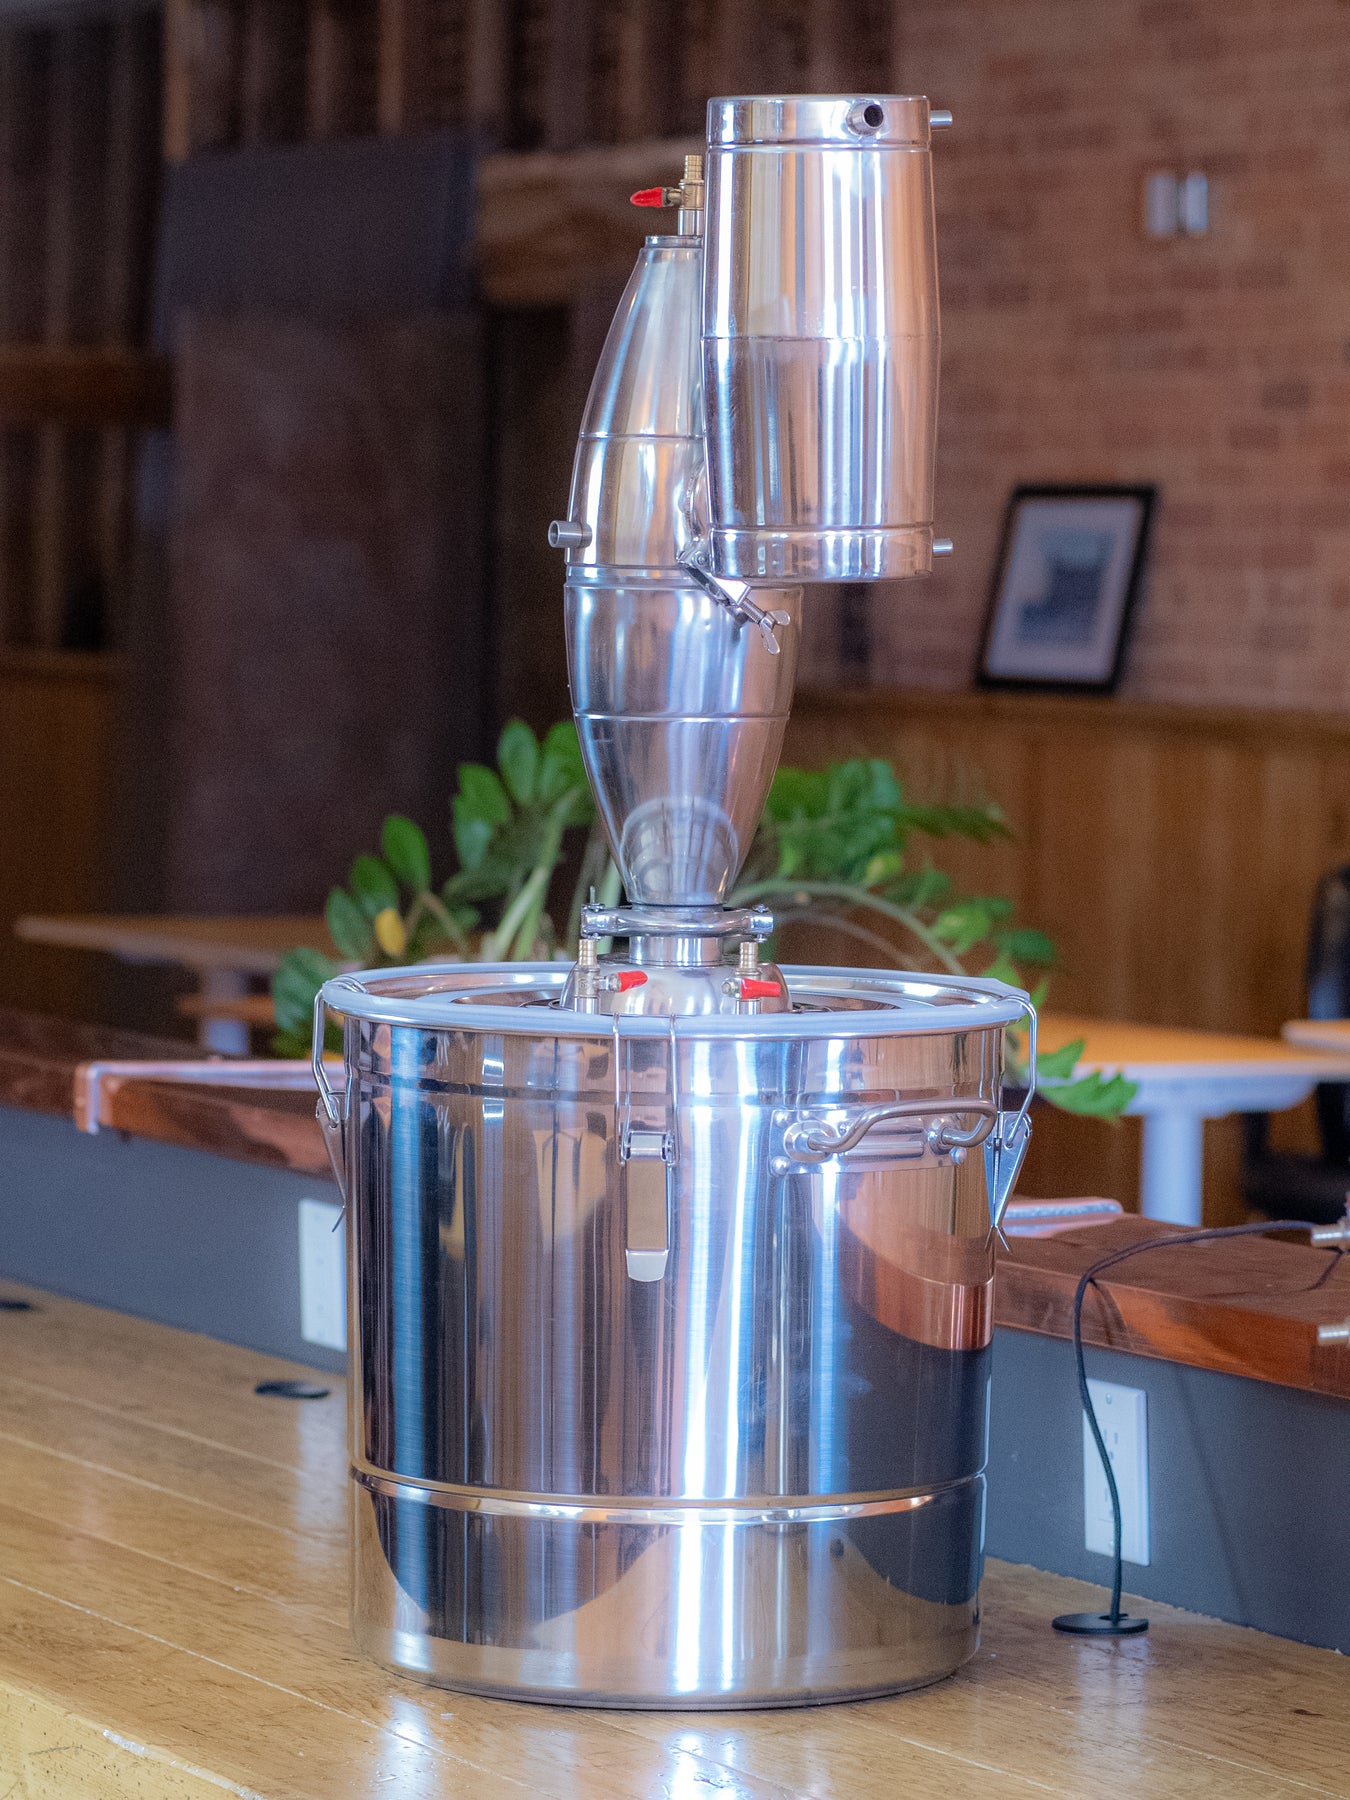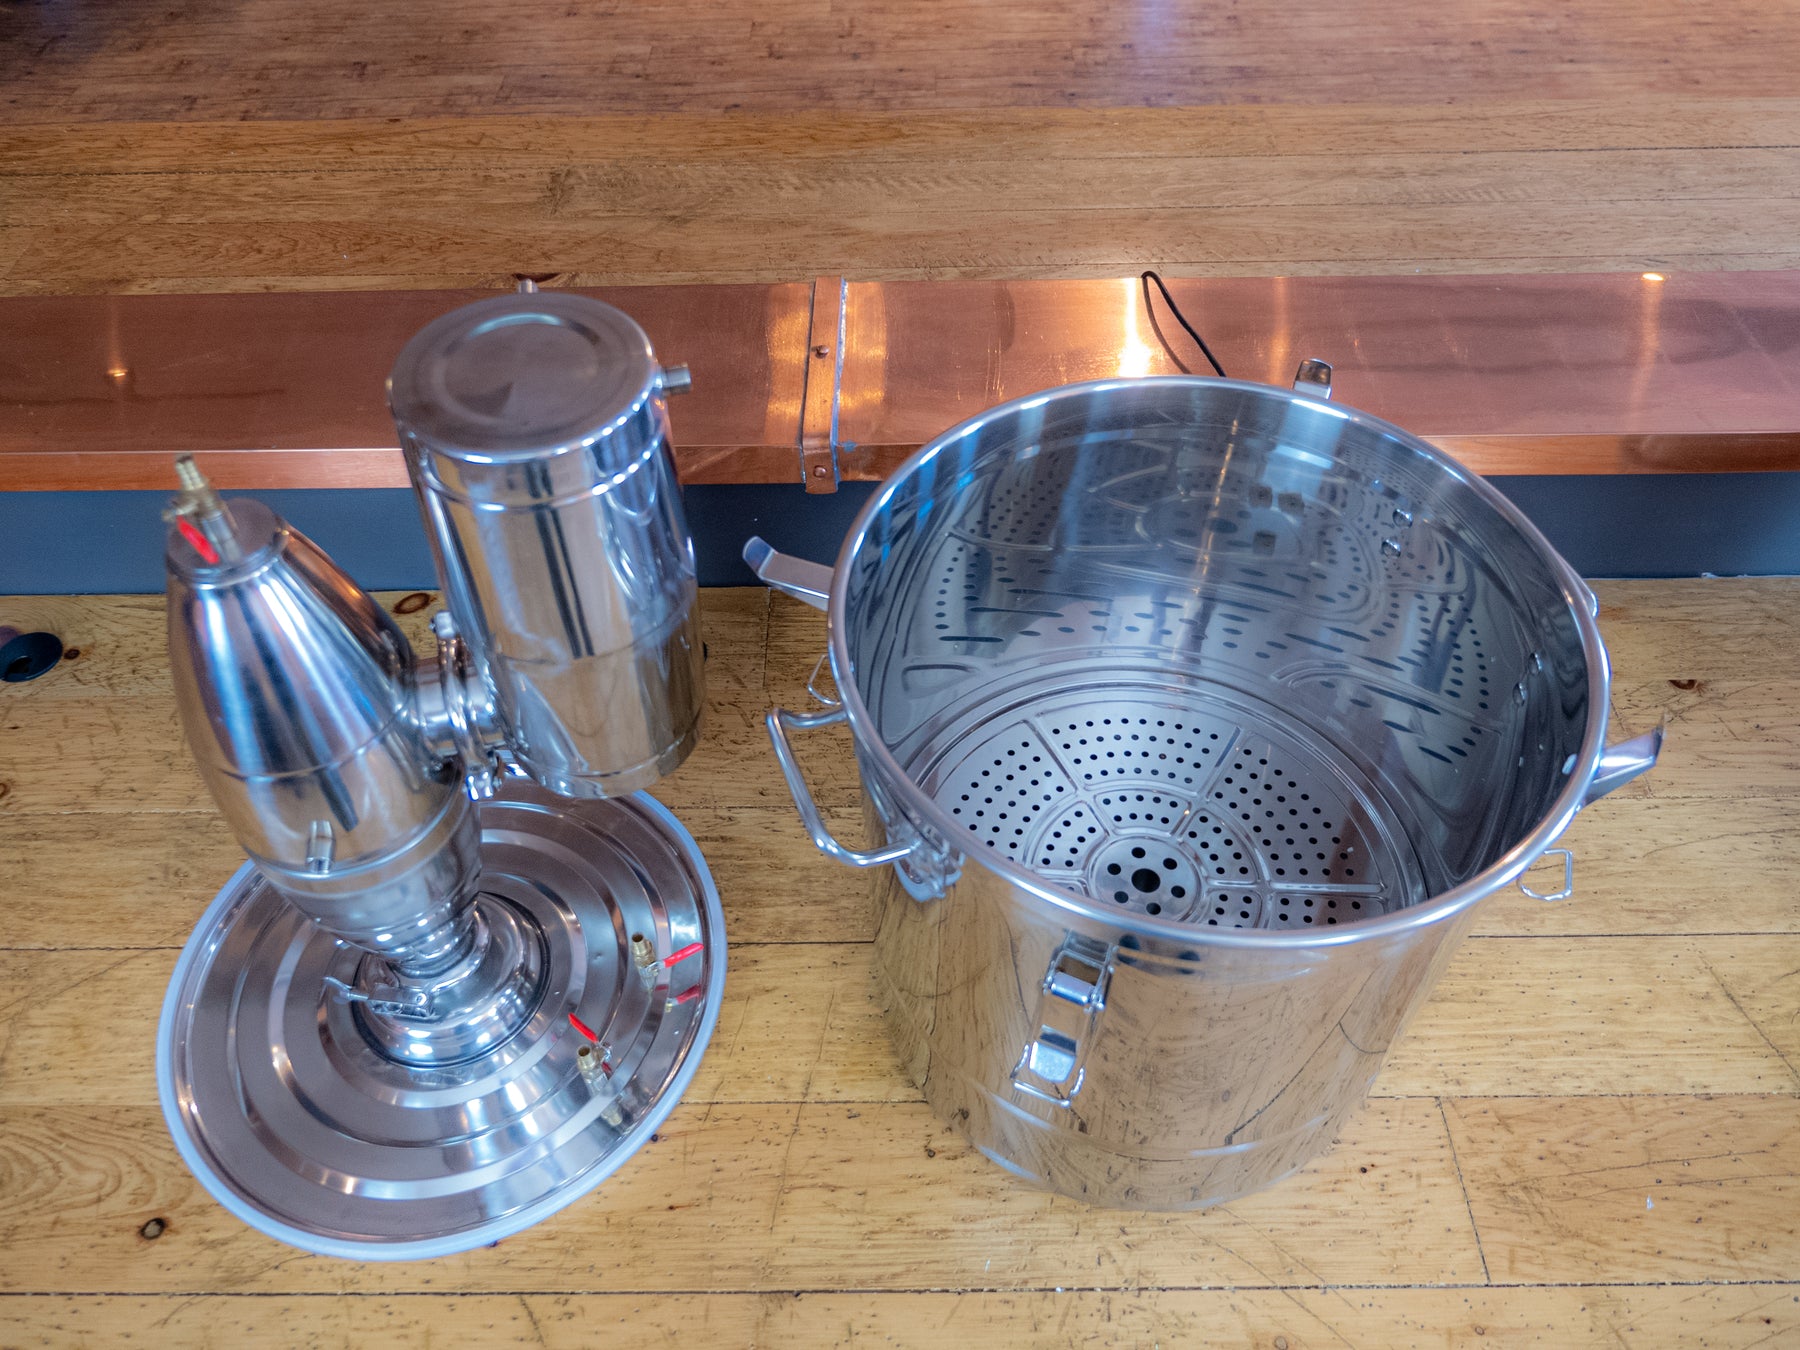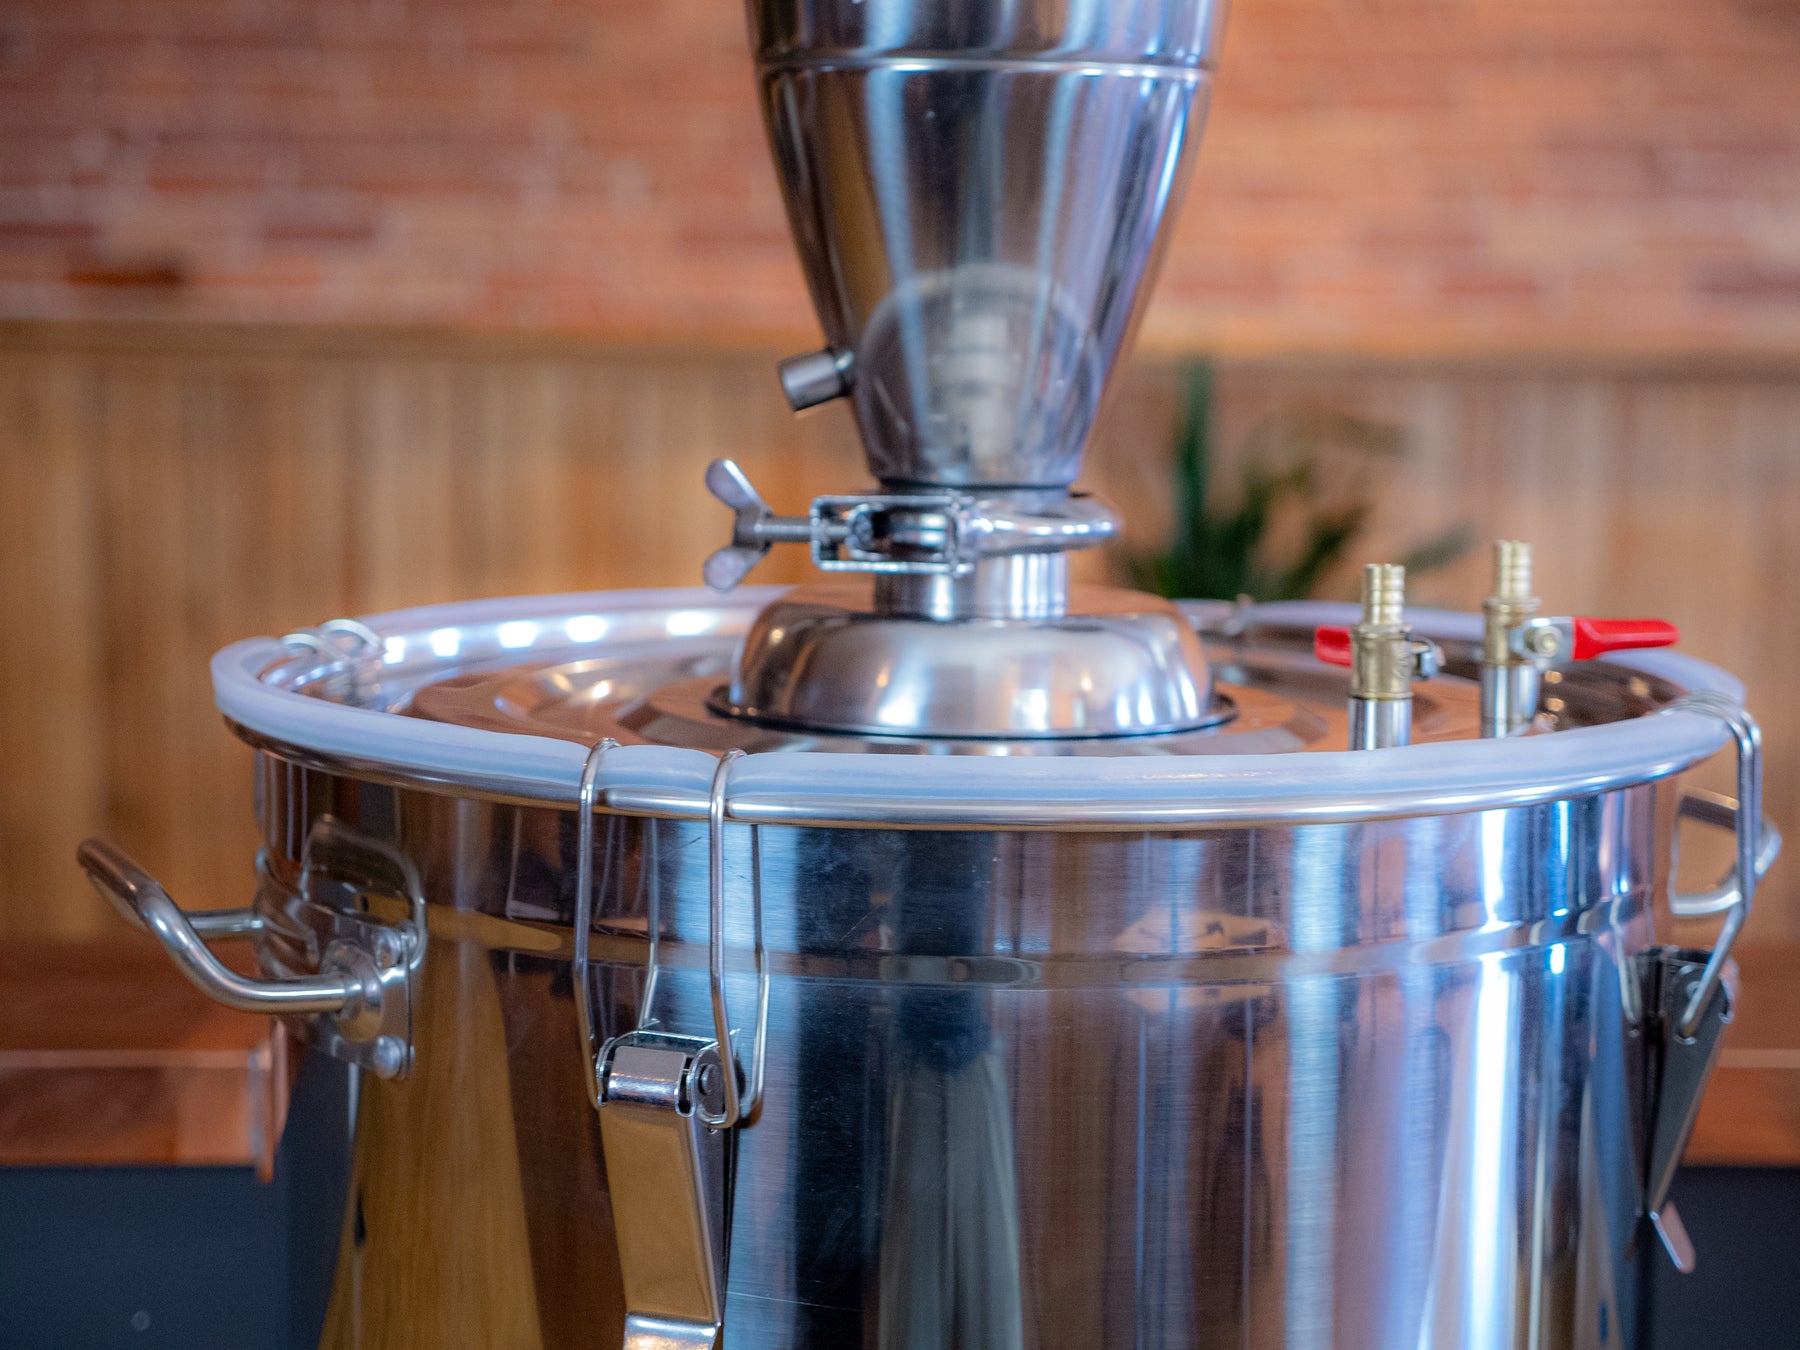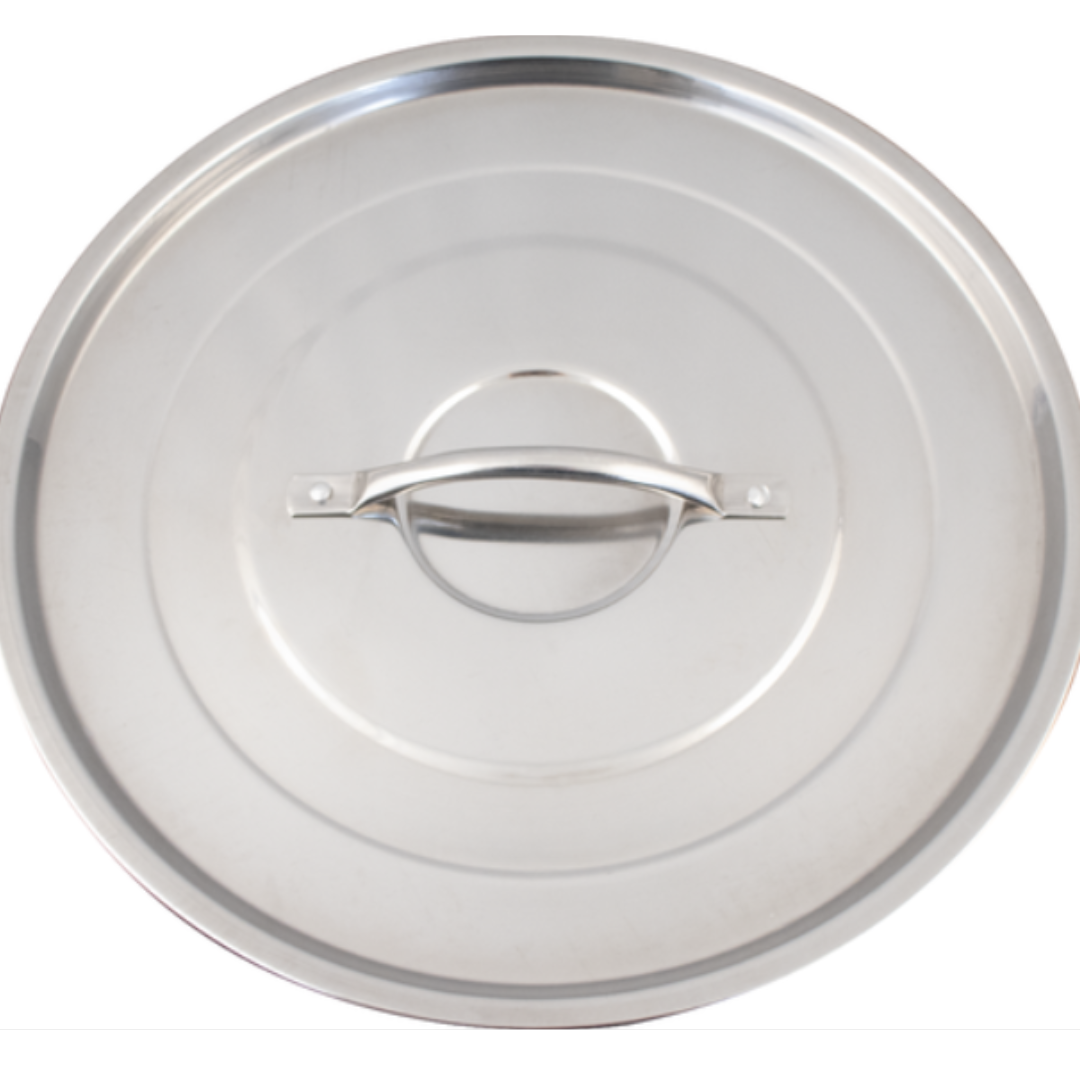


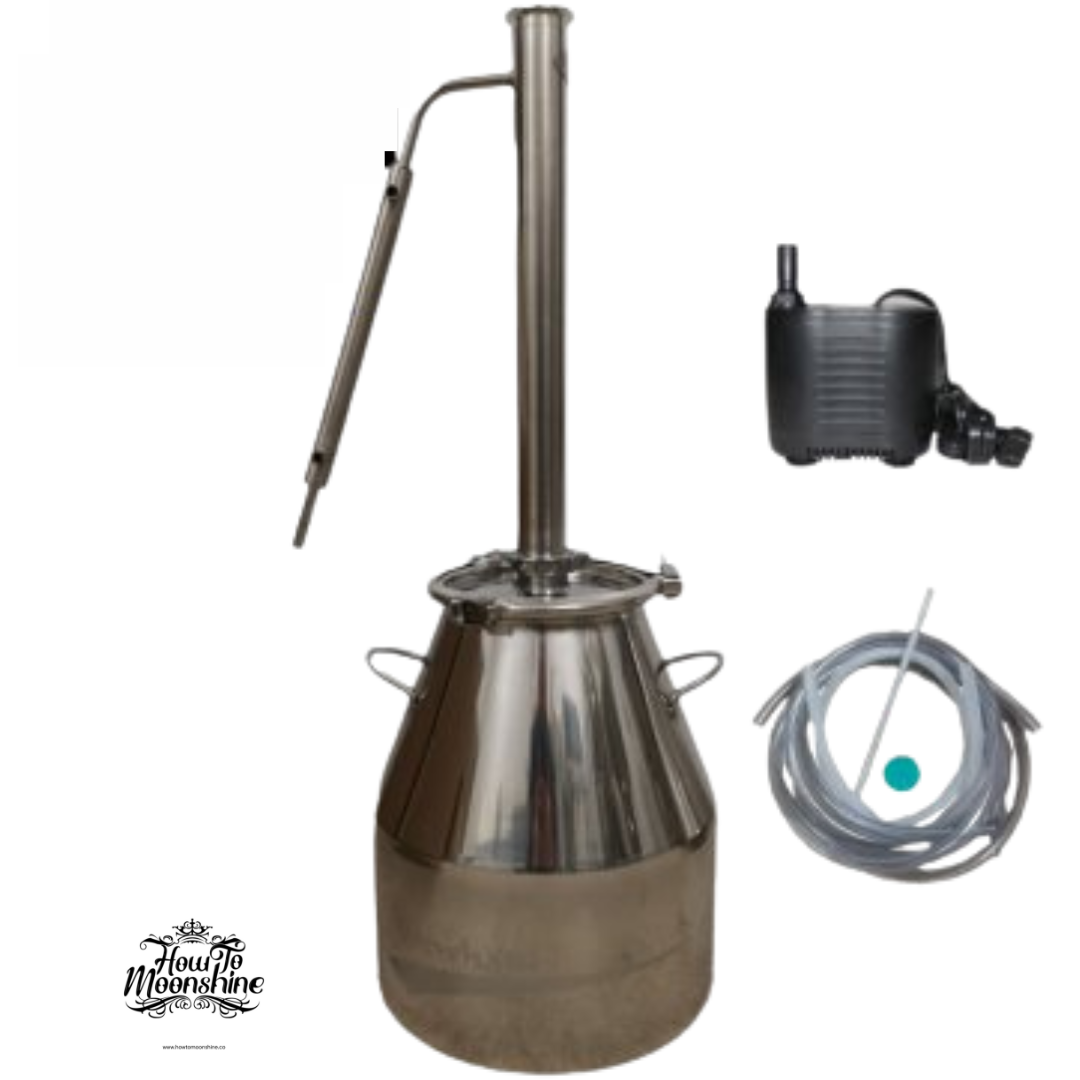
The Standard Moonshine Still
Tired of not reaching your shine potential? Take your spirits game to the next level with The Standard - a first-class column still with copper mesh packing for exceptional high-proof spirits in a single run.
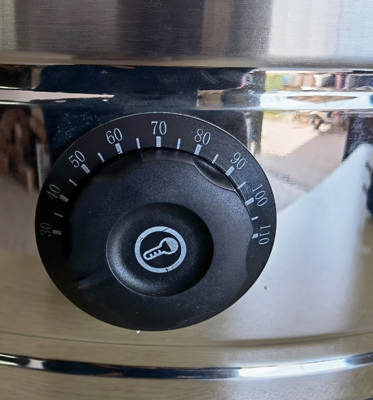
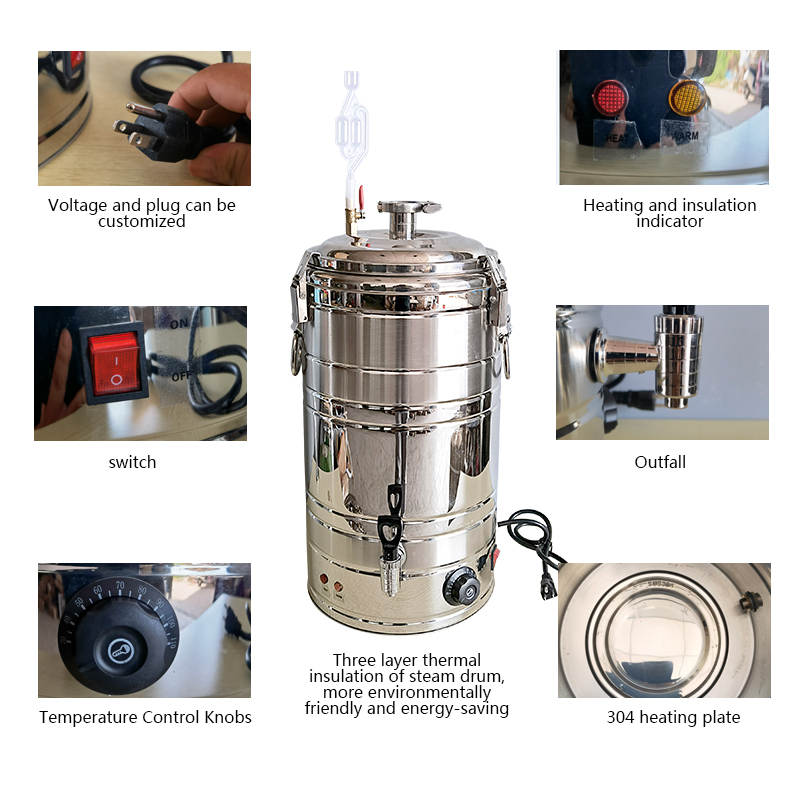
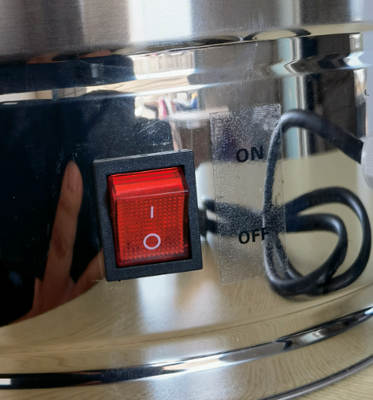
Thanks to the built-in electric heating system, there's no need to manually manage the temperature. Just set it and let the still work its magic!
And with the simple drain spout for effortless drainage, you can spend less time working and more time enjoying your shine.
The Standard does double duty - it's not just a top-tier still, it's a distiller, too. Get ready to level up to The Standard and enjoy superior shine today!
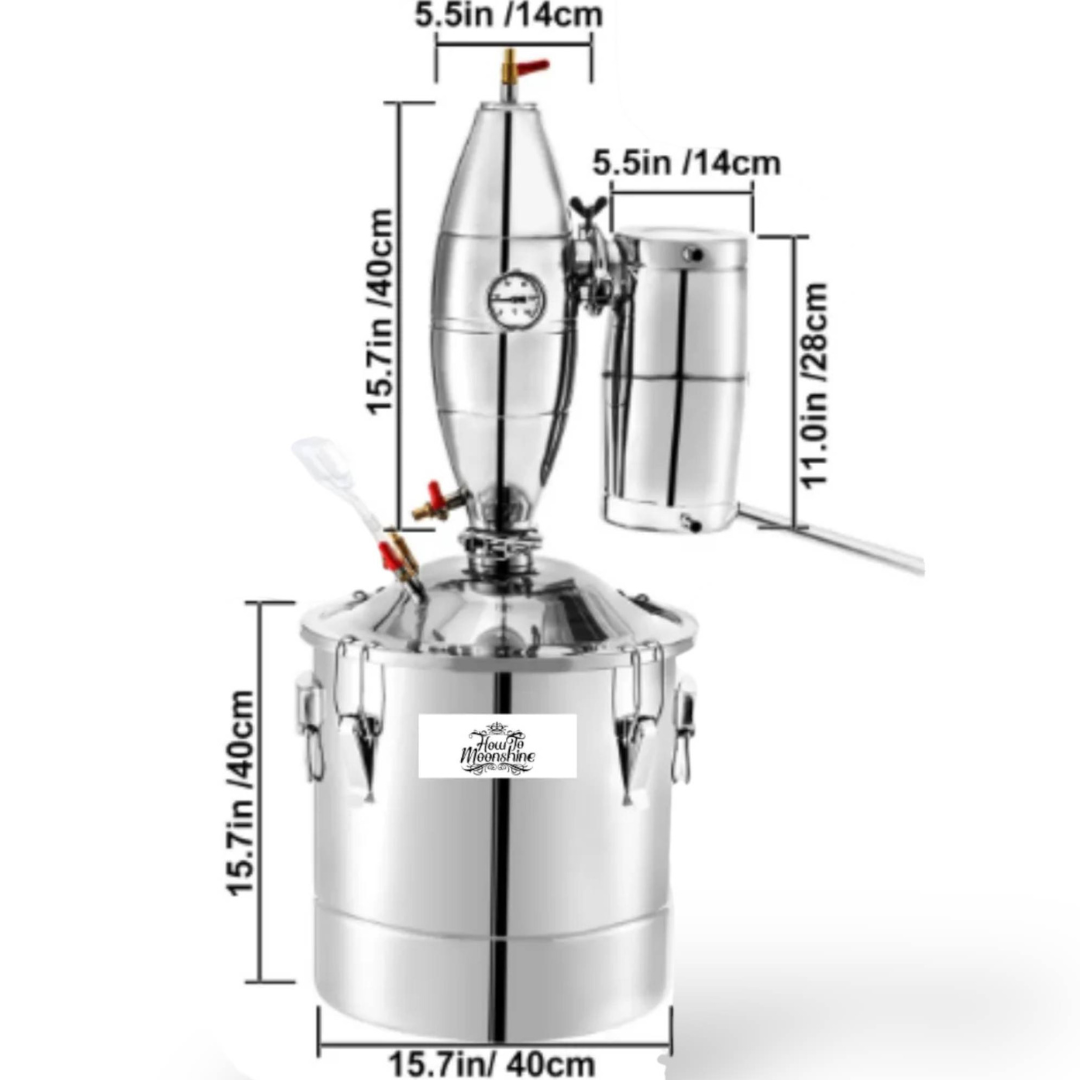
Dimensions:
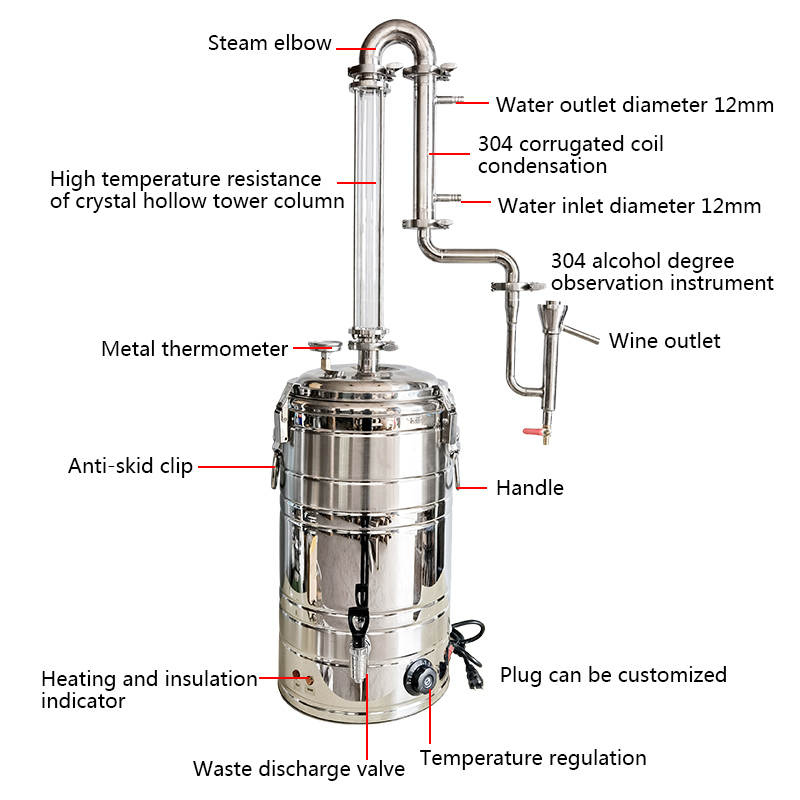
Still Height: 45.5 inches or 116 cm
Barrel height: 29.5 cm or 11.5 inches
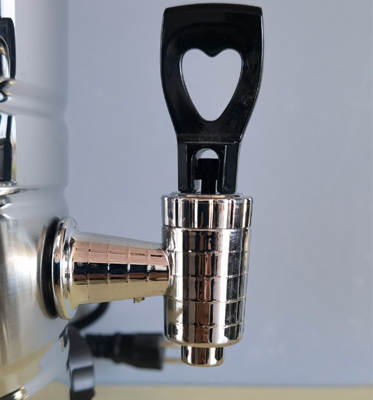
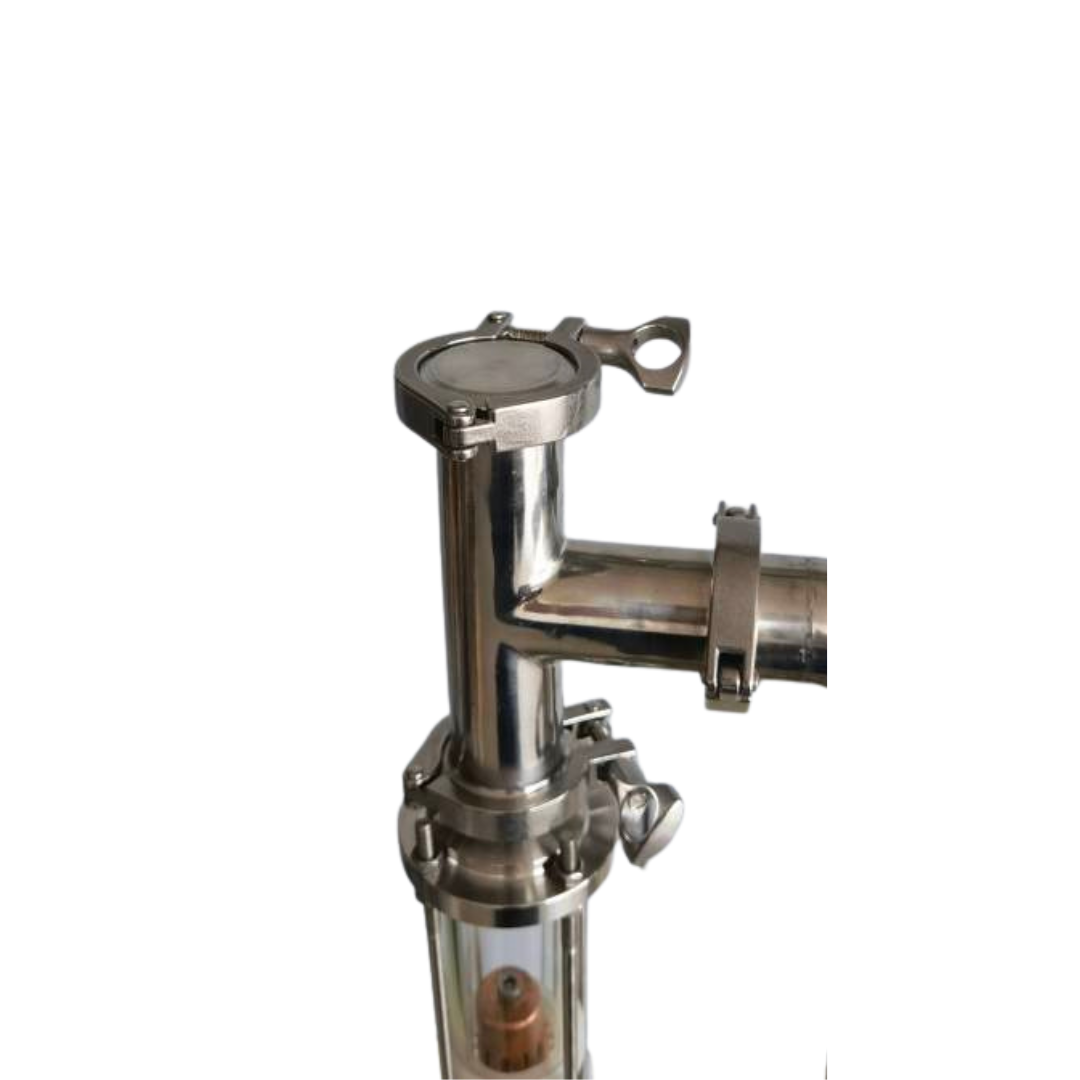
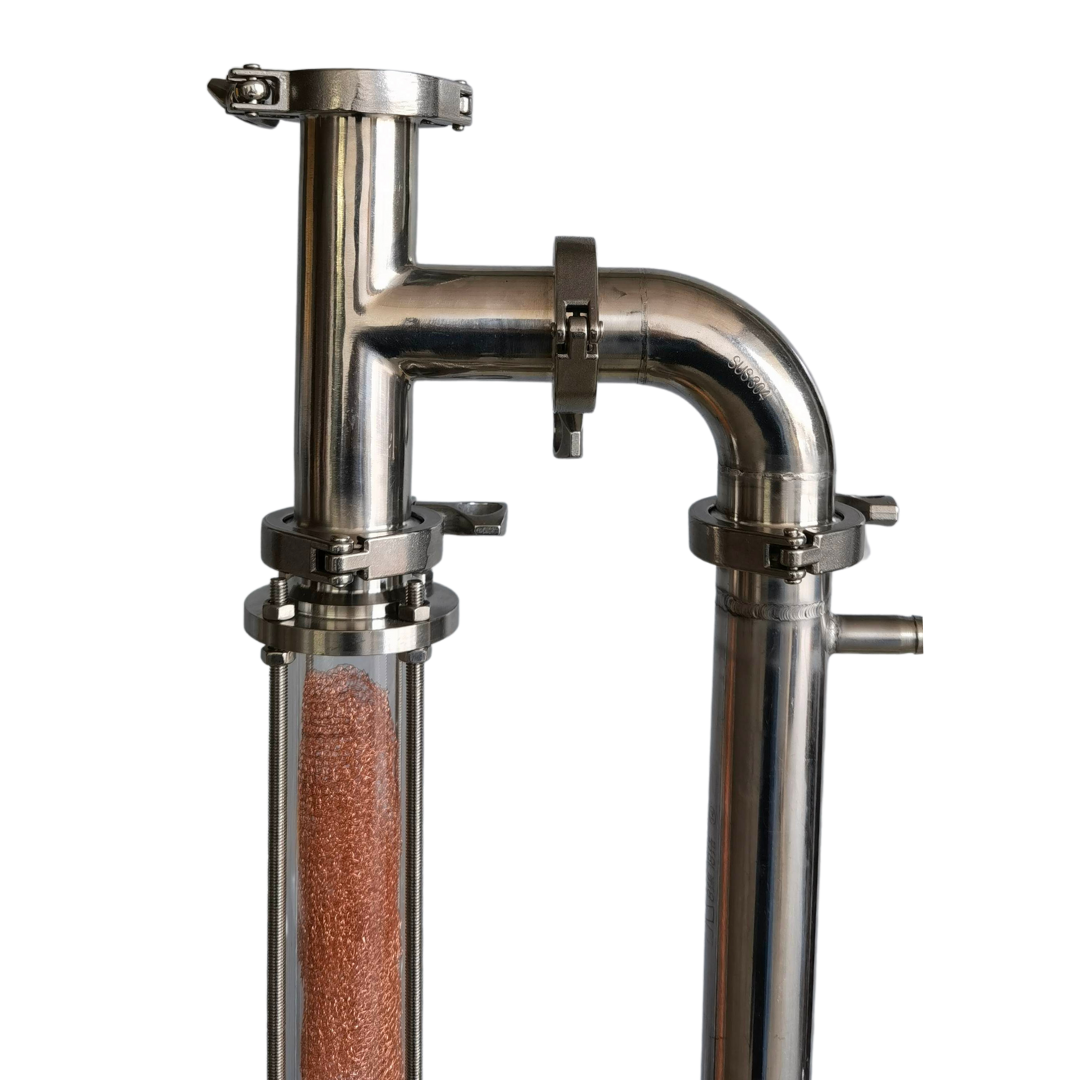
Diameter of the reflux column: 38 mm or 1.5 inches

Features:
There are many benefits to owning a reflux column still. First of all, column stills are just pretty to look at. While a pot still may look like a distant cousin of something you already have in your cupboard, a column still is definitely more of a work of art.
A column still is a great option if you want to create a neutral spirit with a high ABV.
You can also add a gin basket which allows you to flavor your moonshine during distillation for a subtle infusion of flavor.
A reflux still is also the best option for creating fuel ethanol.
In commercial applications, column stills are a preferred option because they are capable of continuous distillation. This allows for a more consistent final product.
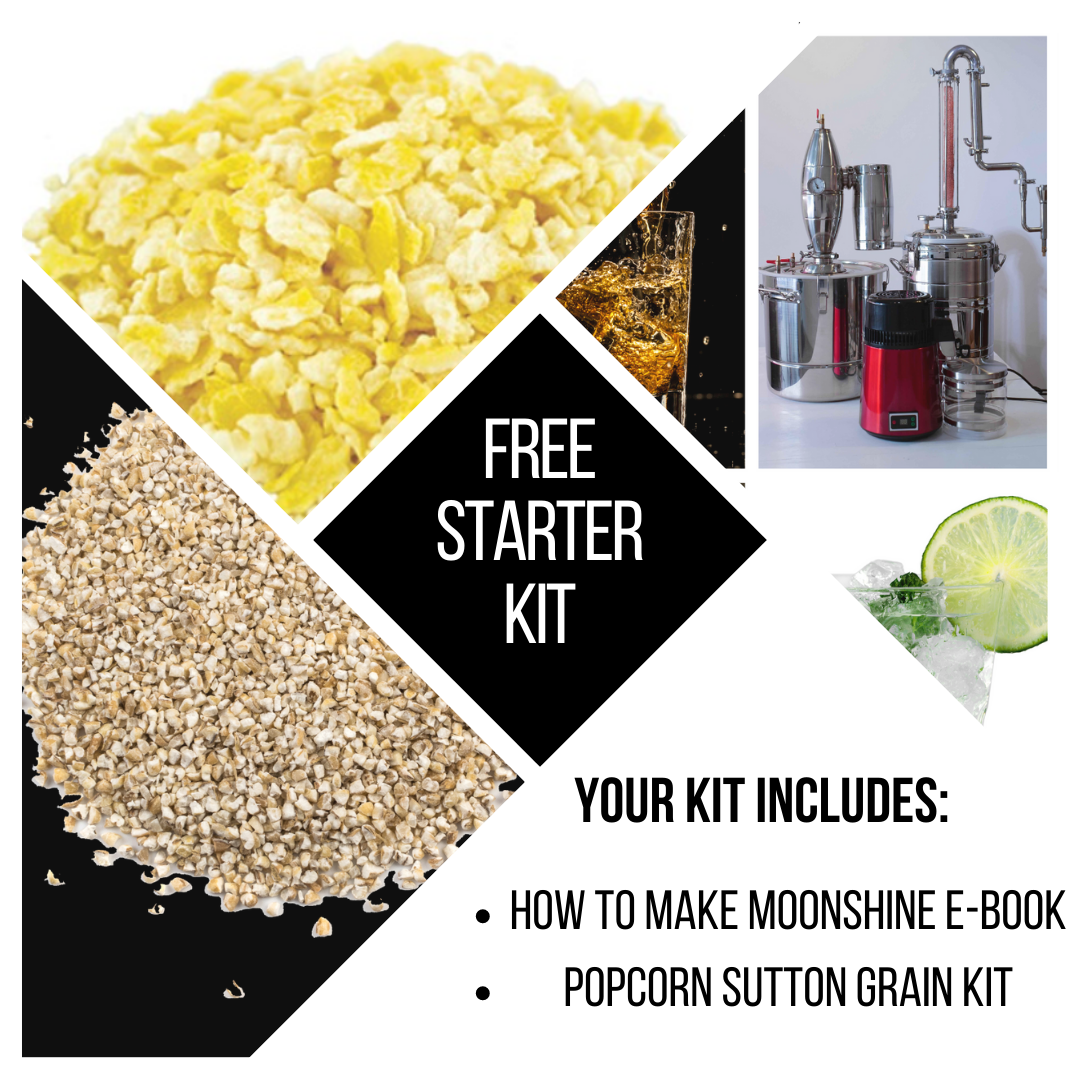
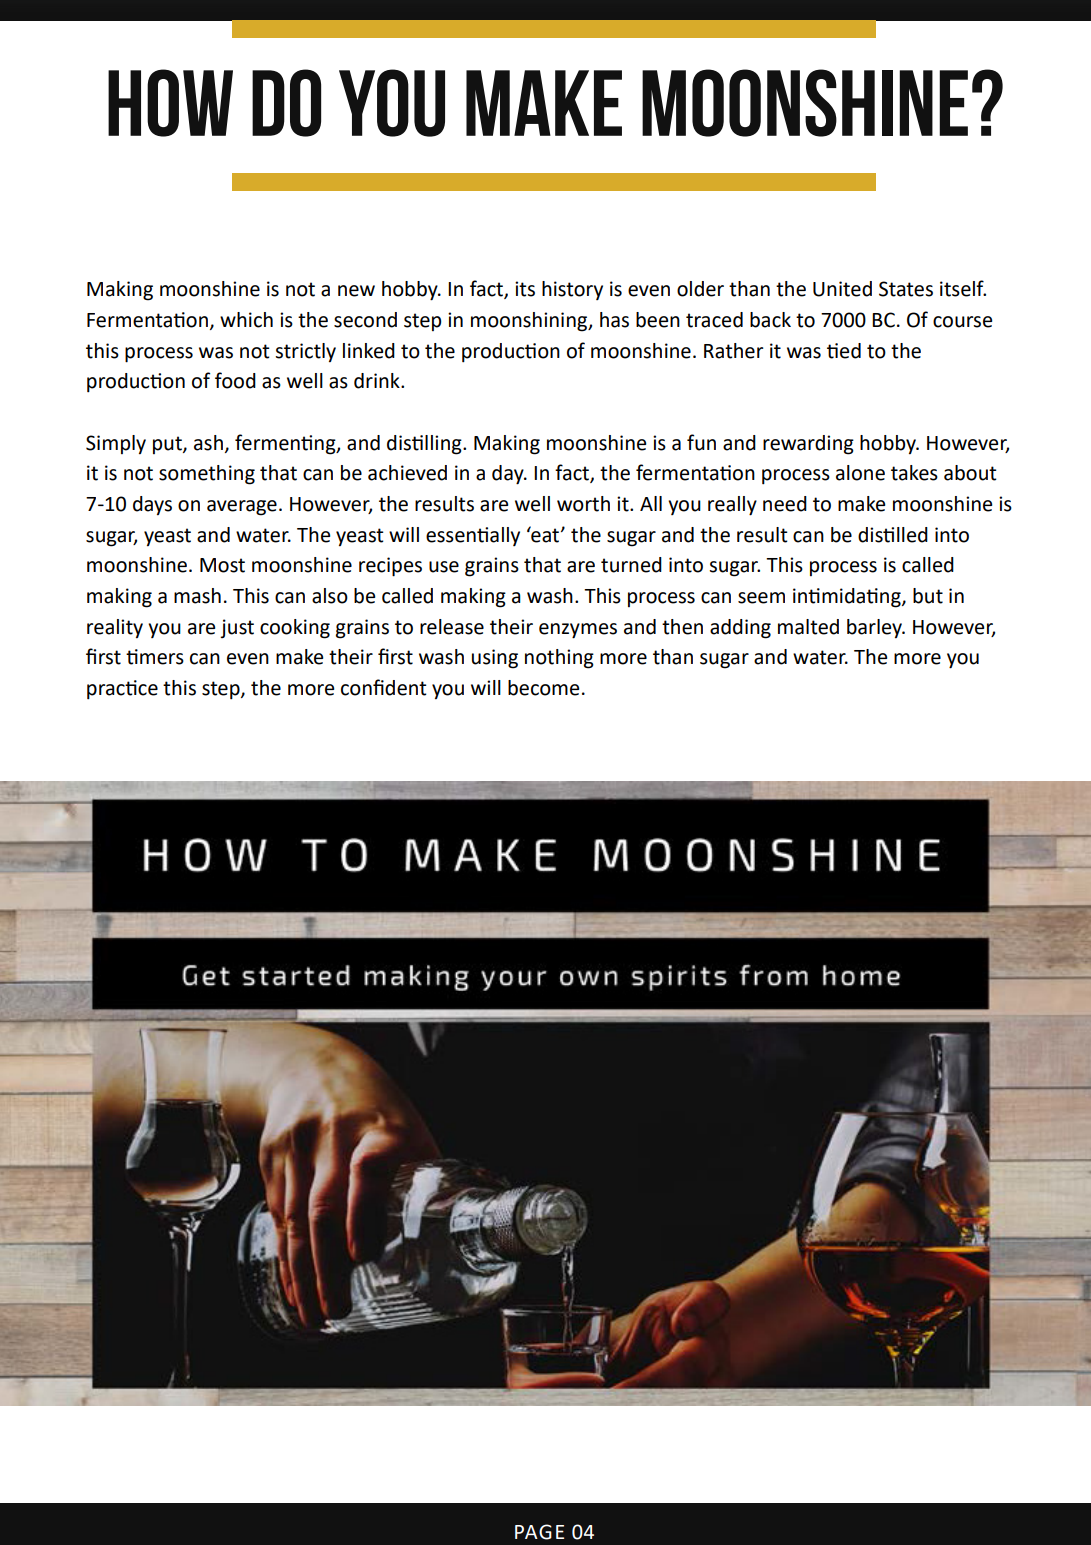
At How to Moonshine we want to guide you every step of the way through your moonshining journey.
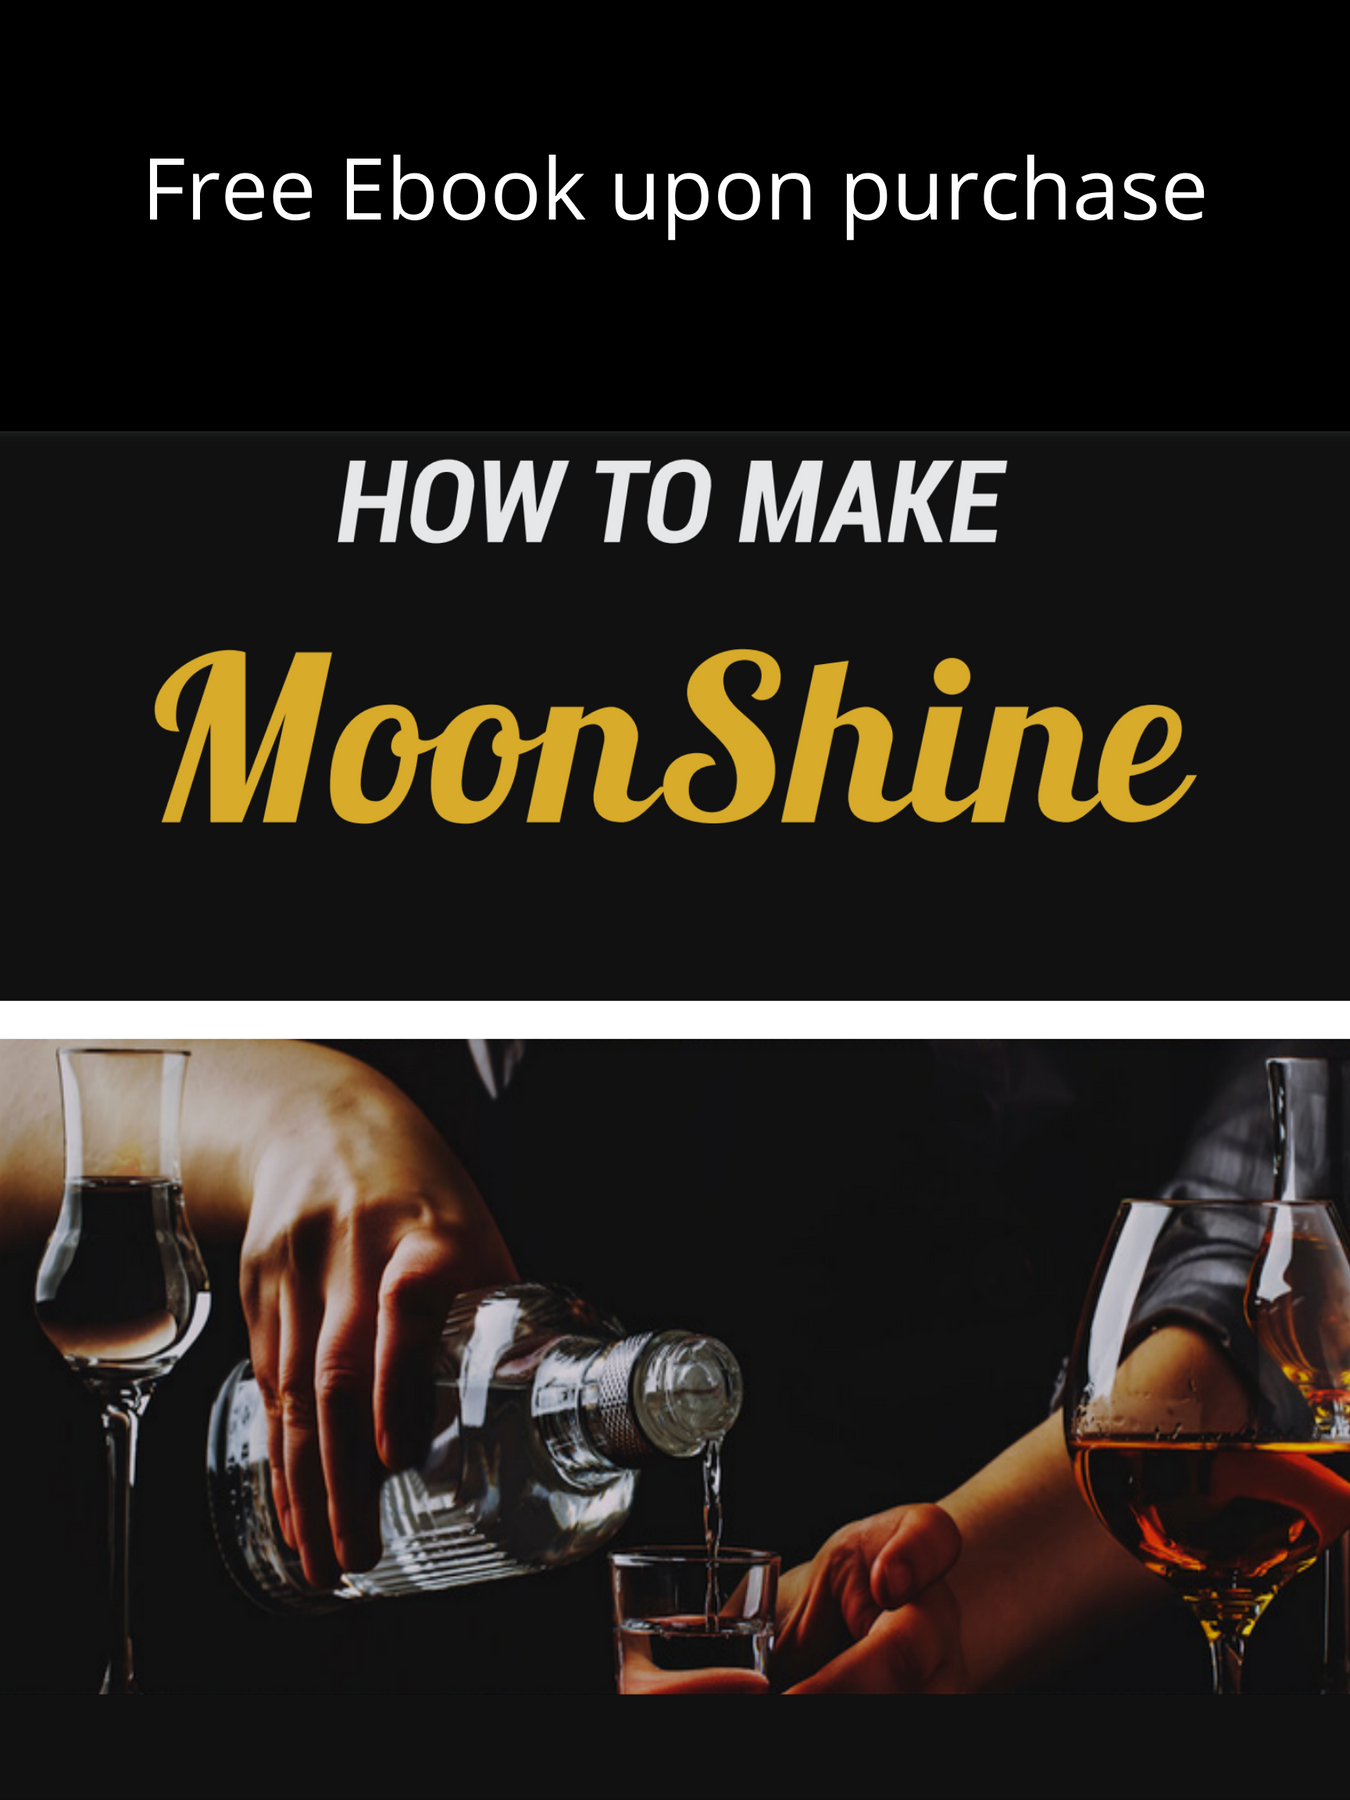
We offer a FREE How to Make Moonshine E-book that takes you through the process step-by-step. This is a great way to become educated and learn what it takes to make delicious spirits from the comforts of home.
We also have a large ‘how-to’ section which has in-depth articles walking you through different processes in a straightforward and easy-to-understand manner.
We offer amazing aftercare for all of our shiners. We are available through instant message and email to answer any questions you may have about your still or about making moonshine itself.
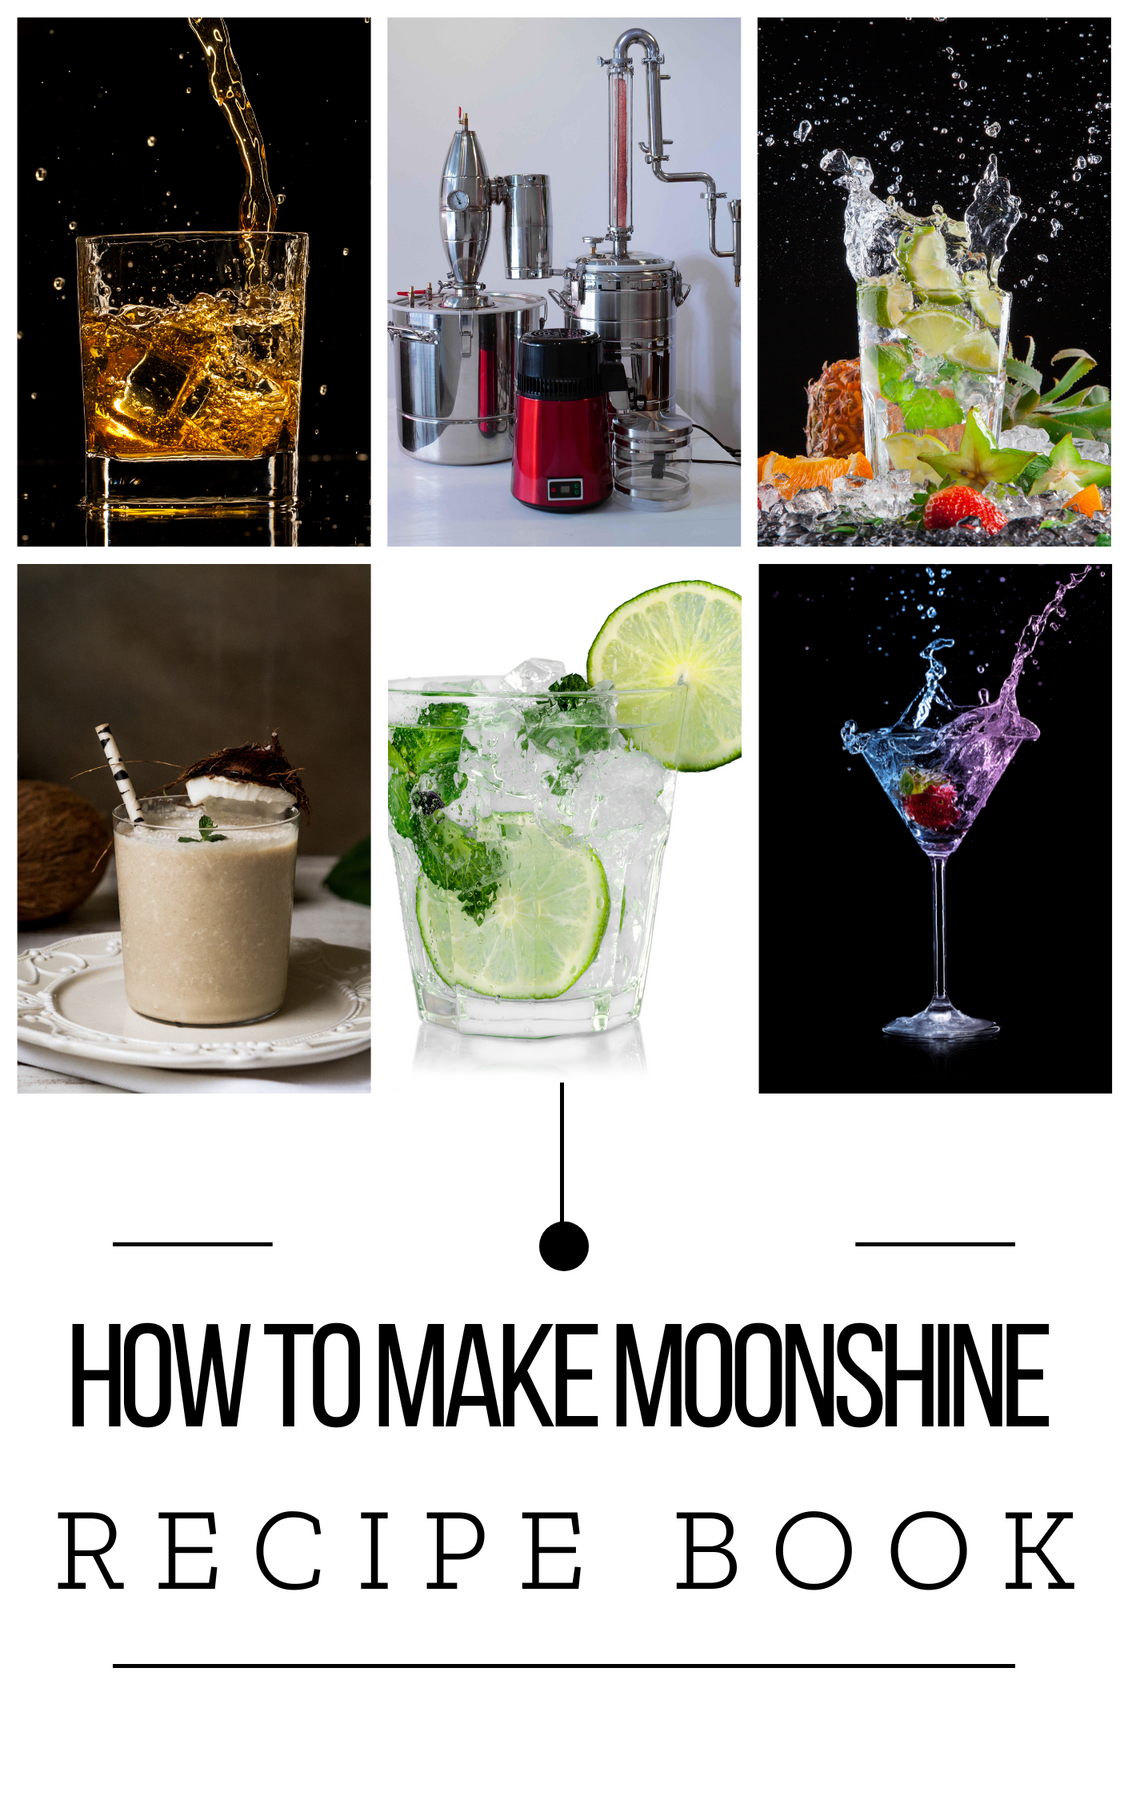
We also have a large library of moonshine recipes. You can always find a new recipe to try or a cocktail to make. Making moonshine will never get boring.
We have a great collection of stills to suit any shiner. From our ‘press and play’ Moonshine Cherry to our premium Standard, we can find the perfect still for you.
Unike many of our competitors we offer detailed and illustrated manuals that walk you through the assembly of your still and how to make distilled water, spirits, and essential oils.
To understand which still will be the best fit for you as a shiner you need to know what type of spirit you want to produce.
Considering the design of a column still and a pot still are so different, it makes sense that they would produce different results.
A pot still, such as the Magnum, is designed to collect and condense the alcohol vapors that come off of your boiling mash. Your pot still will produce a spirit that has an alcohol purity between 40 to 60% which is full of flavor.
Pot stills also do batch distillation. Once you have run your mash you have the opportunity to run it again to increase the purity to around 70-85%. In fact, when you see pictures of moonshine jugs with XXX, it actually refers to the number of times the shine has been distilled. However, it is important to note that with each distillation, you will also lose flavor.
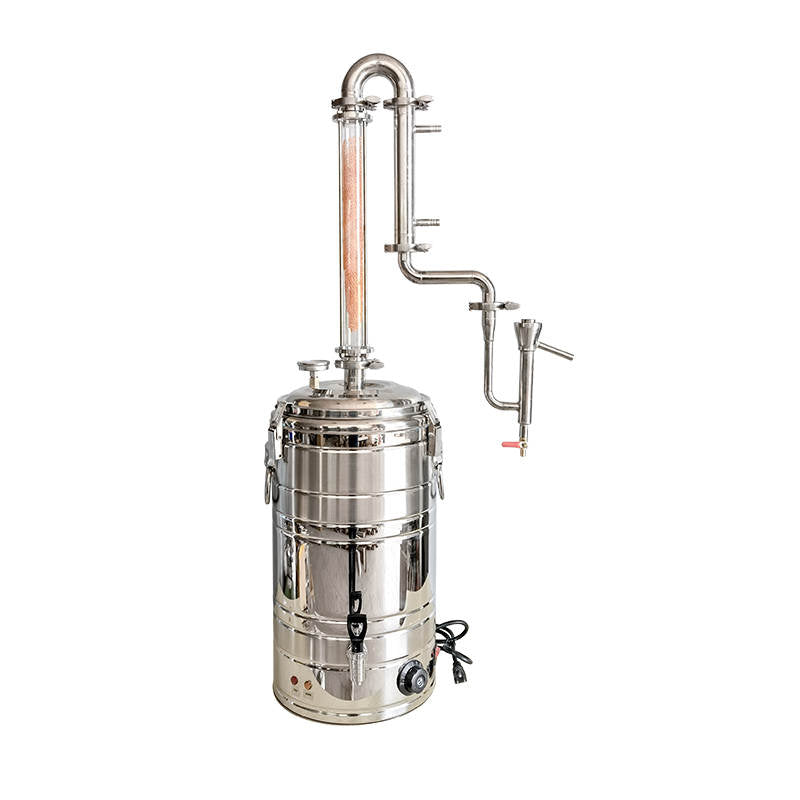
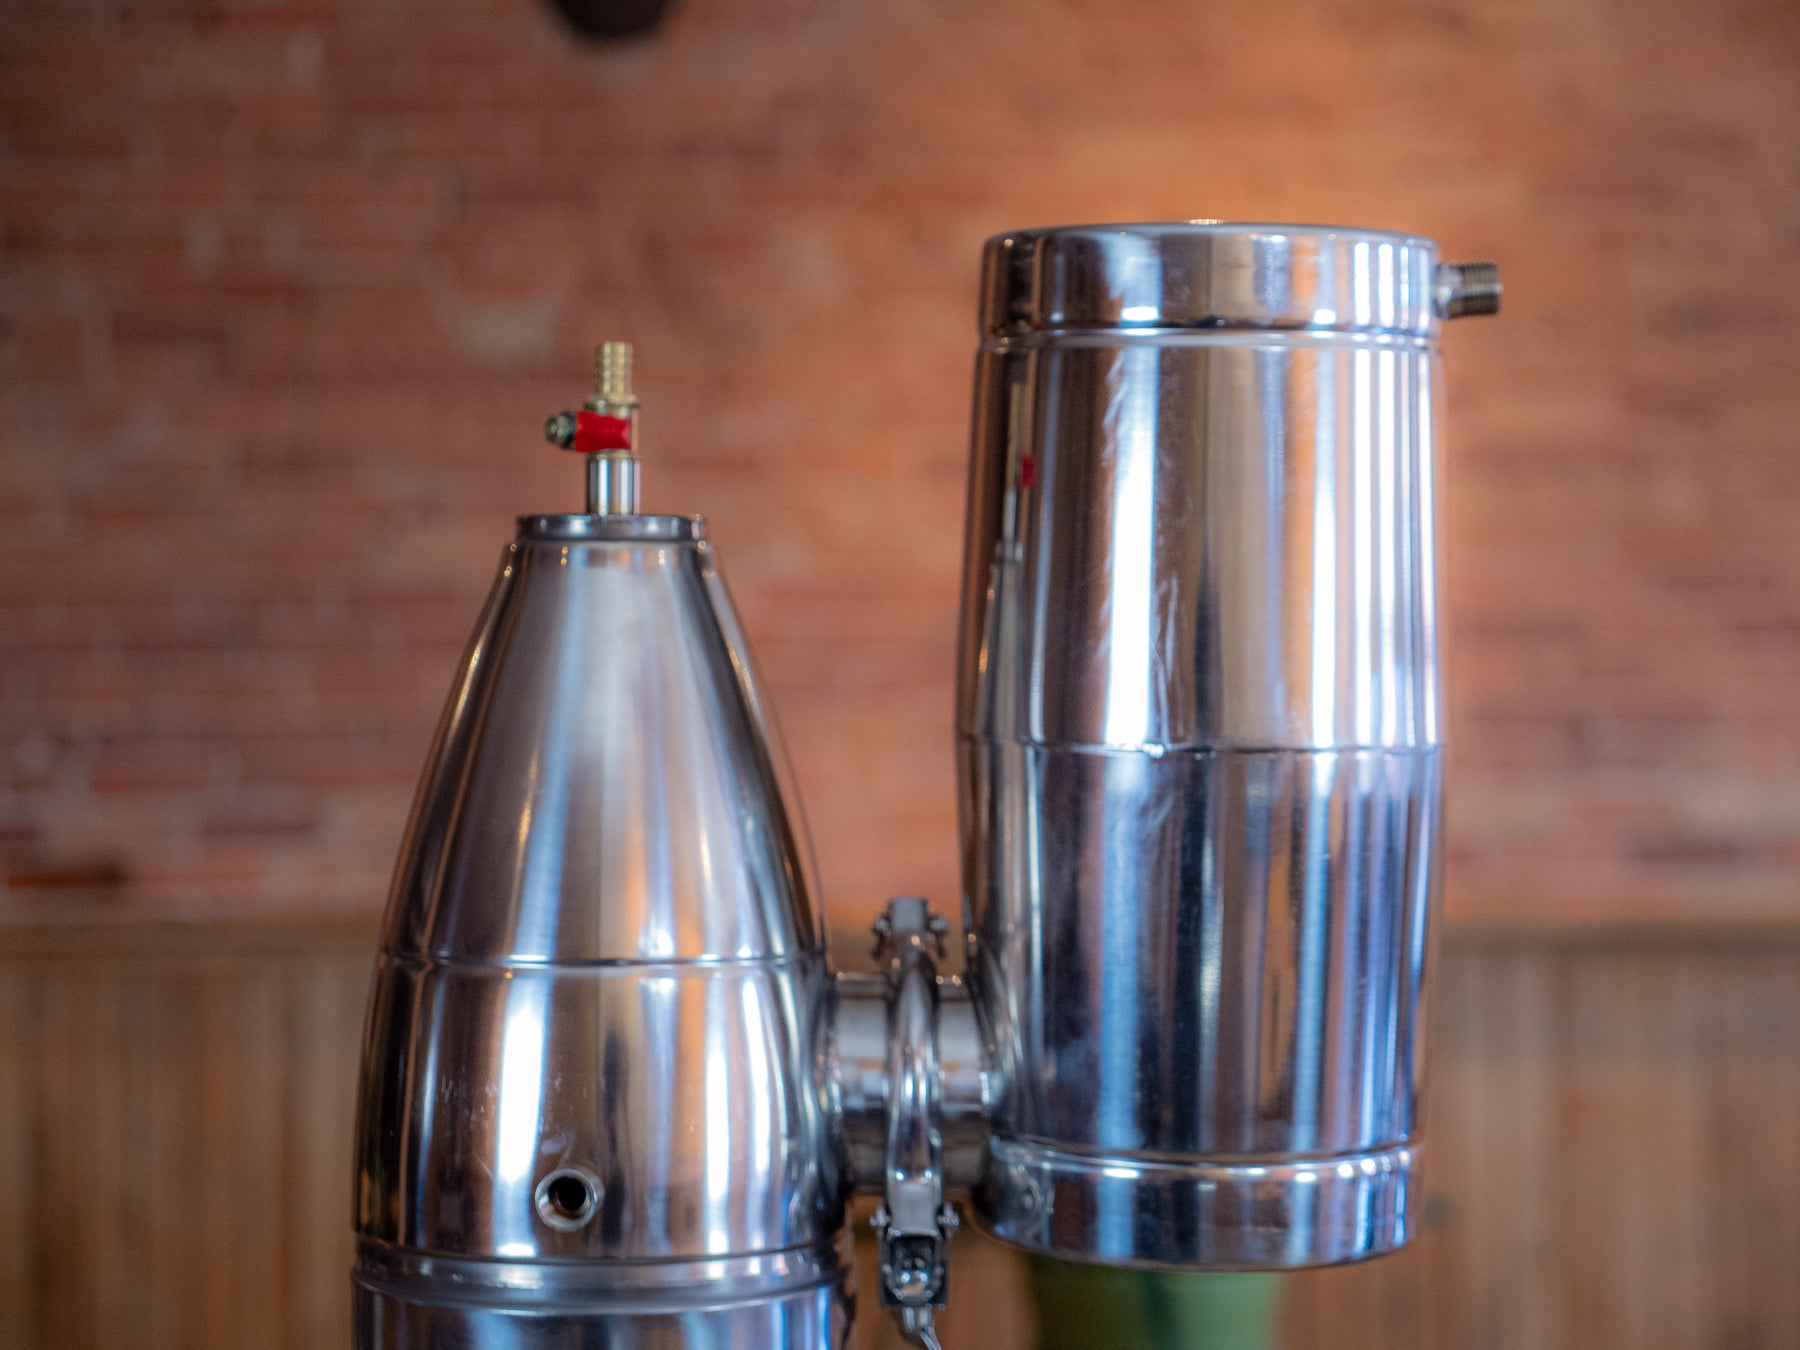
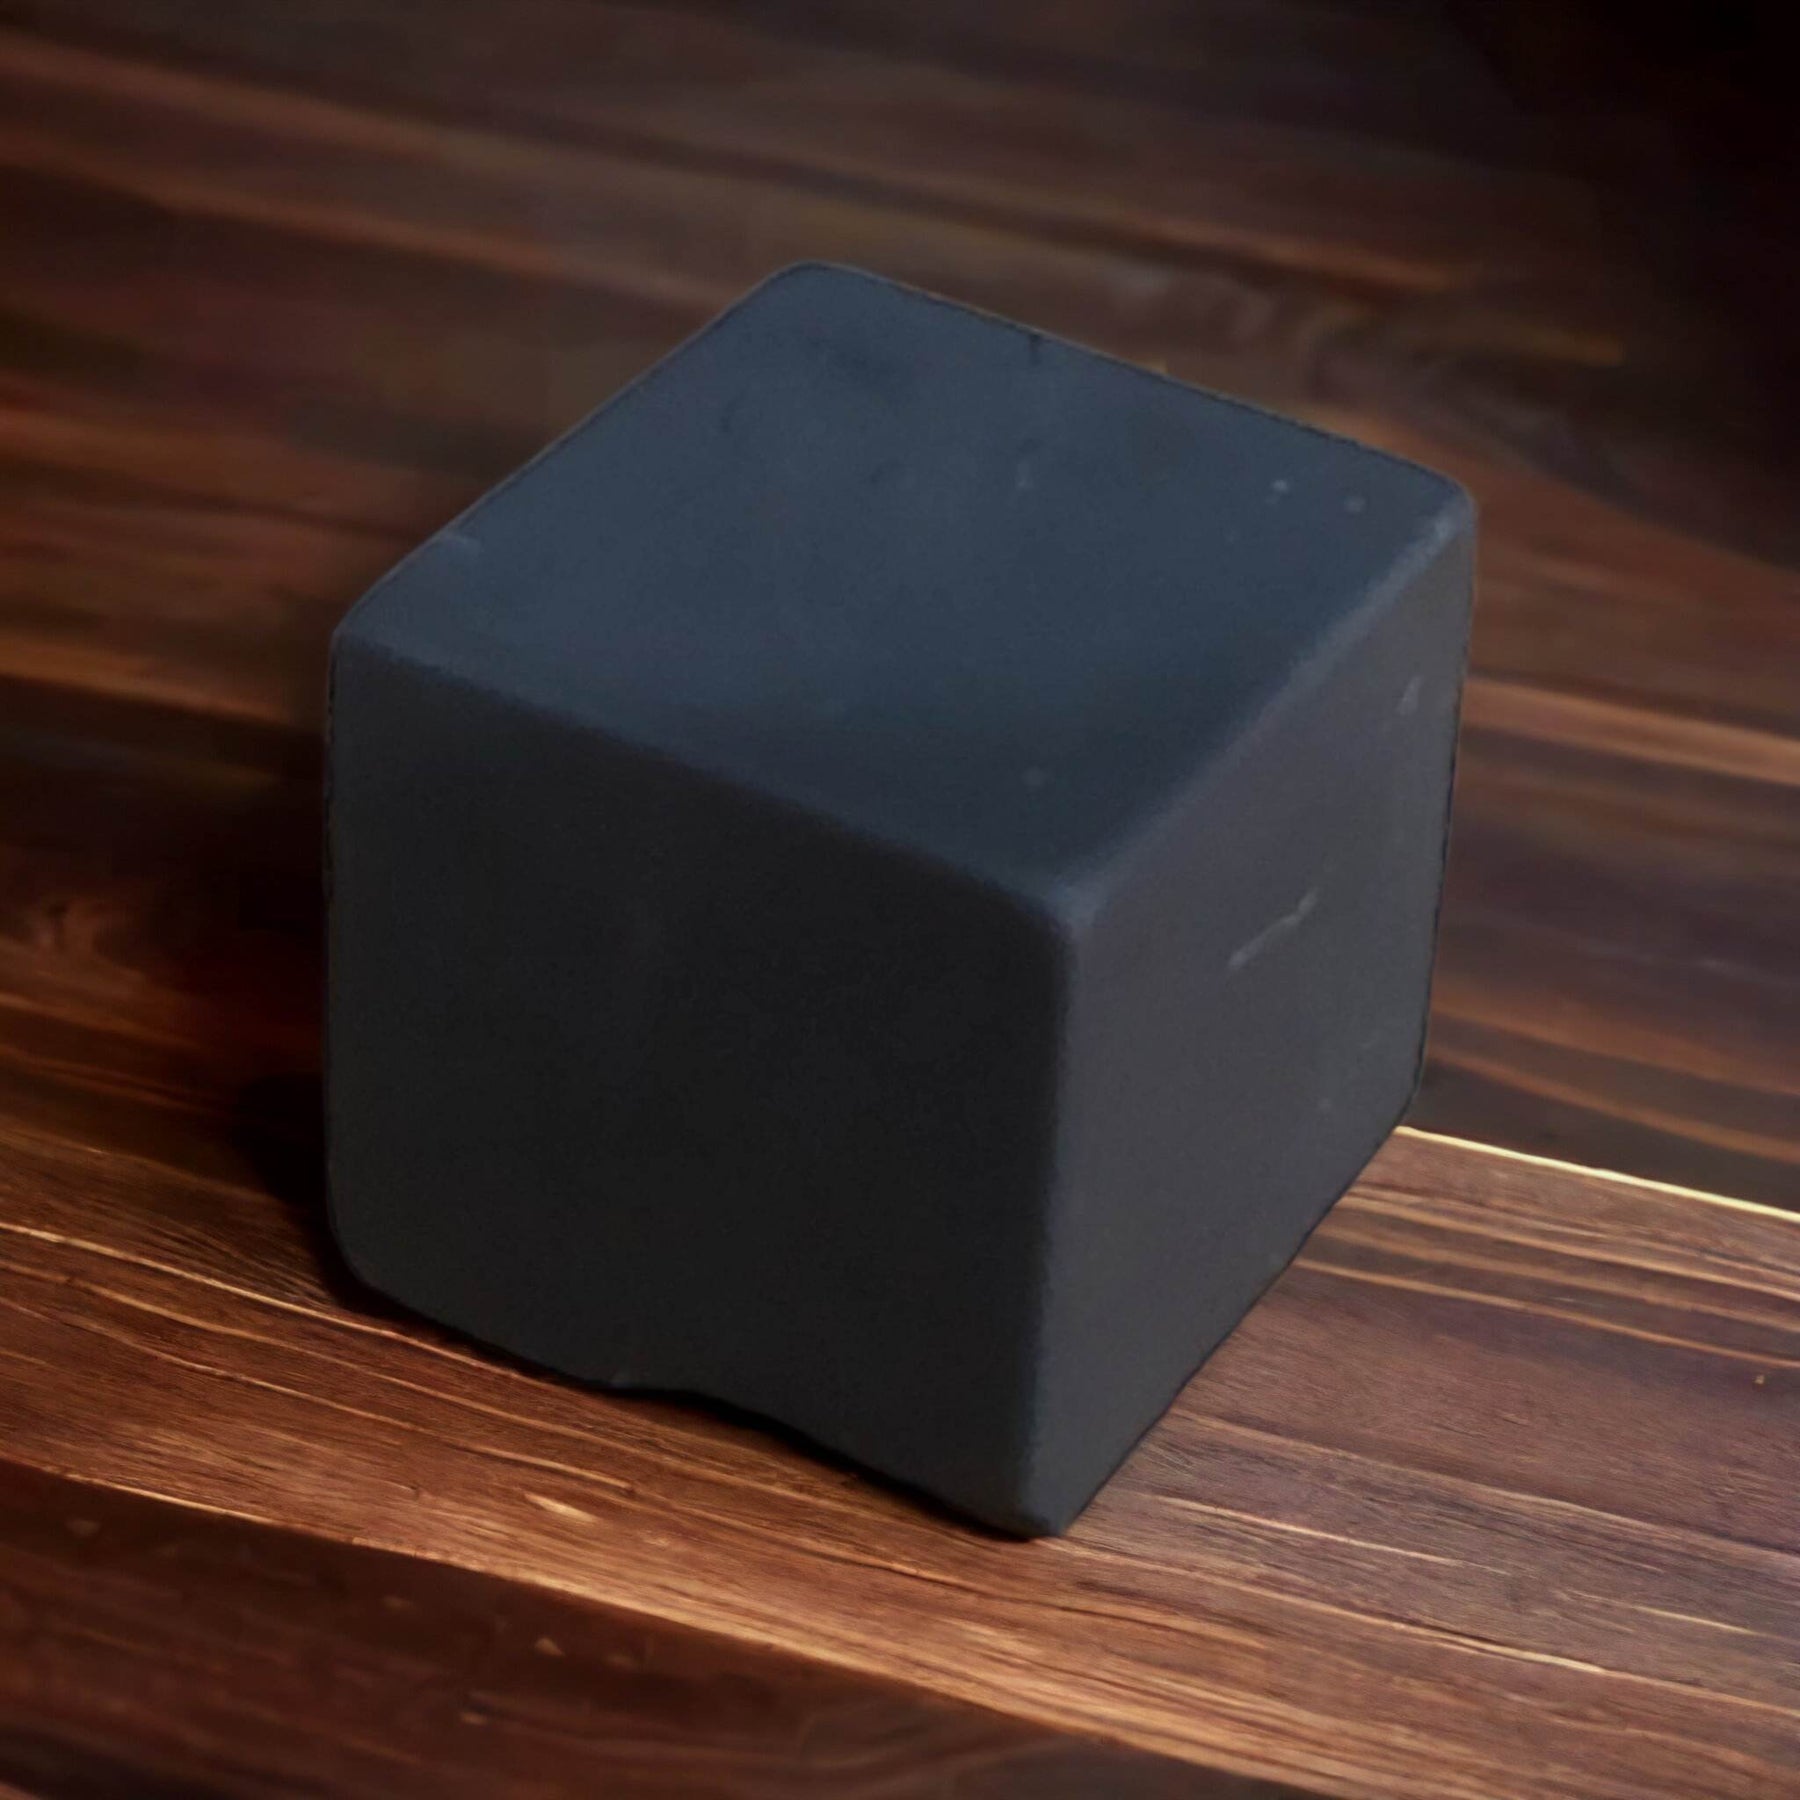
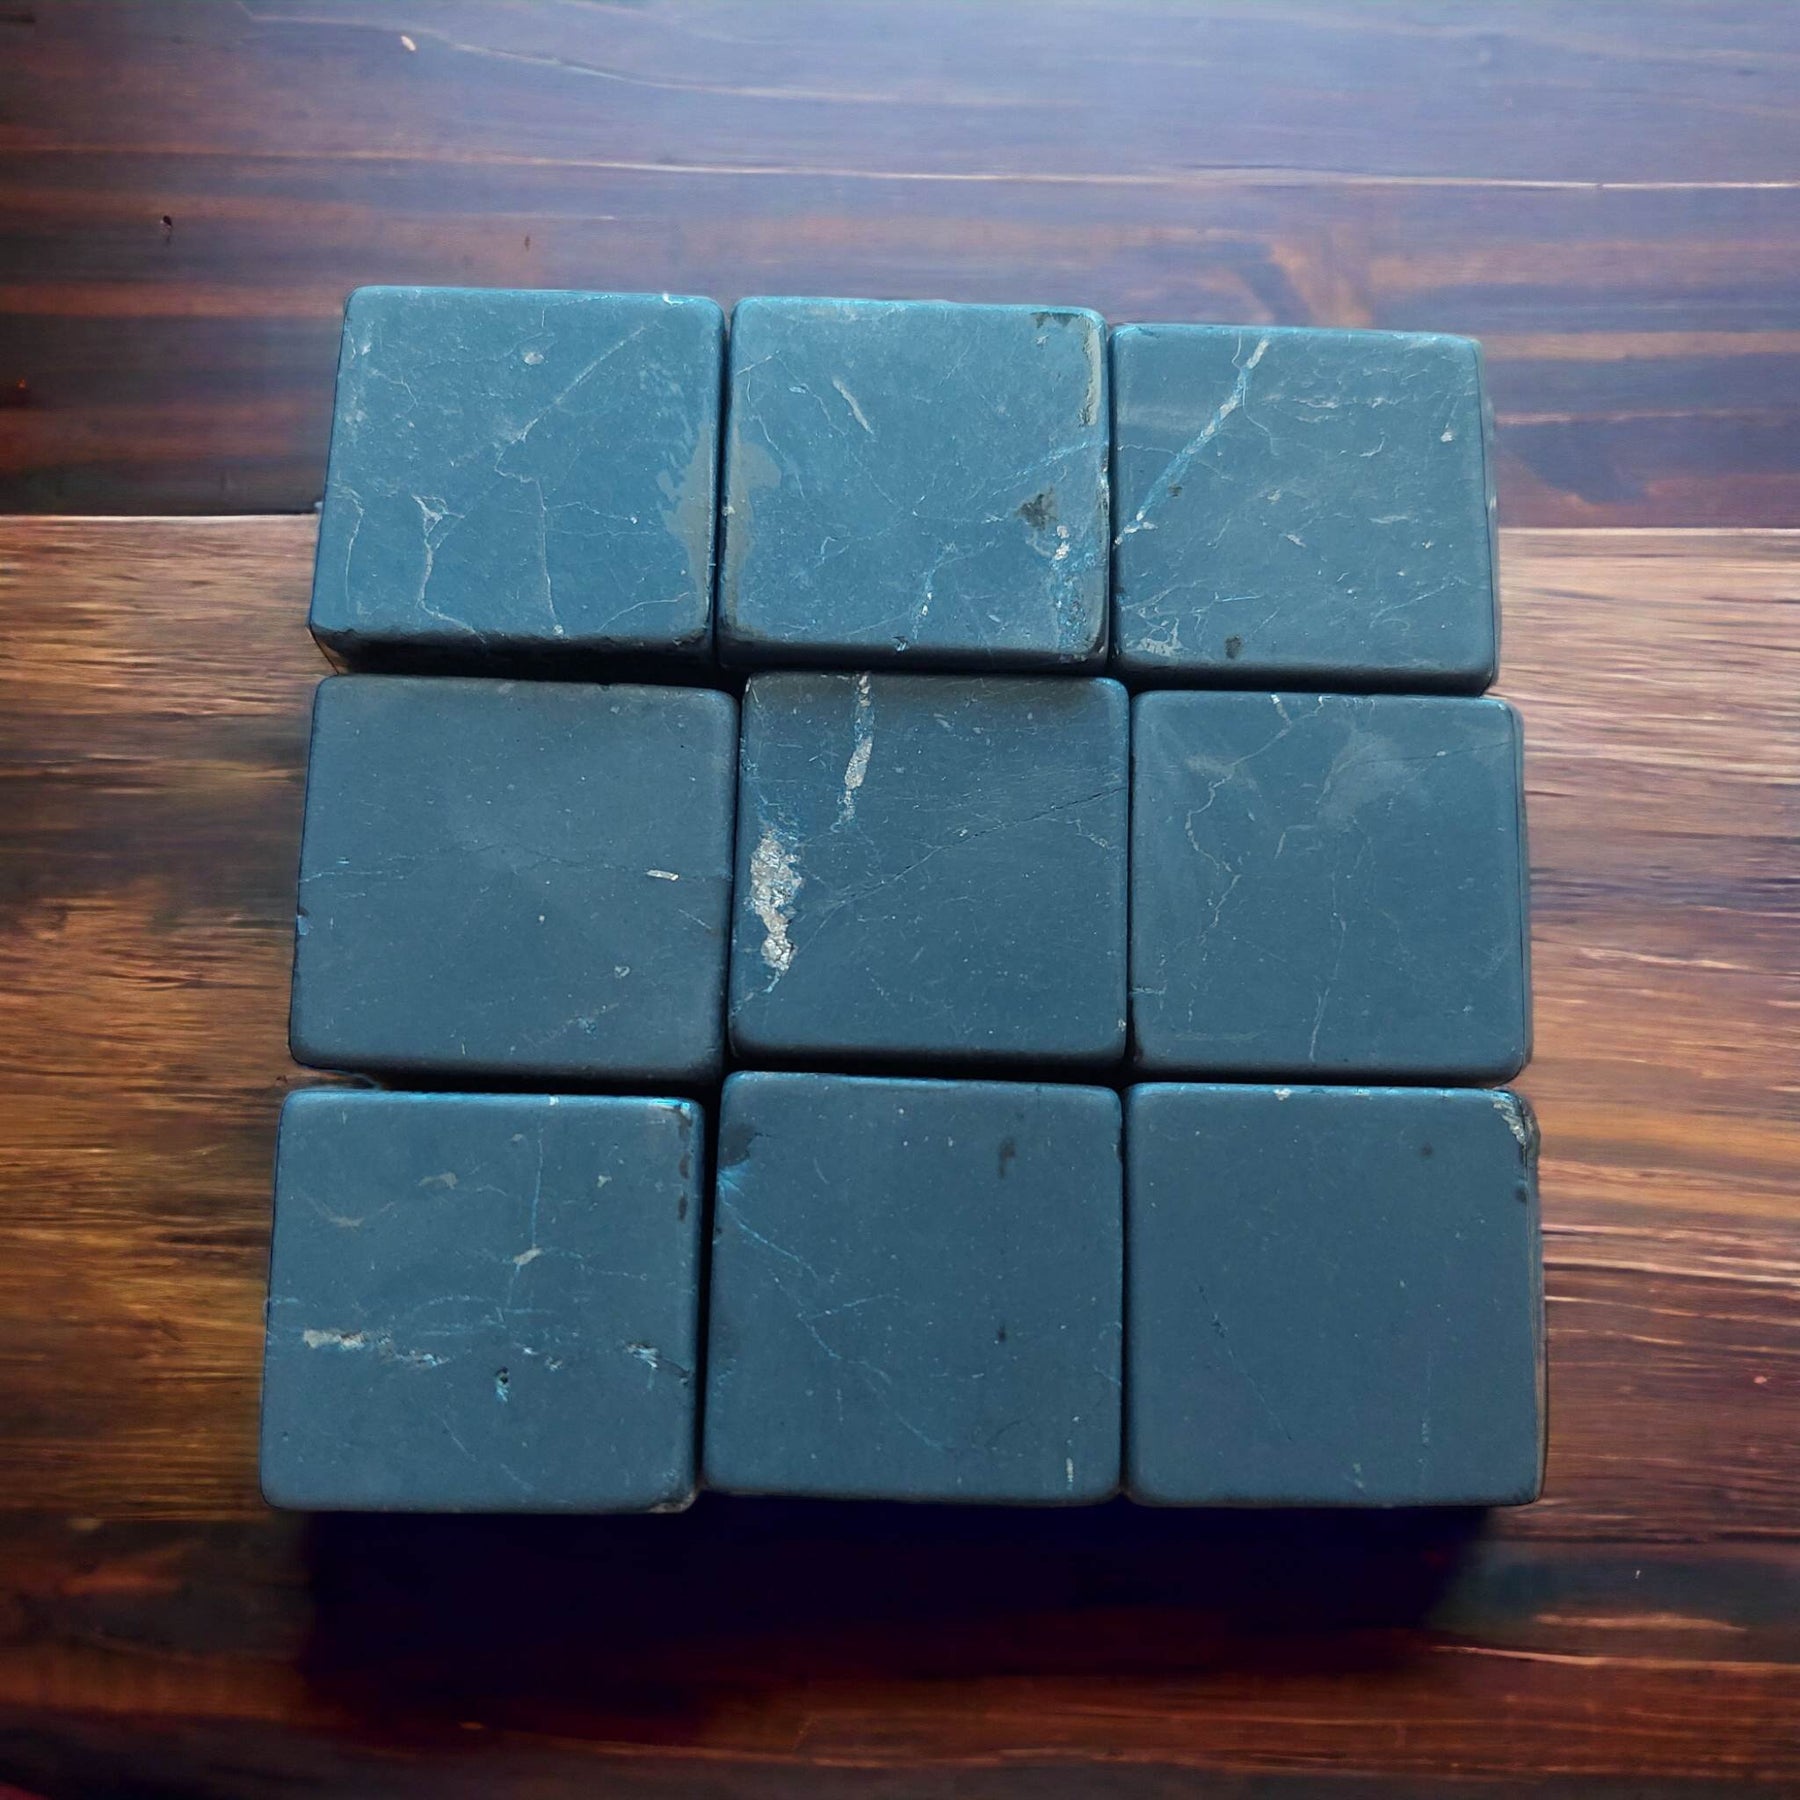
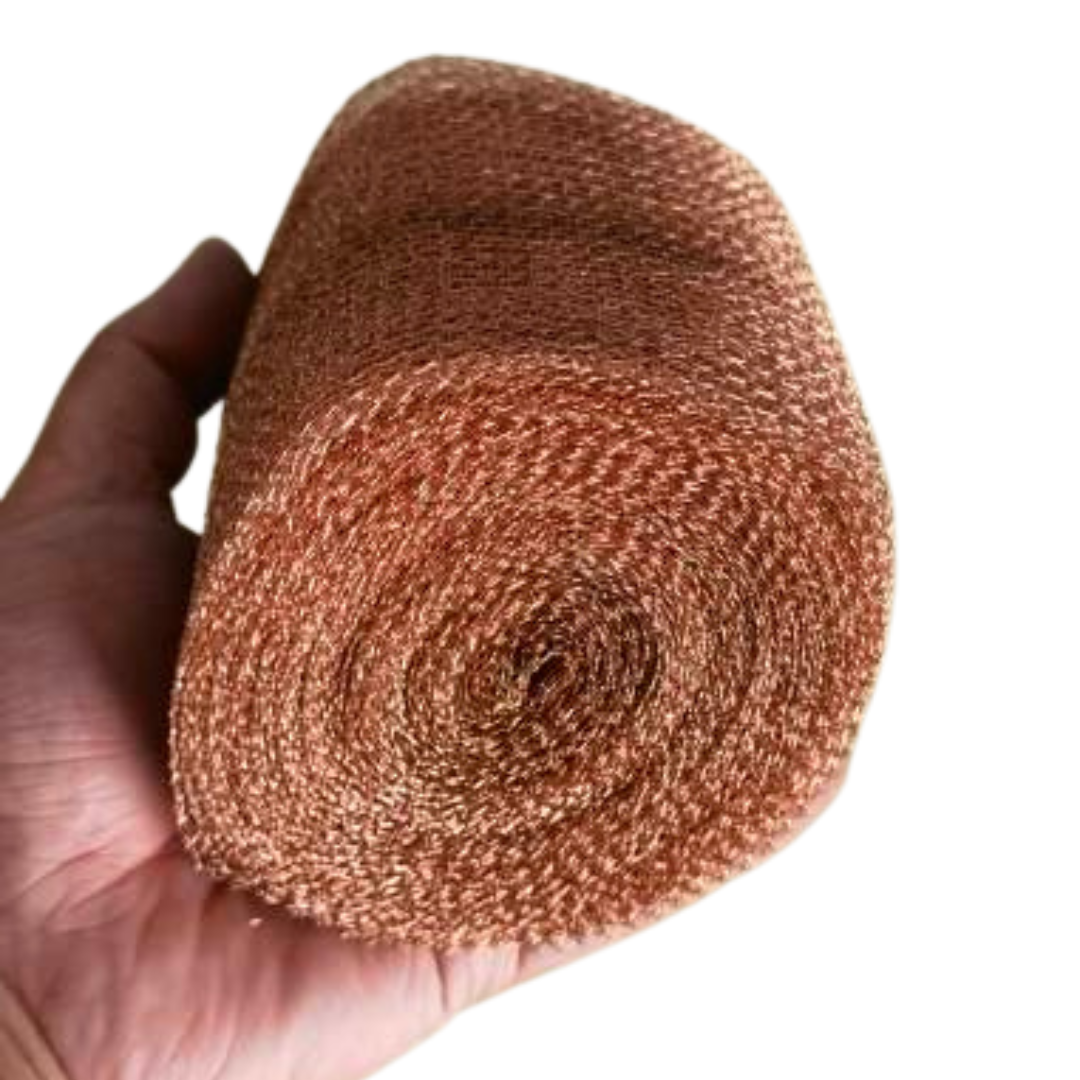
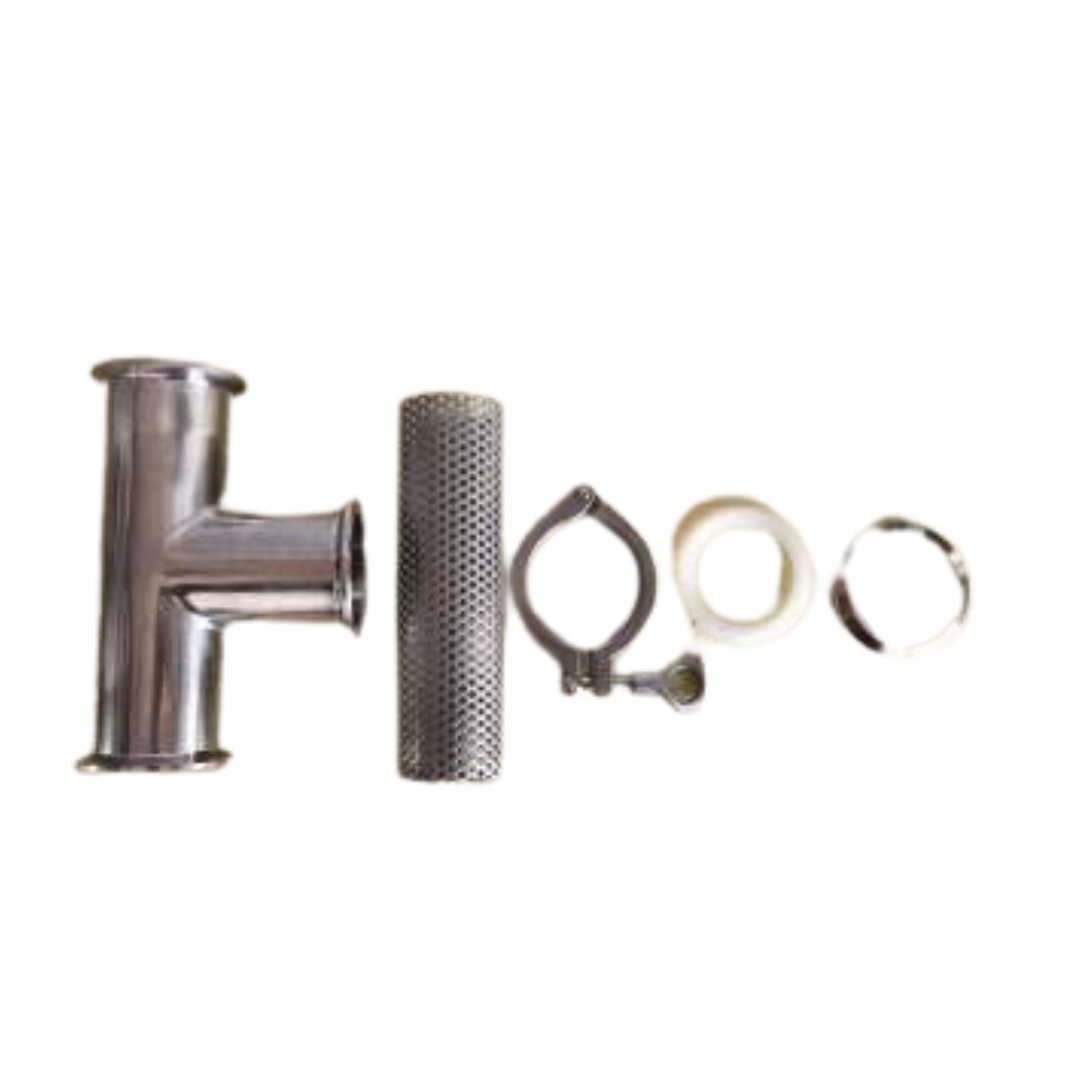
A column still is so named for its tall column which connects the kettle or pot and the condenser. This column can be packed (often with copper mesh) in order to allow the vapor to condense and trickle back down through the packing. This reflux of liquid will increase the purity as you are essentially doing multiple distillations in a single run.
Using copper as your packing gives the additional benefit of removing any sulphur from your mash. This will remove the unappealing smell and taste-like stinky eggs, that sulphur can leave in your spirit.
When it comes to column stills, size really does matter. The taller the packed column the more opportunity for reflux and the purer the final result. The diameter of the column will also impact the amount of vapor and reflux that travels in the column.
With a pure result also comes a very neutral final product which is great if you want to make vodka or flavor your moonshine after distillation.
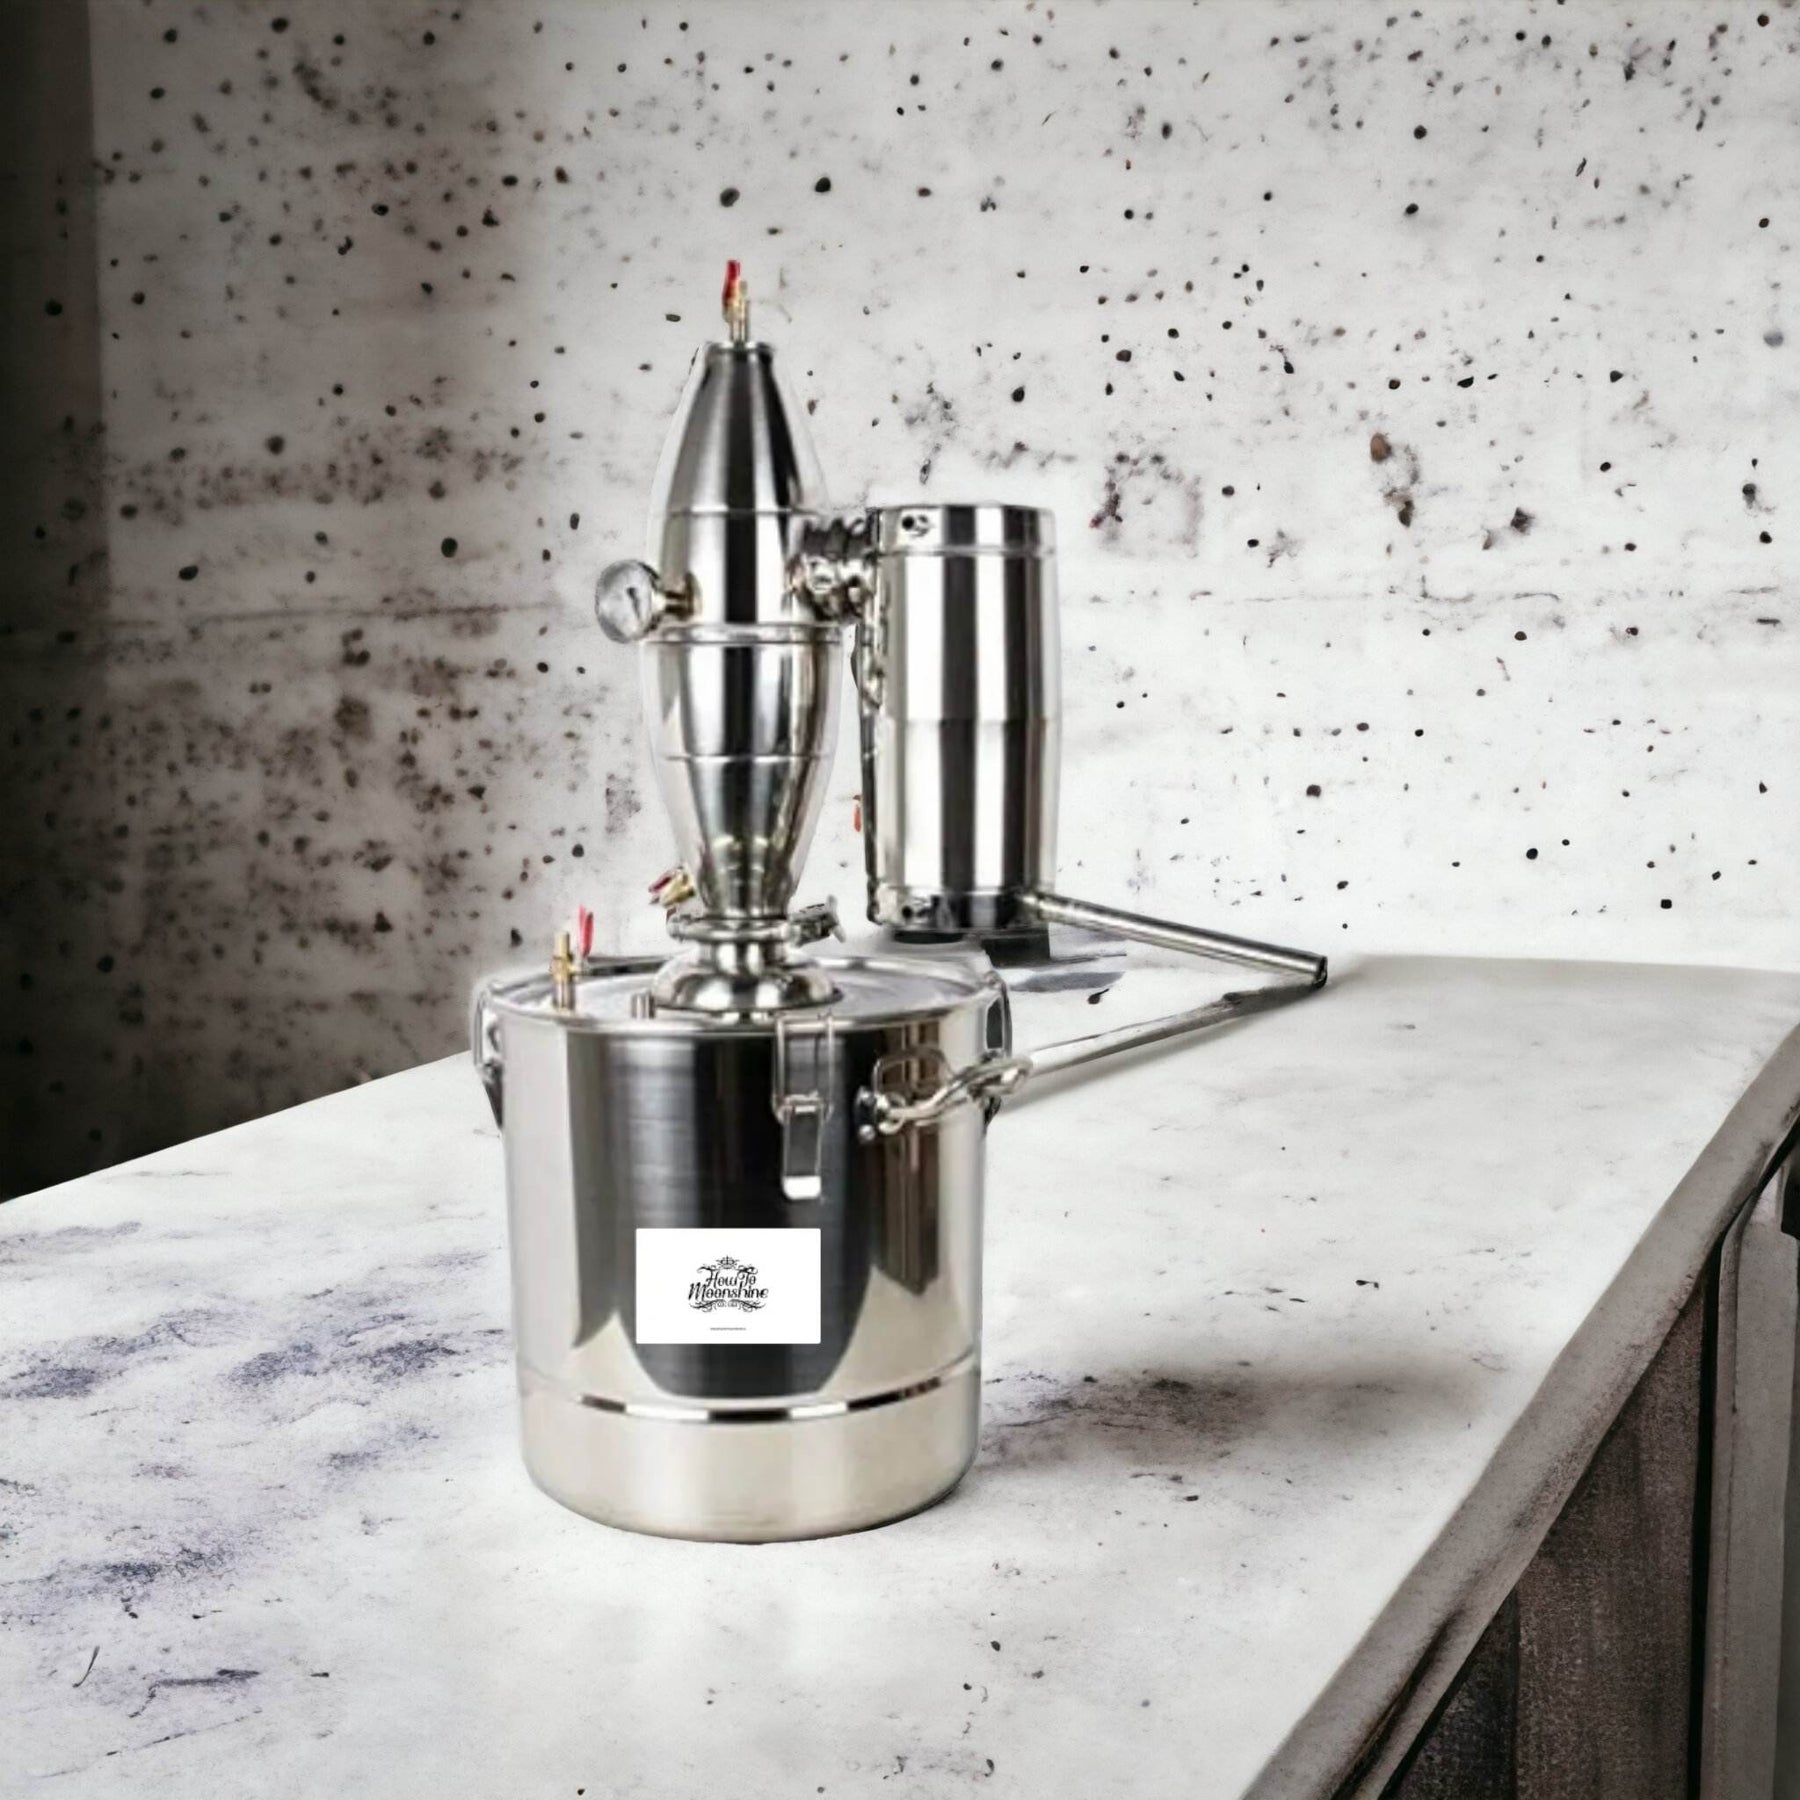
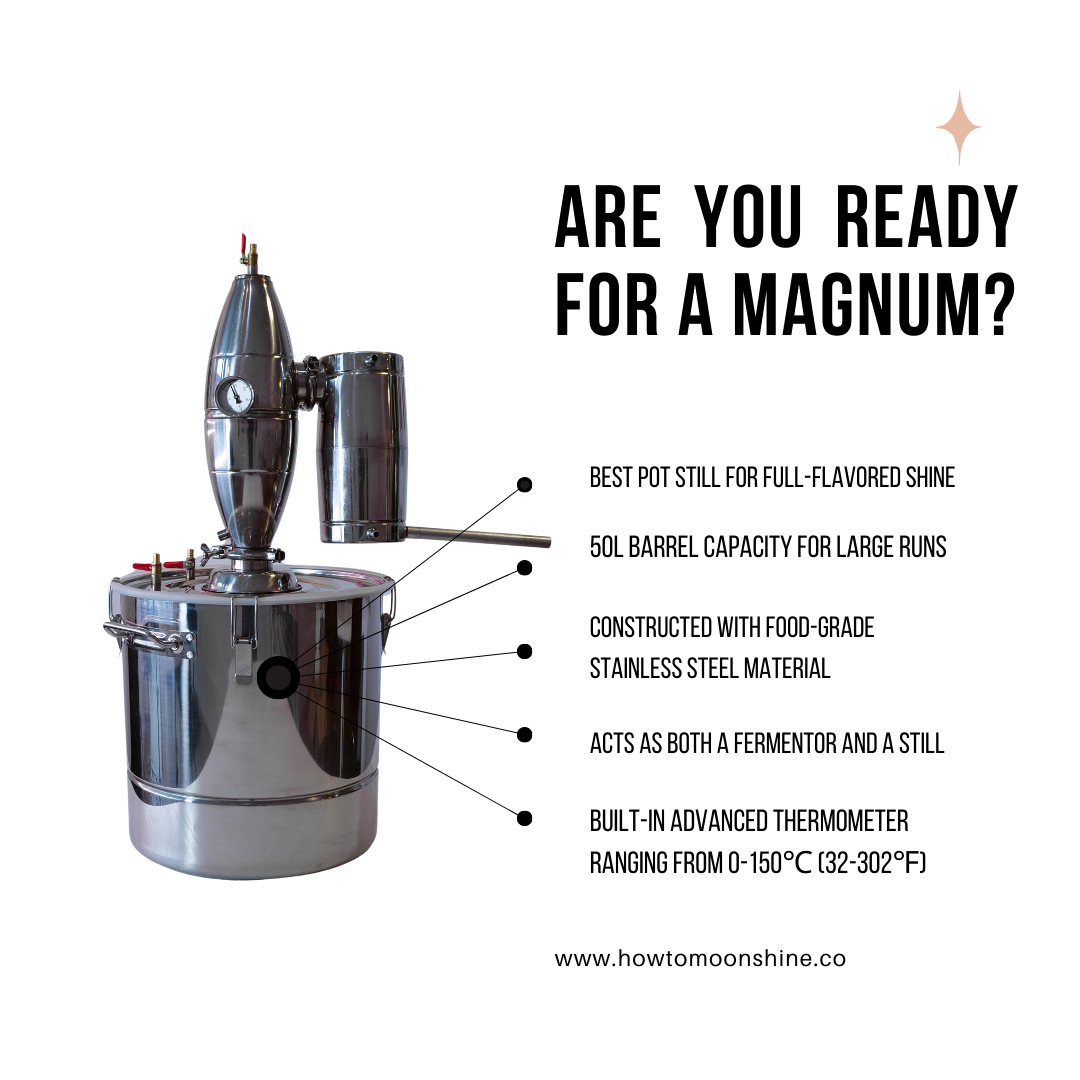
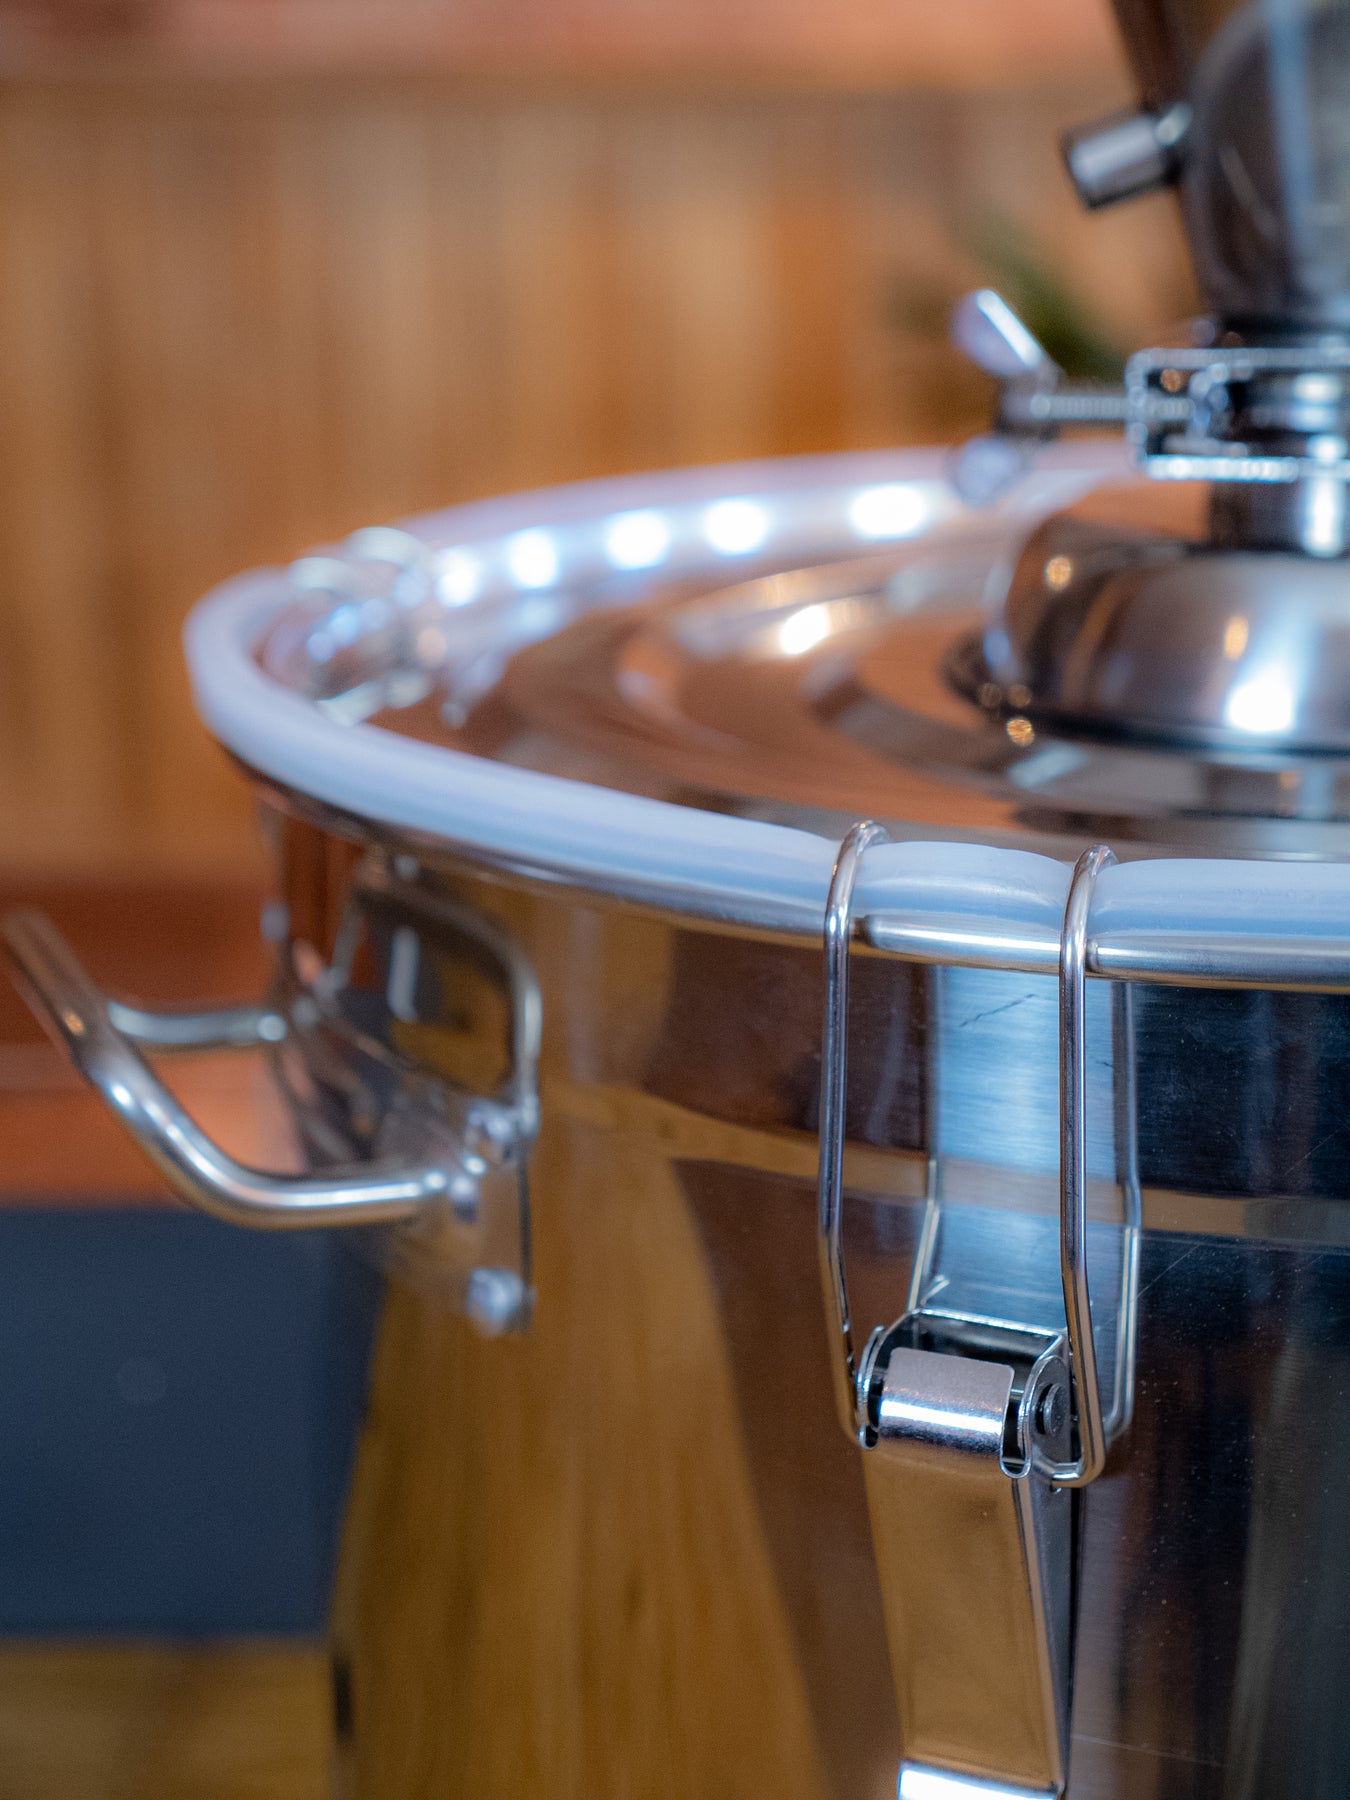
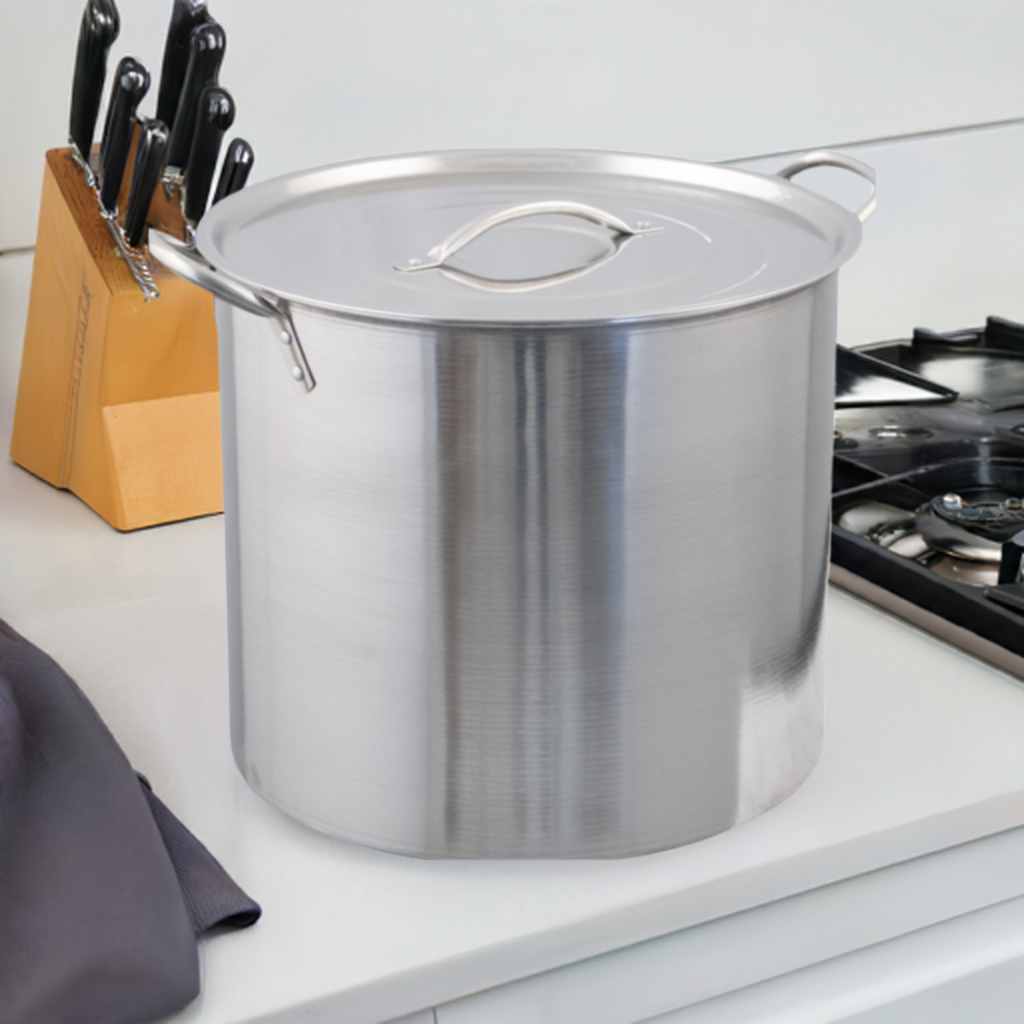
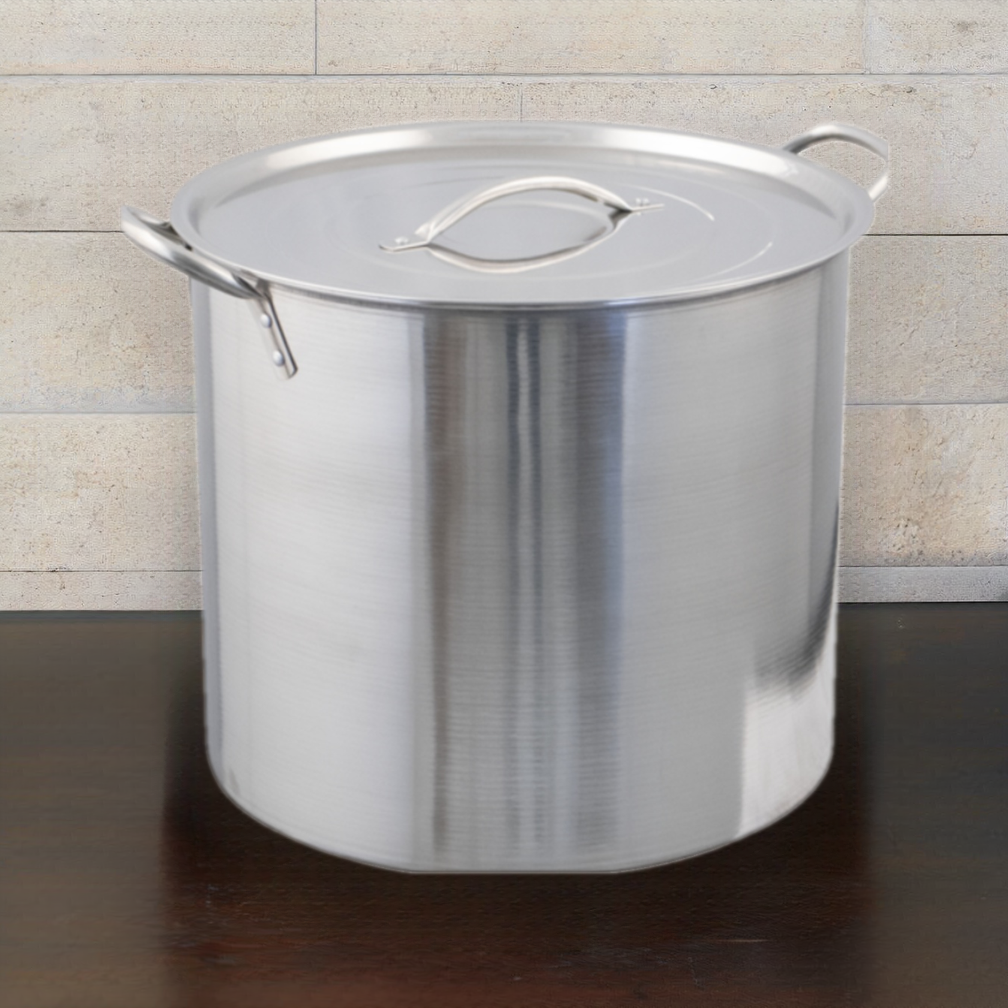
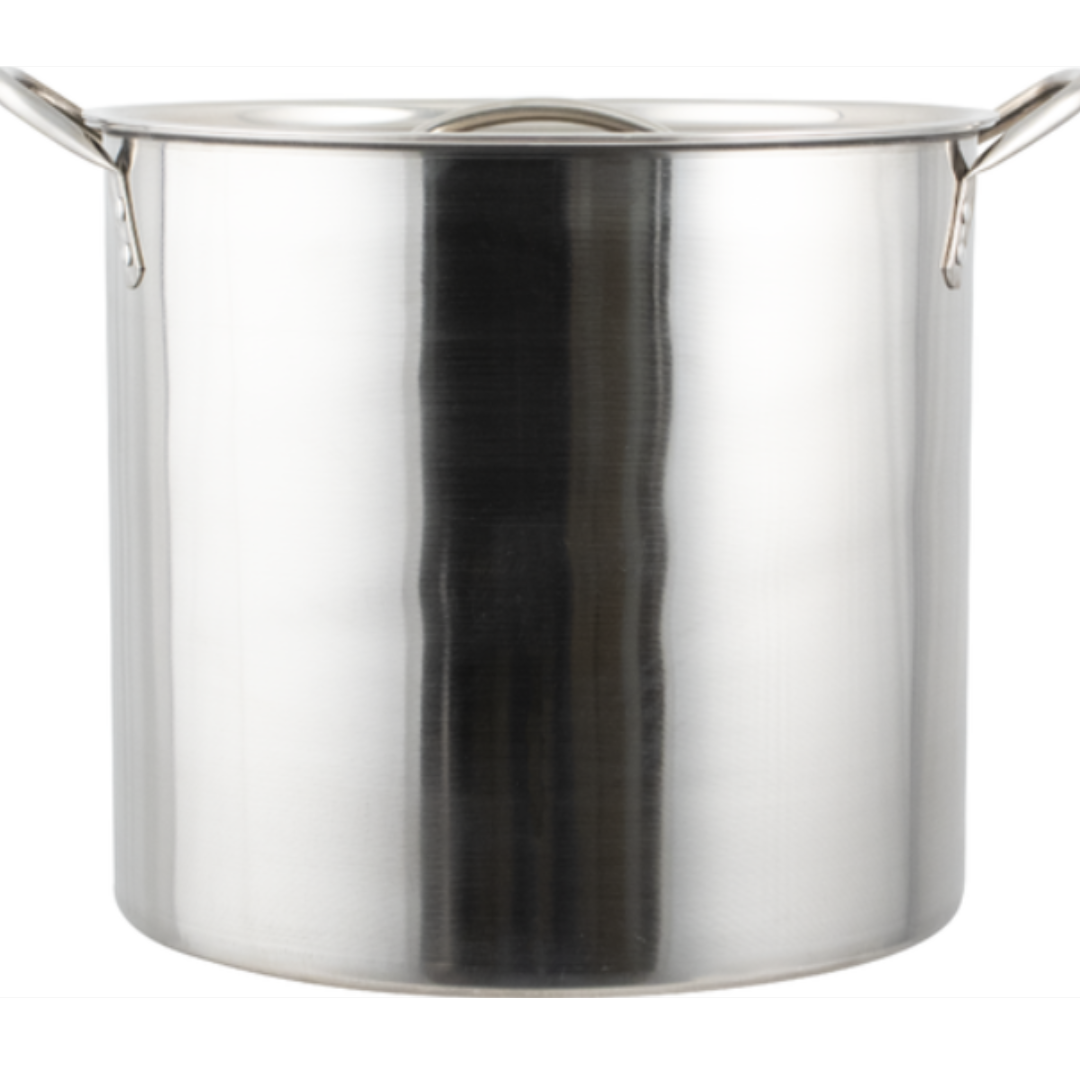
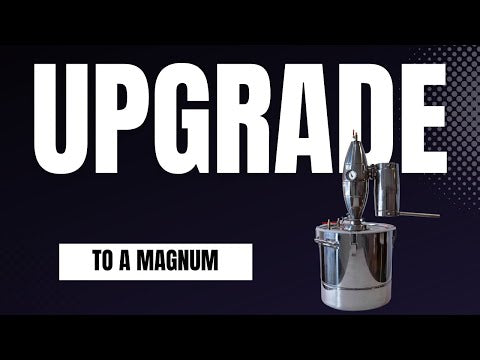
The Magnum All-in-One Moonshine Still
This still truly earns its name. With an amazing 50 liter kettle and dual vapor towers, the Magnum is our biggest still yet!
Sometimes bigger really is better and the Magnum is certainly an example of this. With its large capacity and dual vapor chambers, the Magnum is the ultimate in moonshine still technology.
Coupling simplicity and higher volume make the Magnum the perfect still for those who want quality shine from the comforts of home.
Click here to read the Magnum All-in-One Still manual
At How to Moonshine you get more than a quality still. We pride ourselves on taking you every step of the way through your moonshining journey. From our easy-to-understand manuals, videos, how-to tutorials, and step-by-step recipes, we have everything you need to be a successful moonshiner!
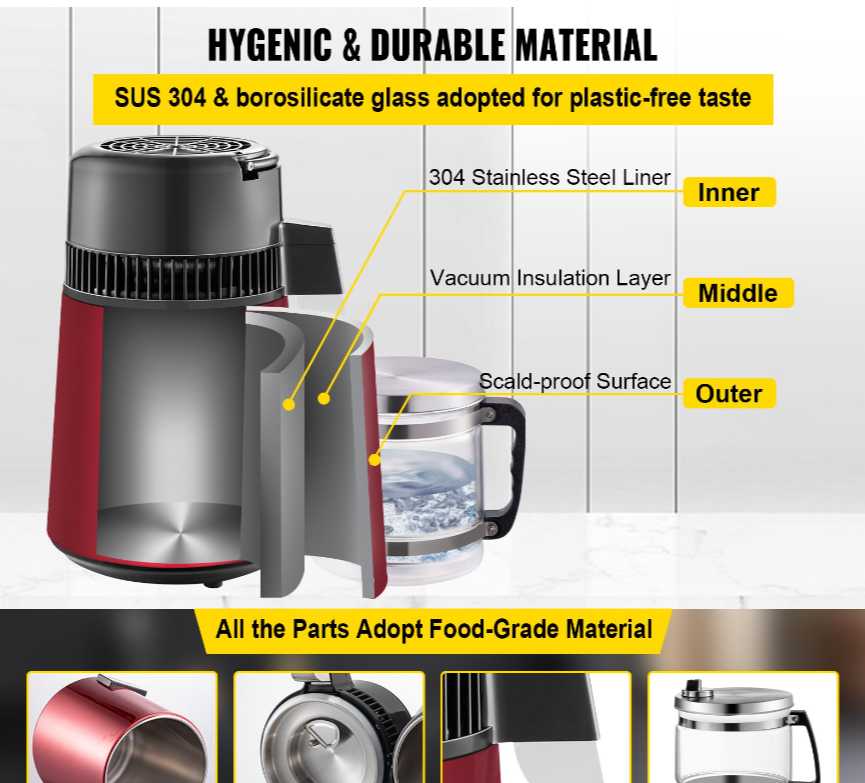
Material: 304 stainless steel
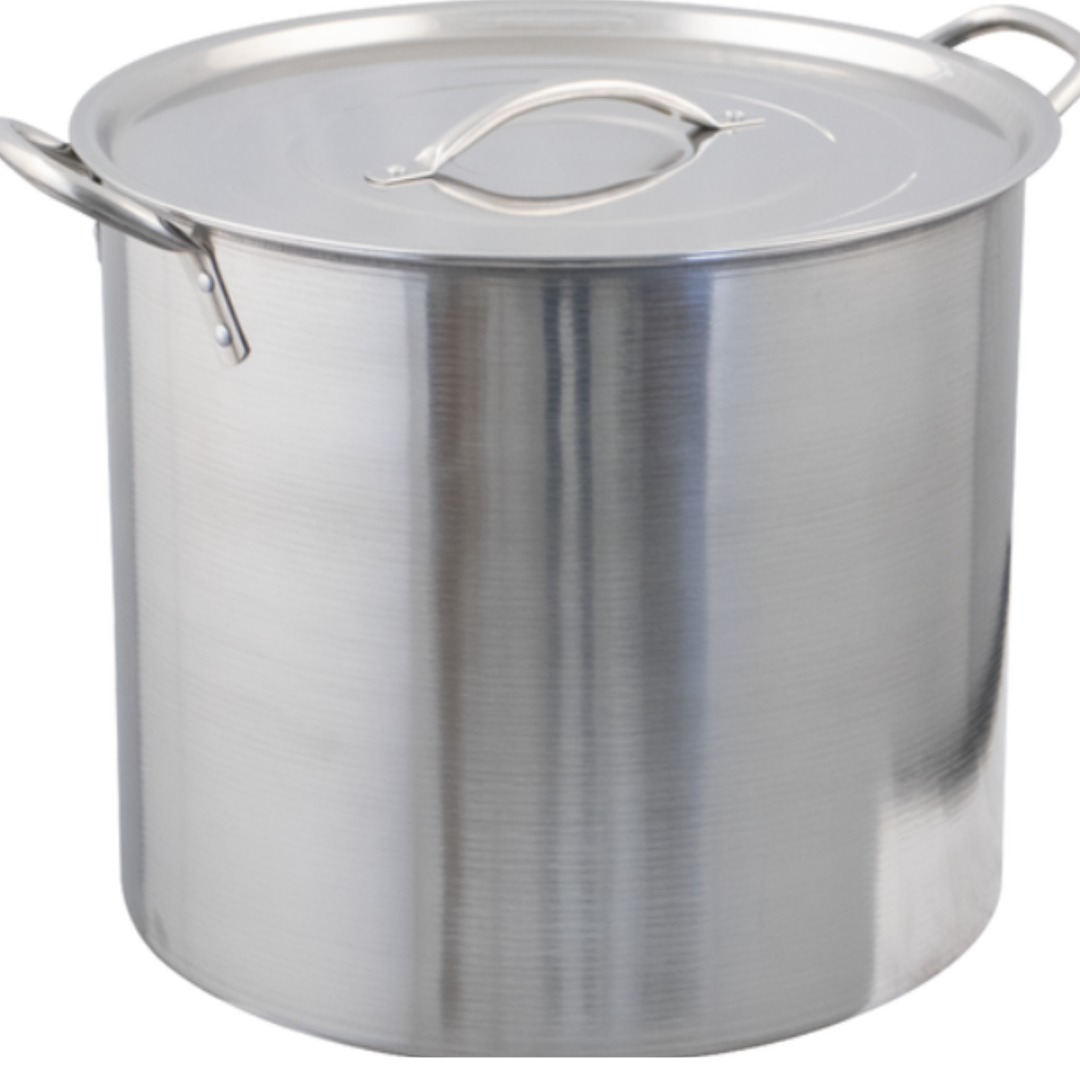
Distiller Capacity: 50 L/ 13.2 Gallon
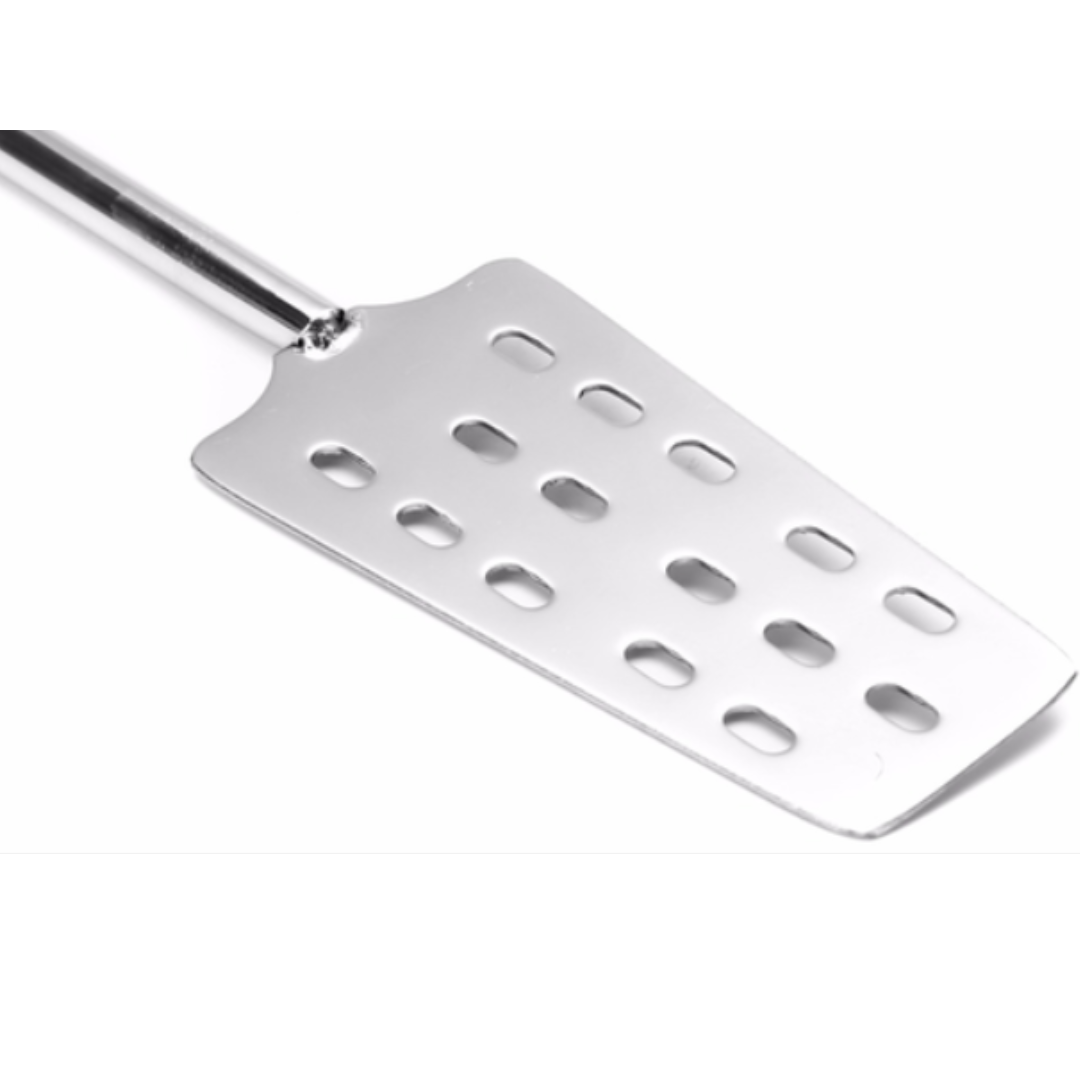
1 x Alcohol Distiller Moonshine Wine Making Boiler
1 x Water Pump
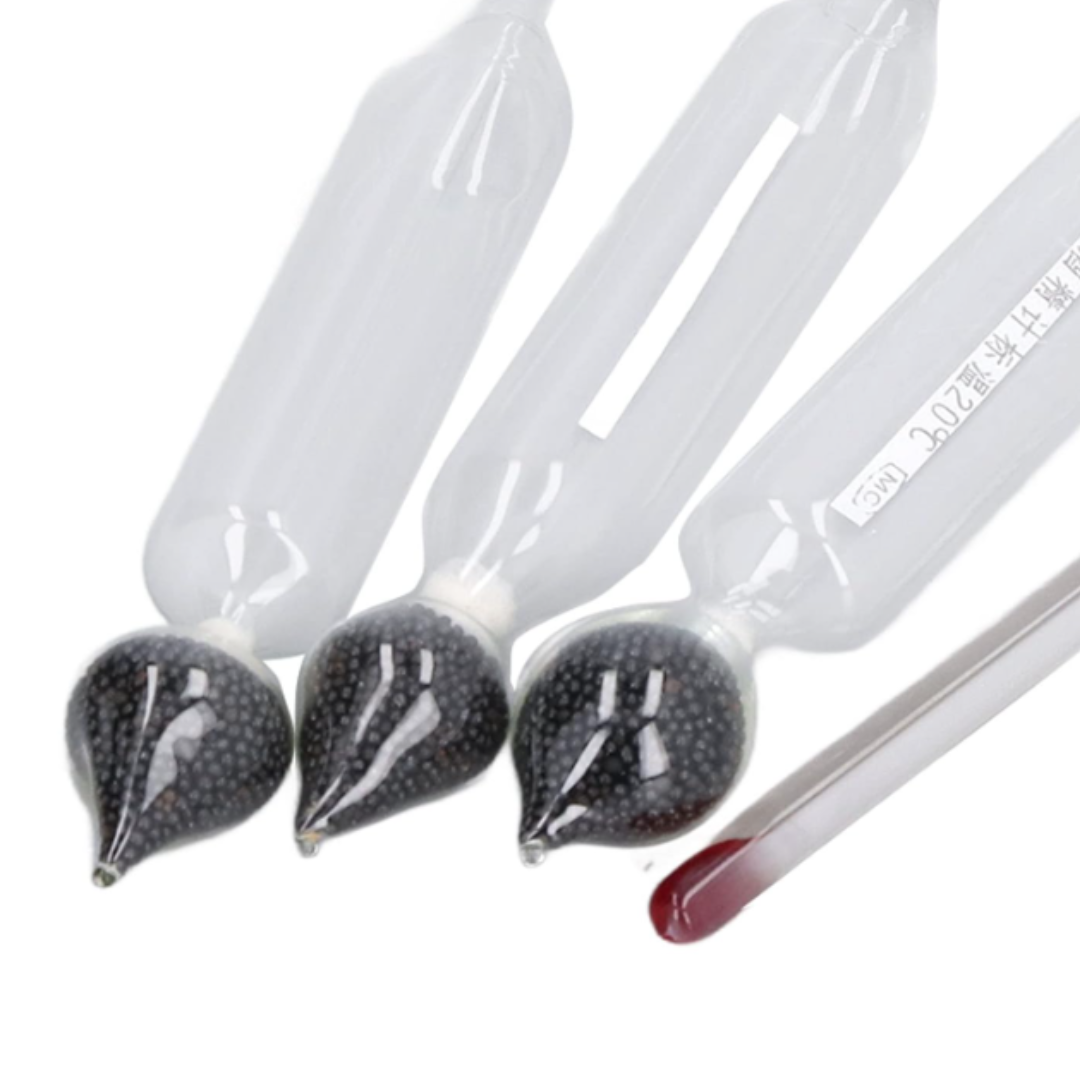
1 x Pack Of Ceramic Balls
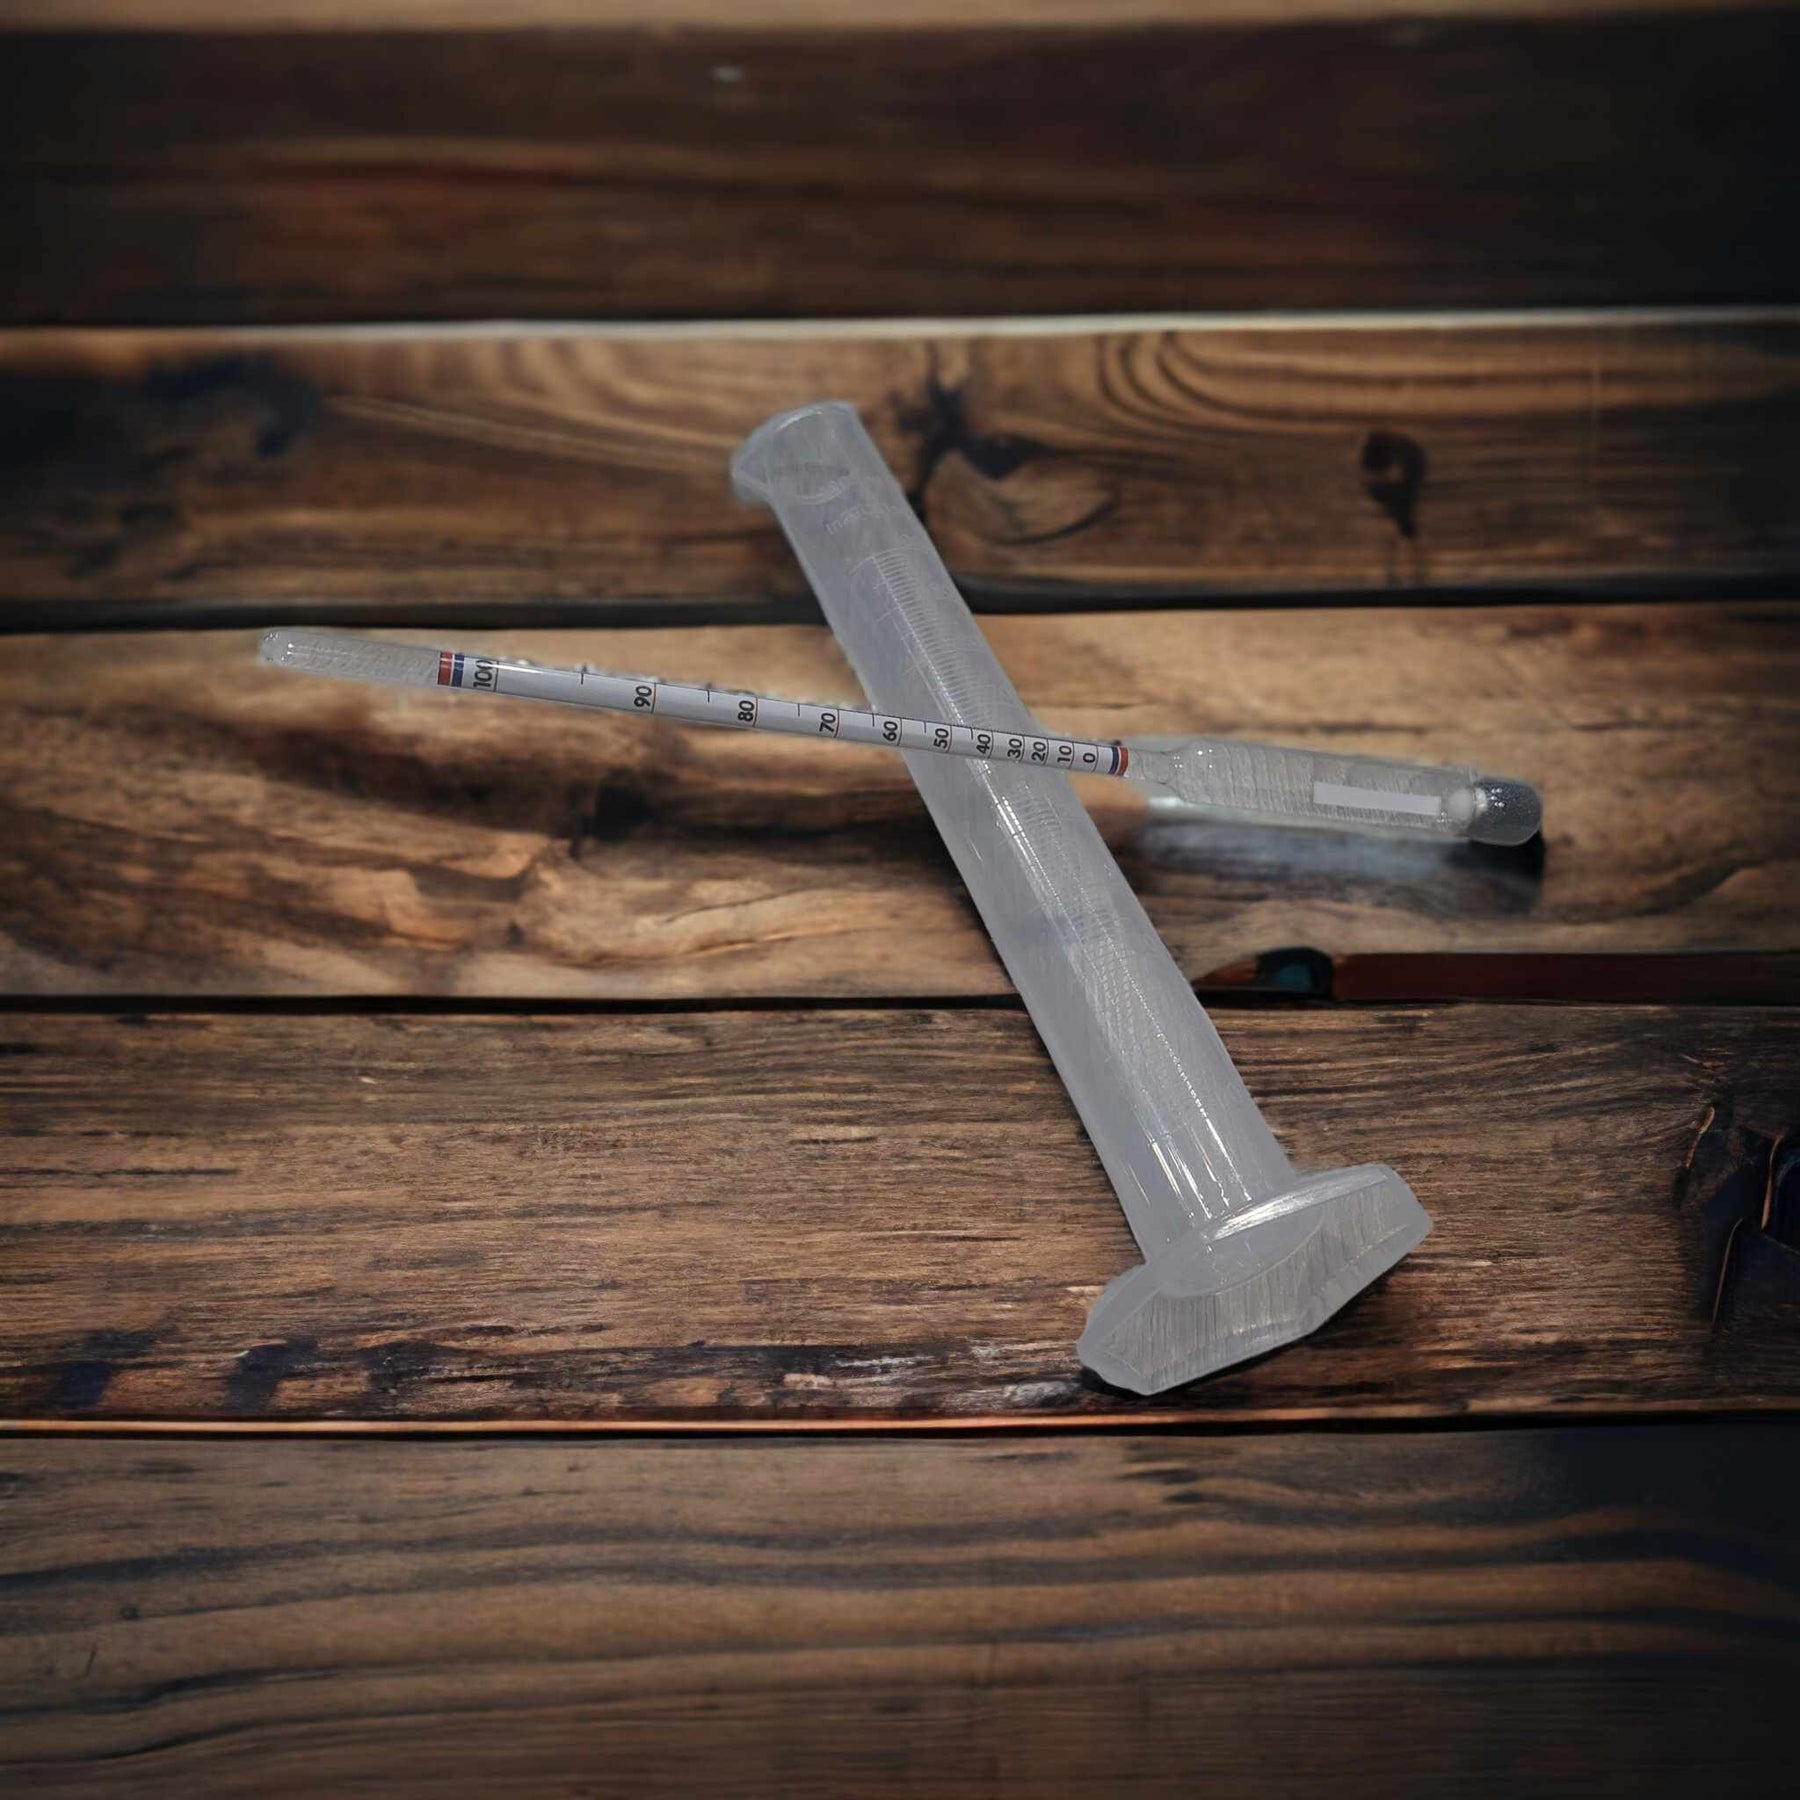
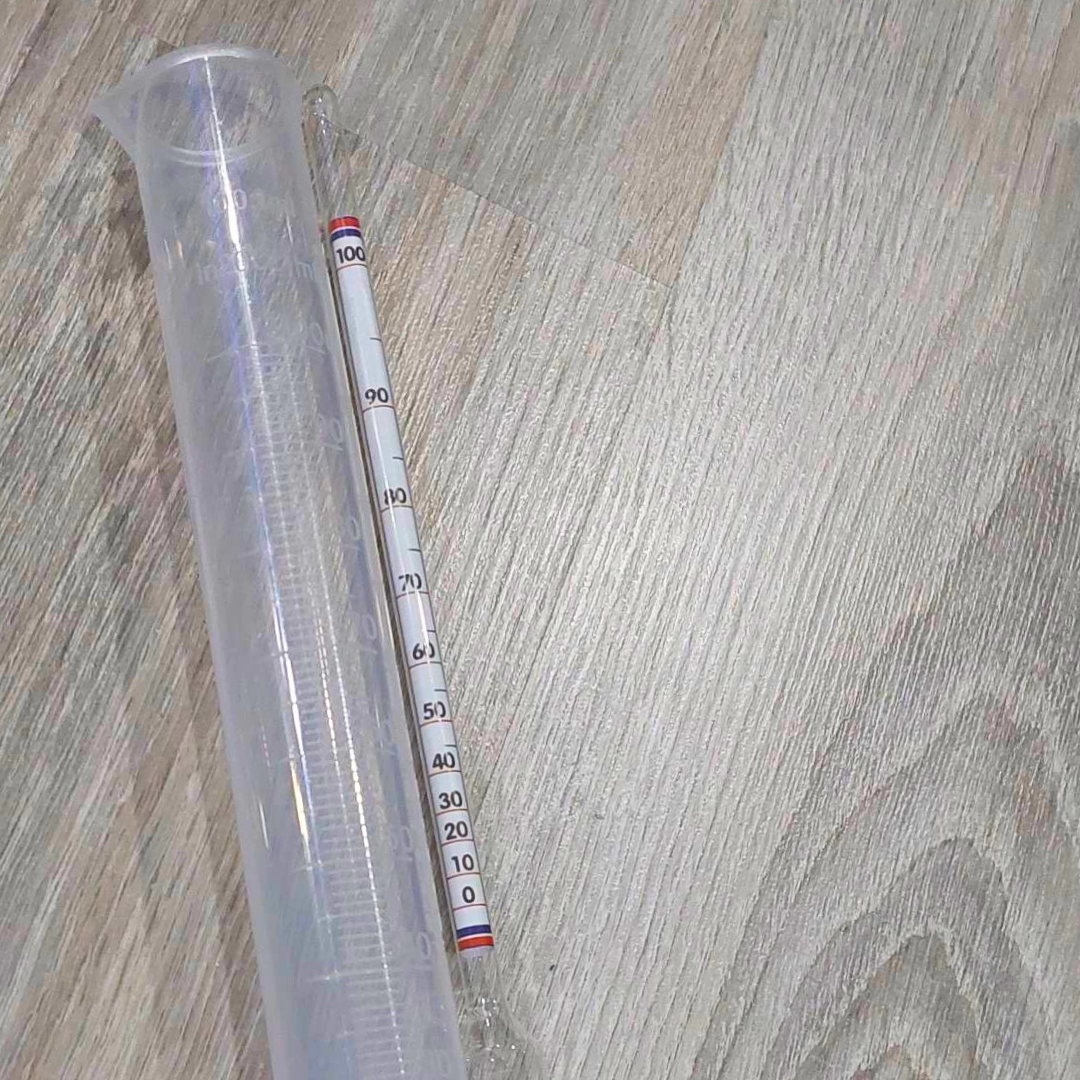
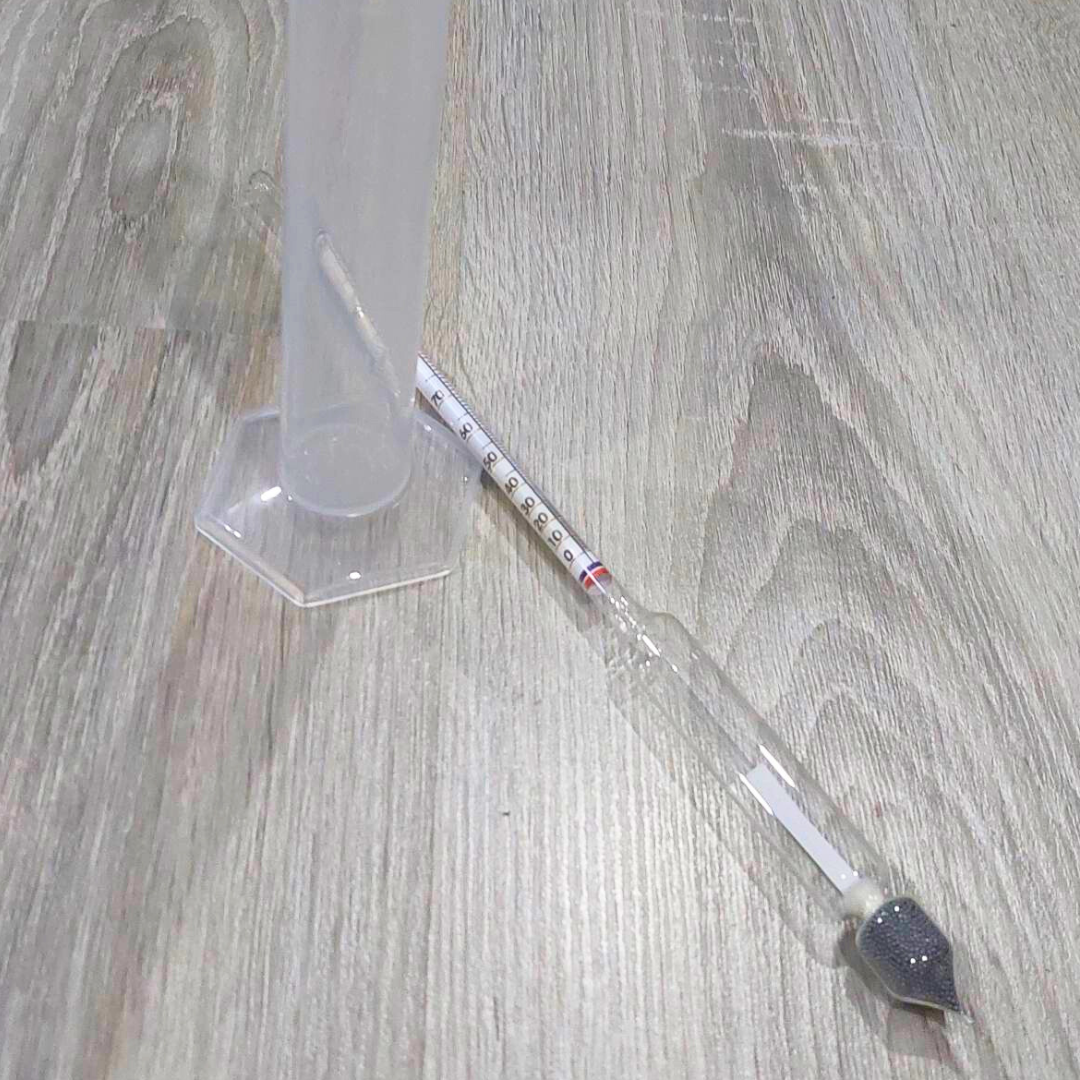
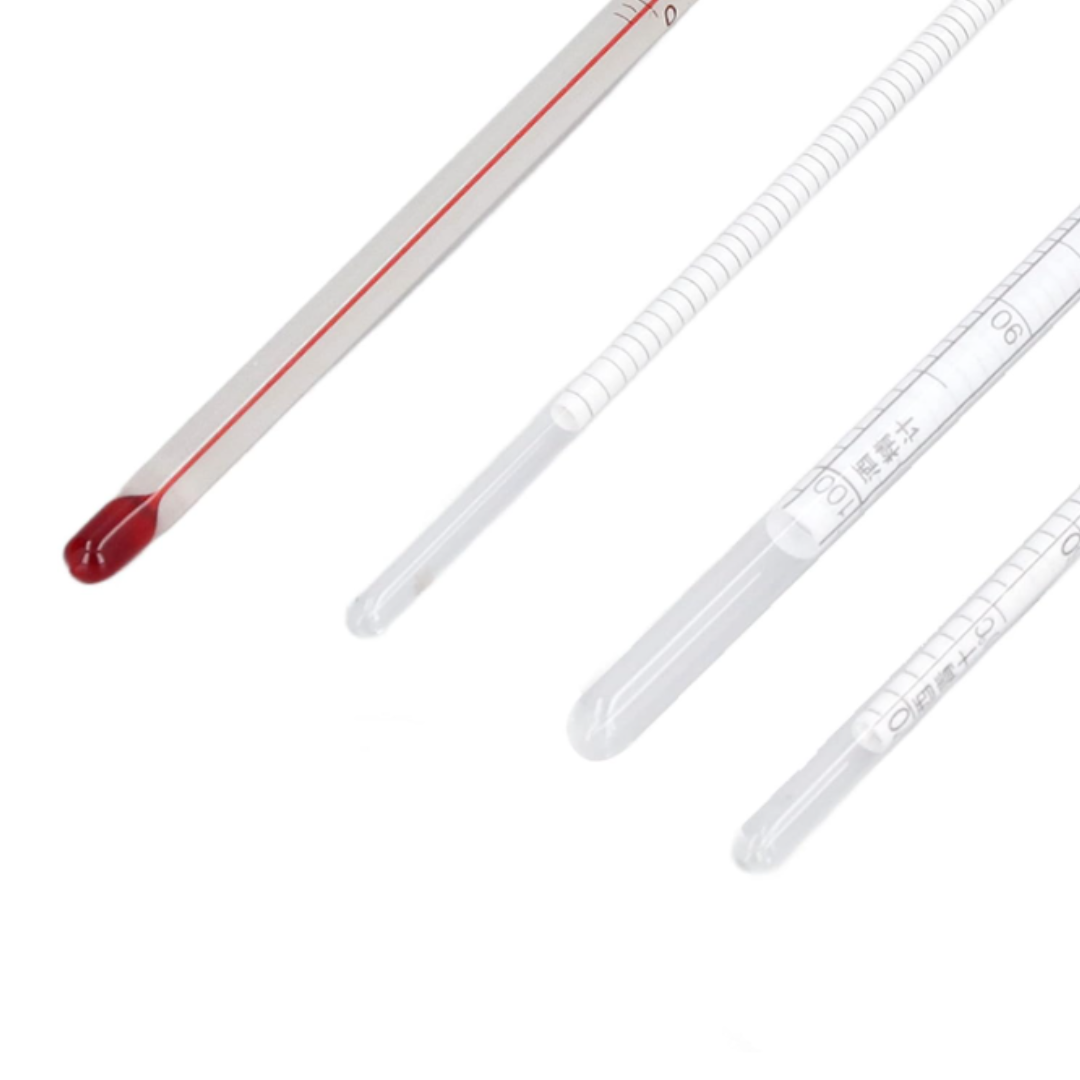
1 x 100ml Graduated Cylinder
1 x 2m Silicone Tube
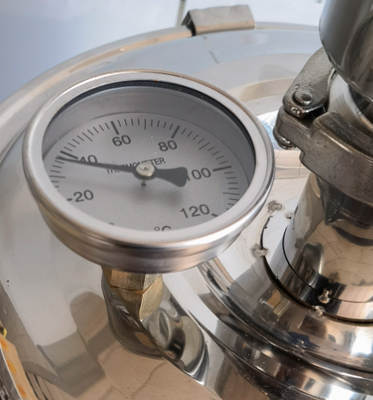
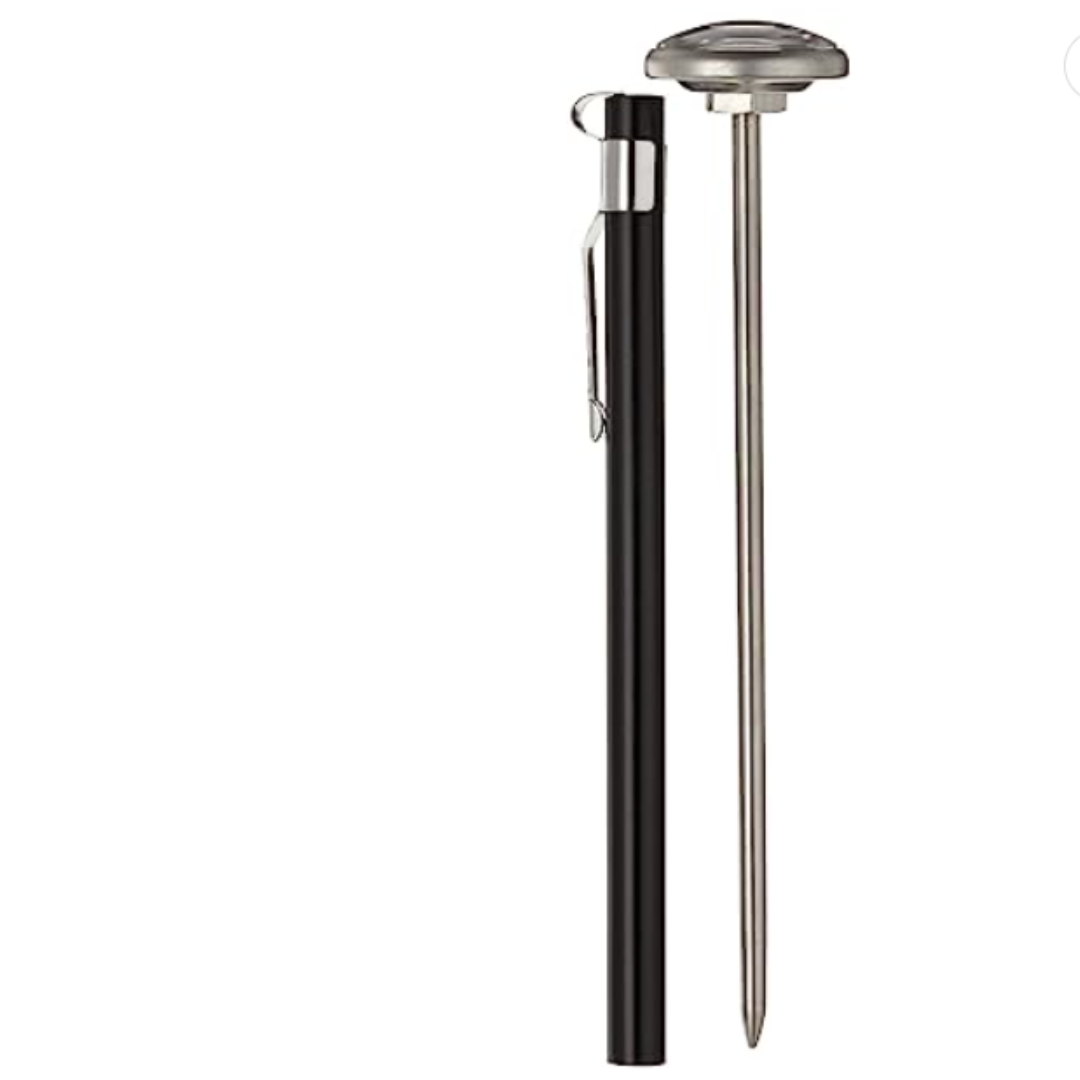
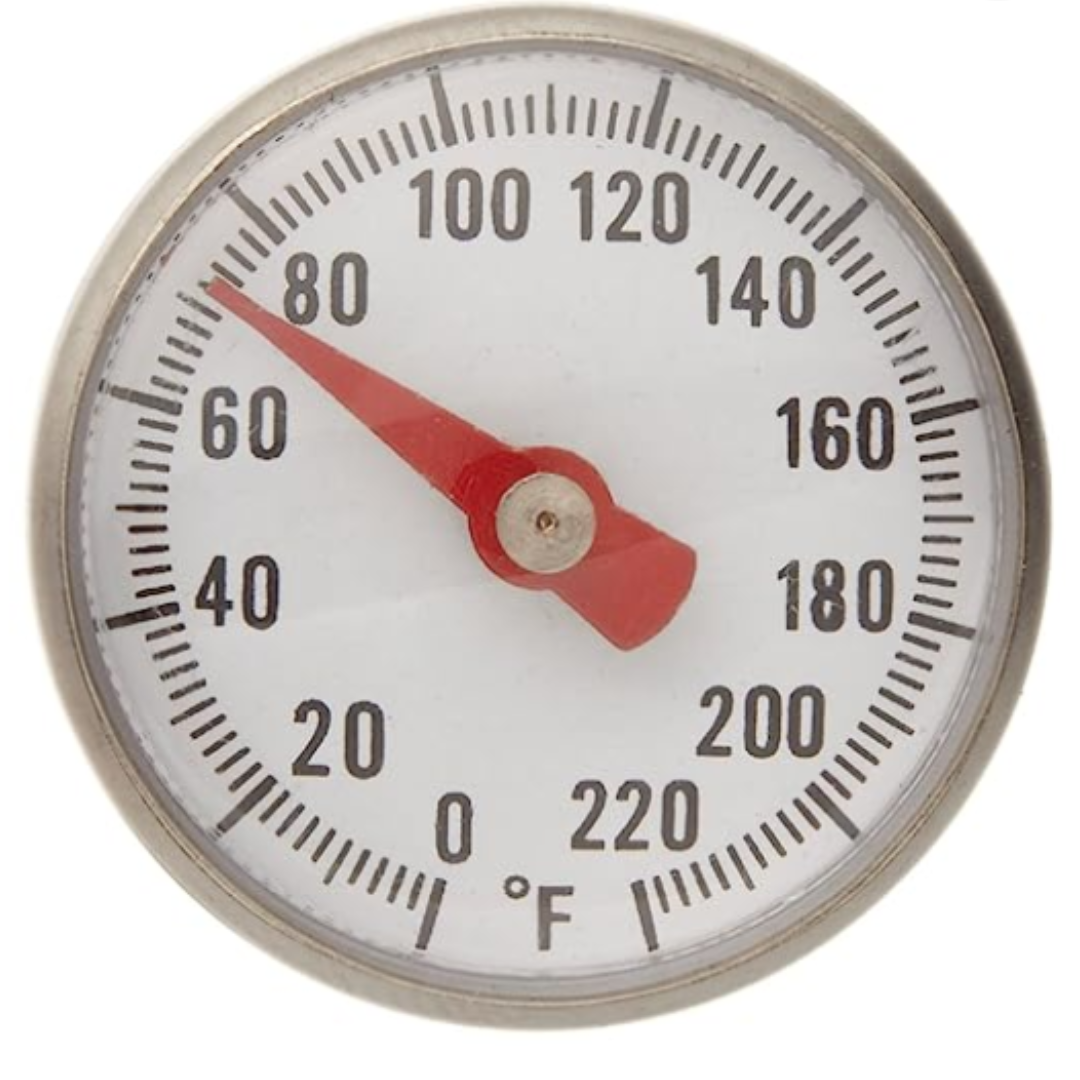
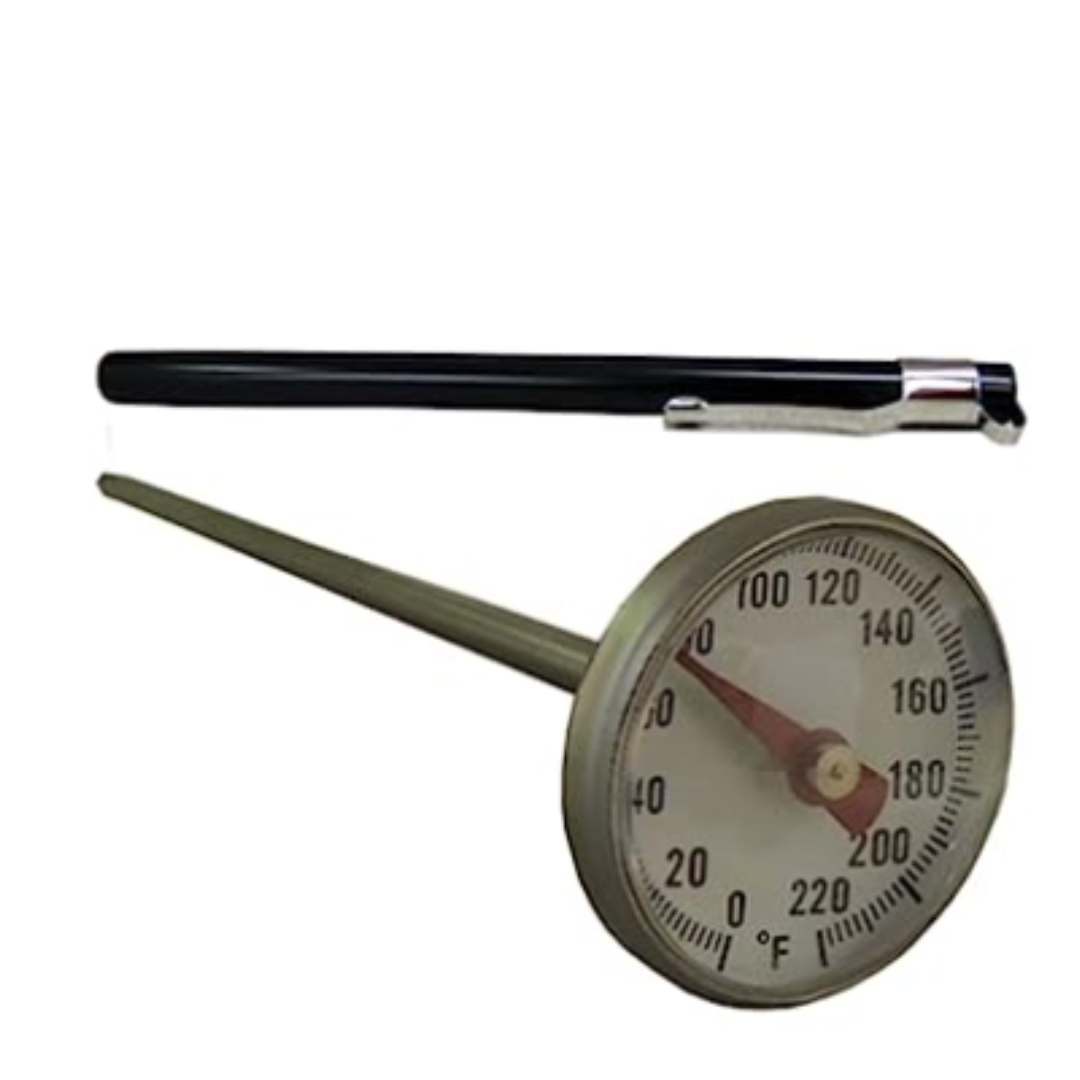
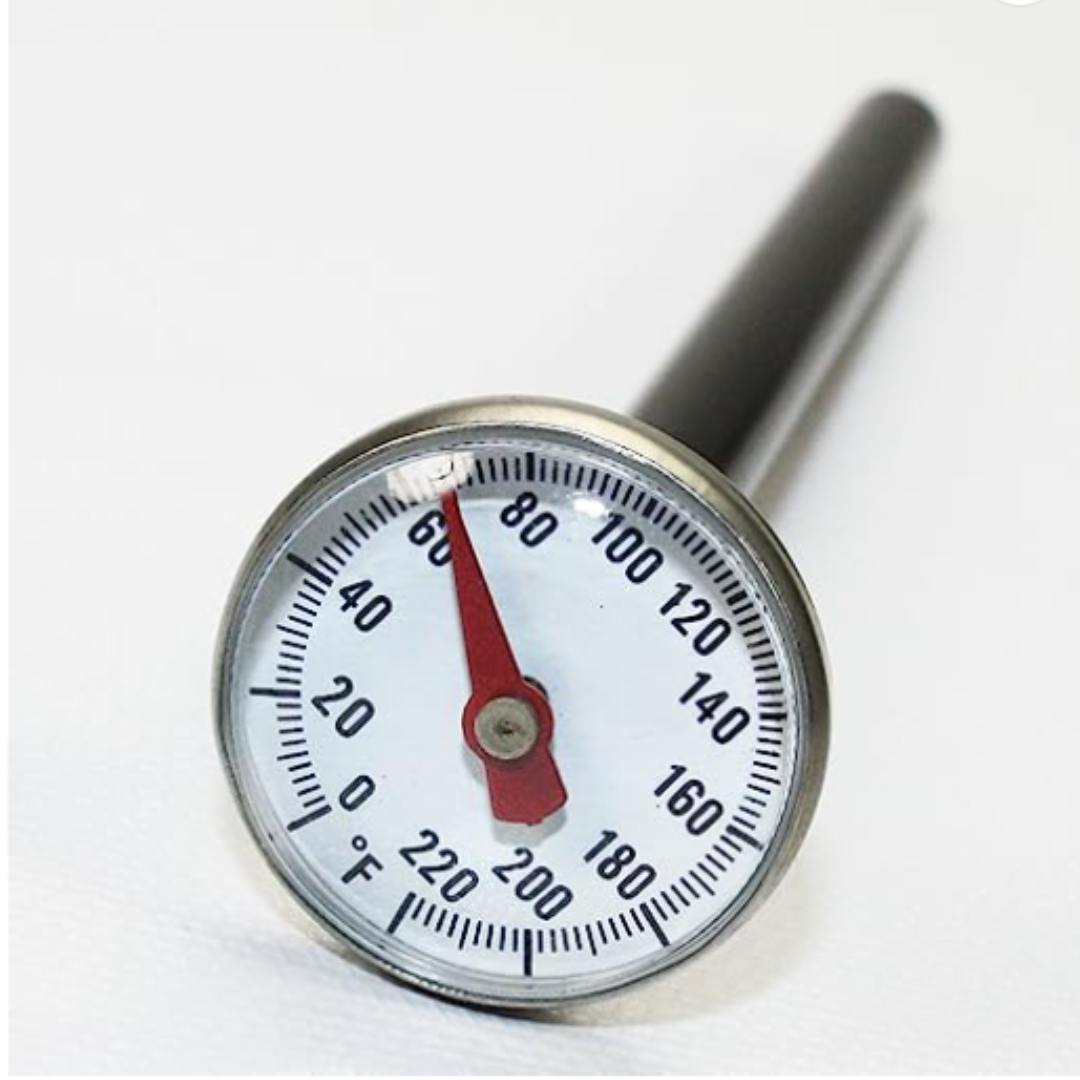
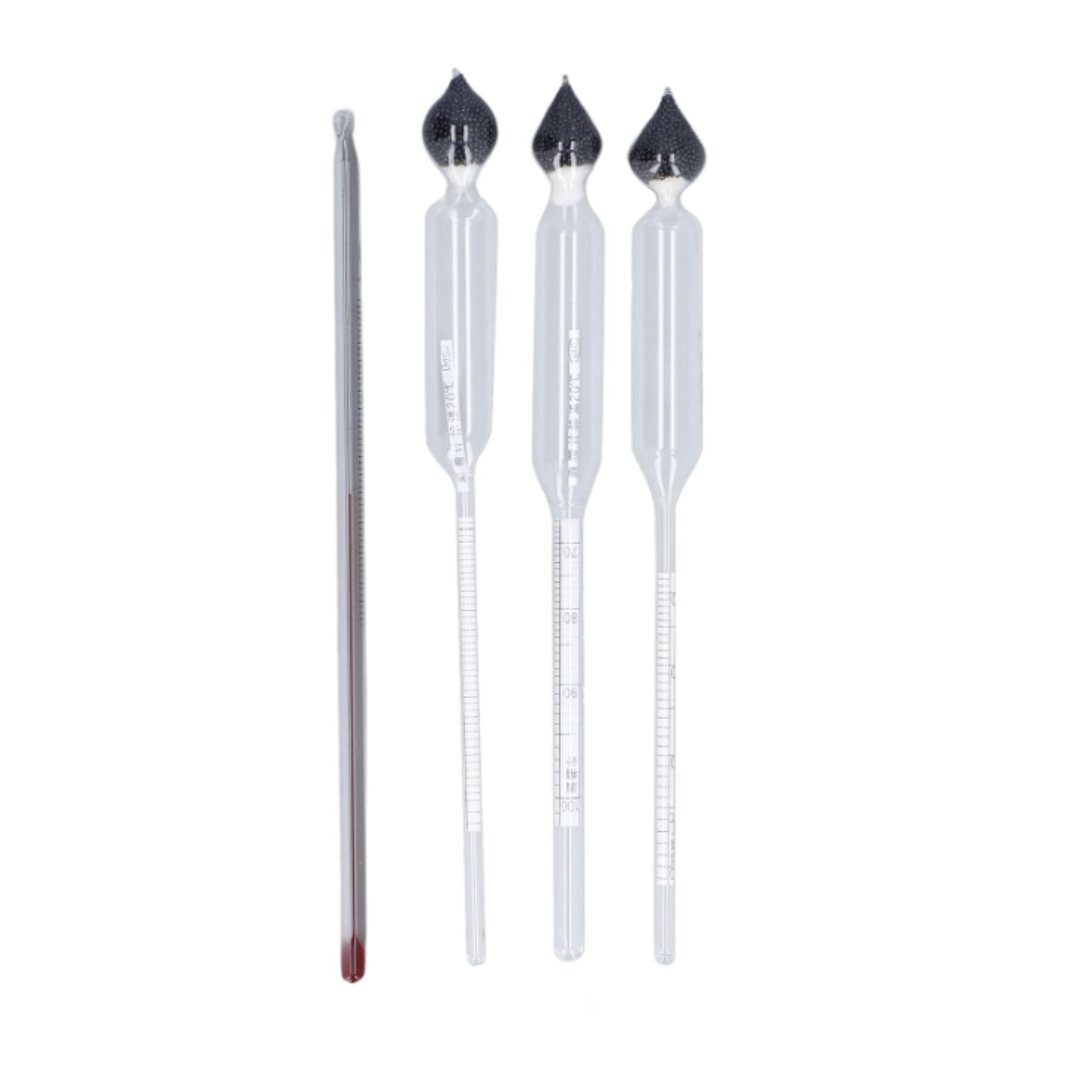
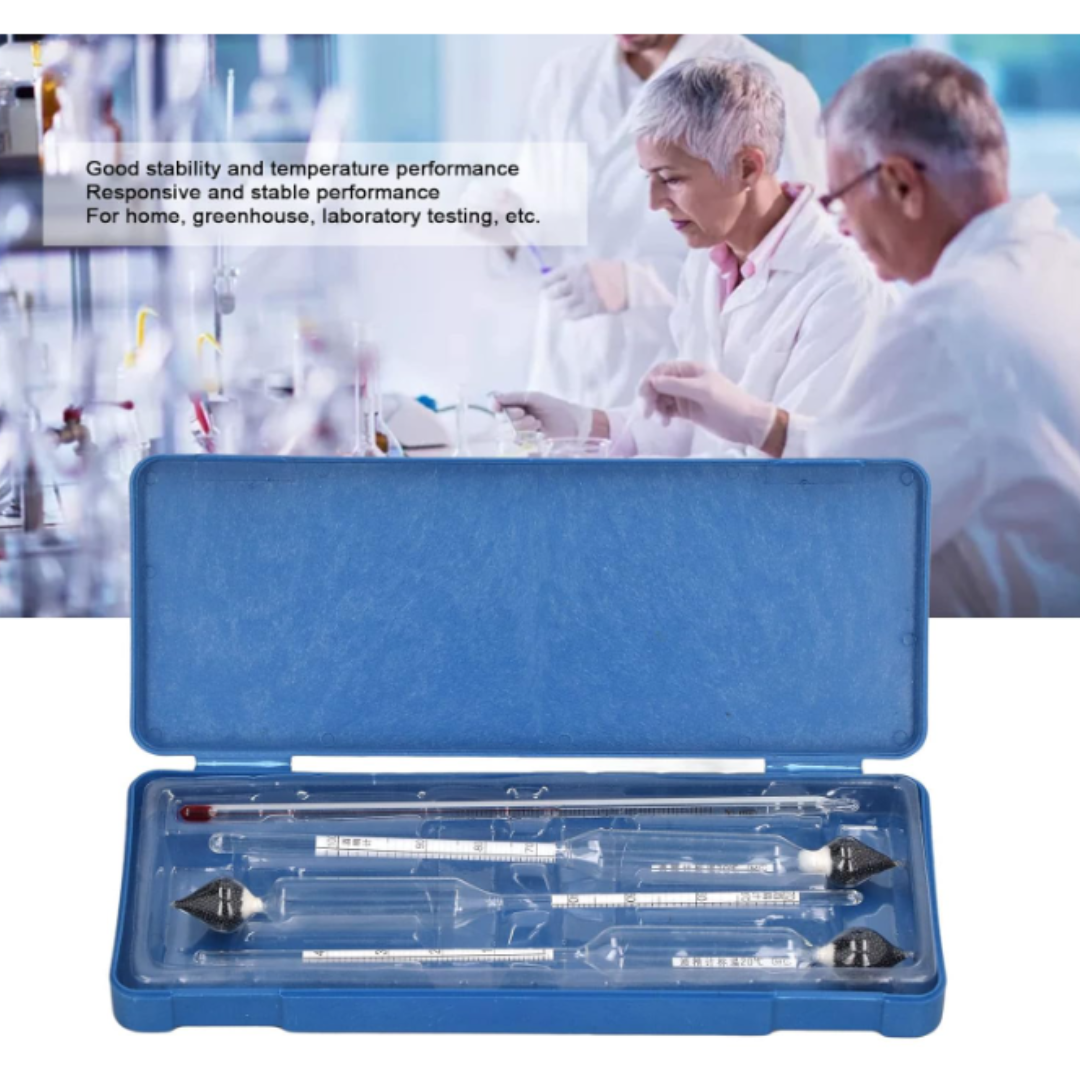
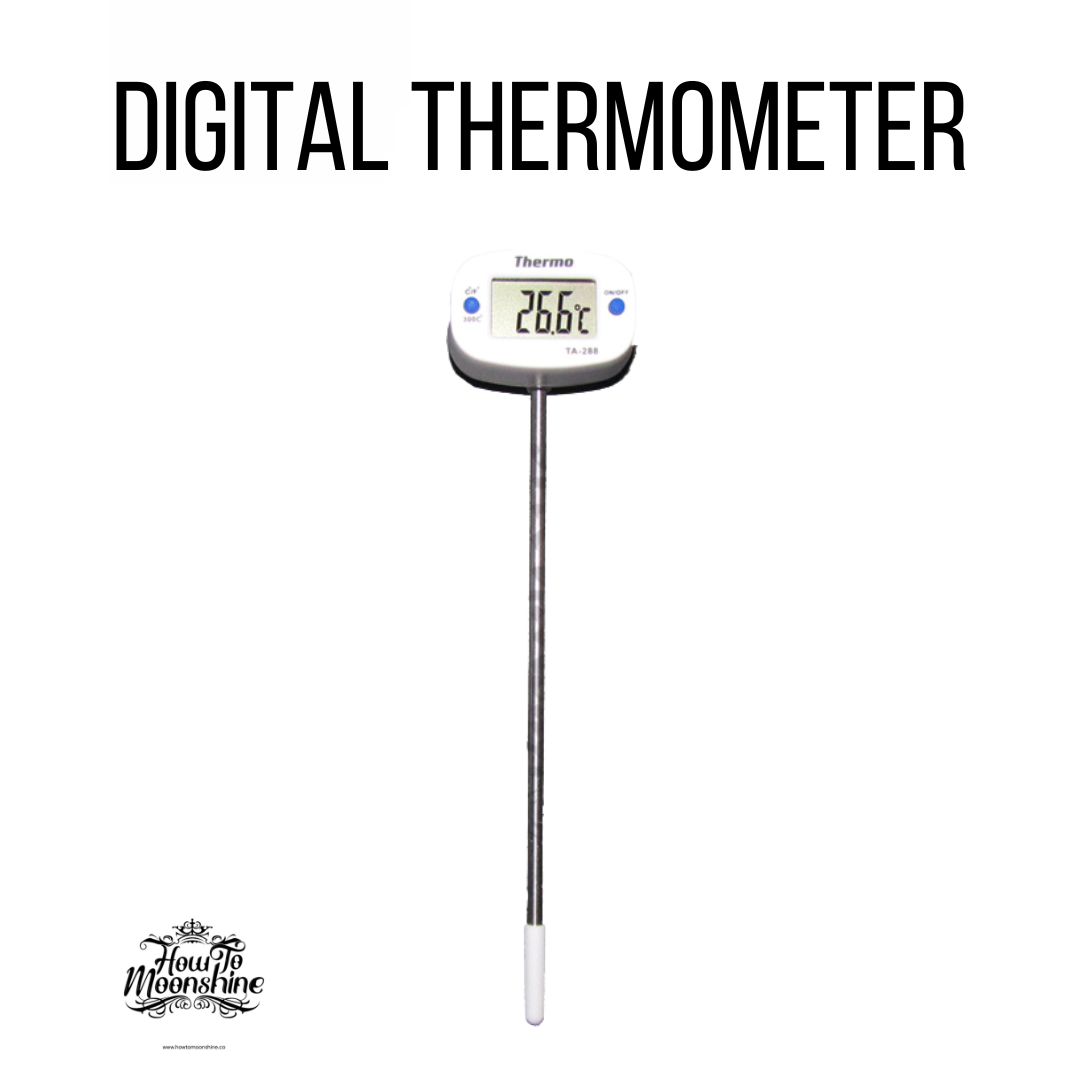
1 x Thermometer
1 x Exhaust Valve
1 x Seal Sheet
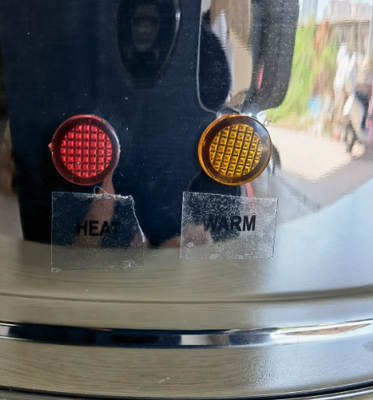
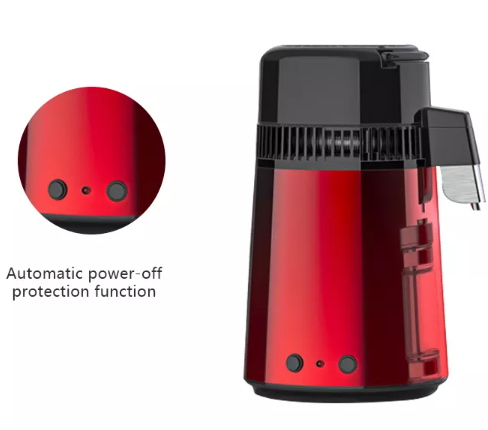
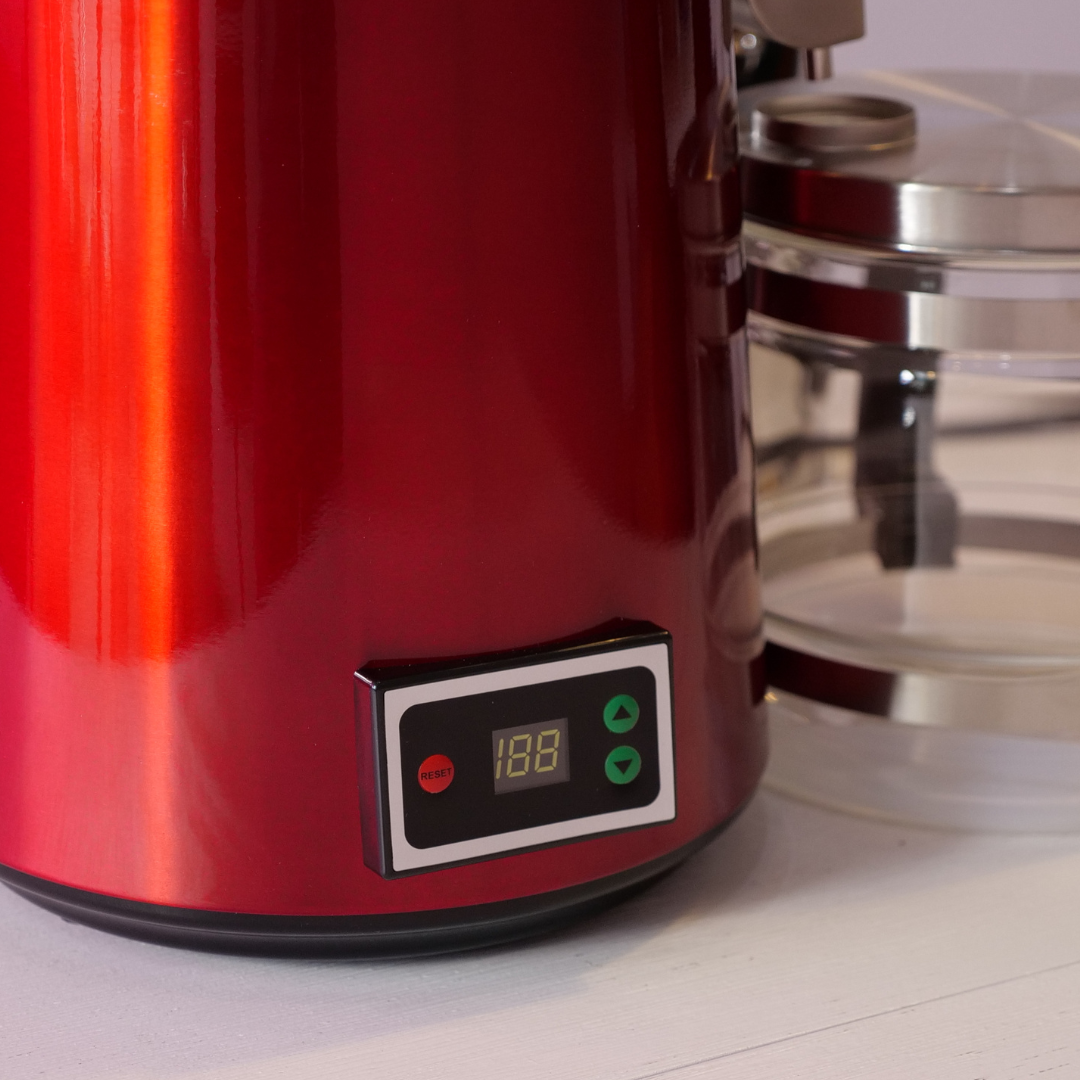
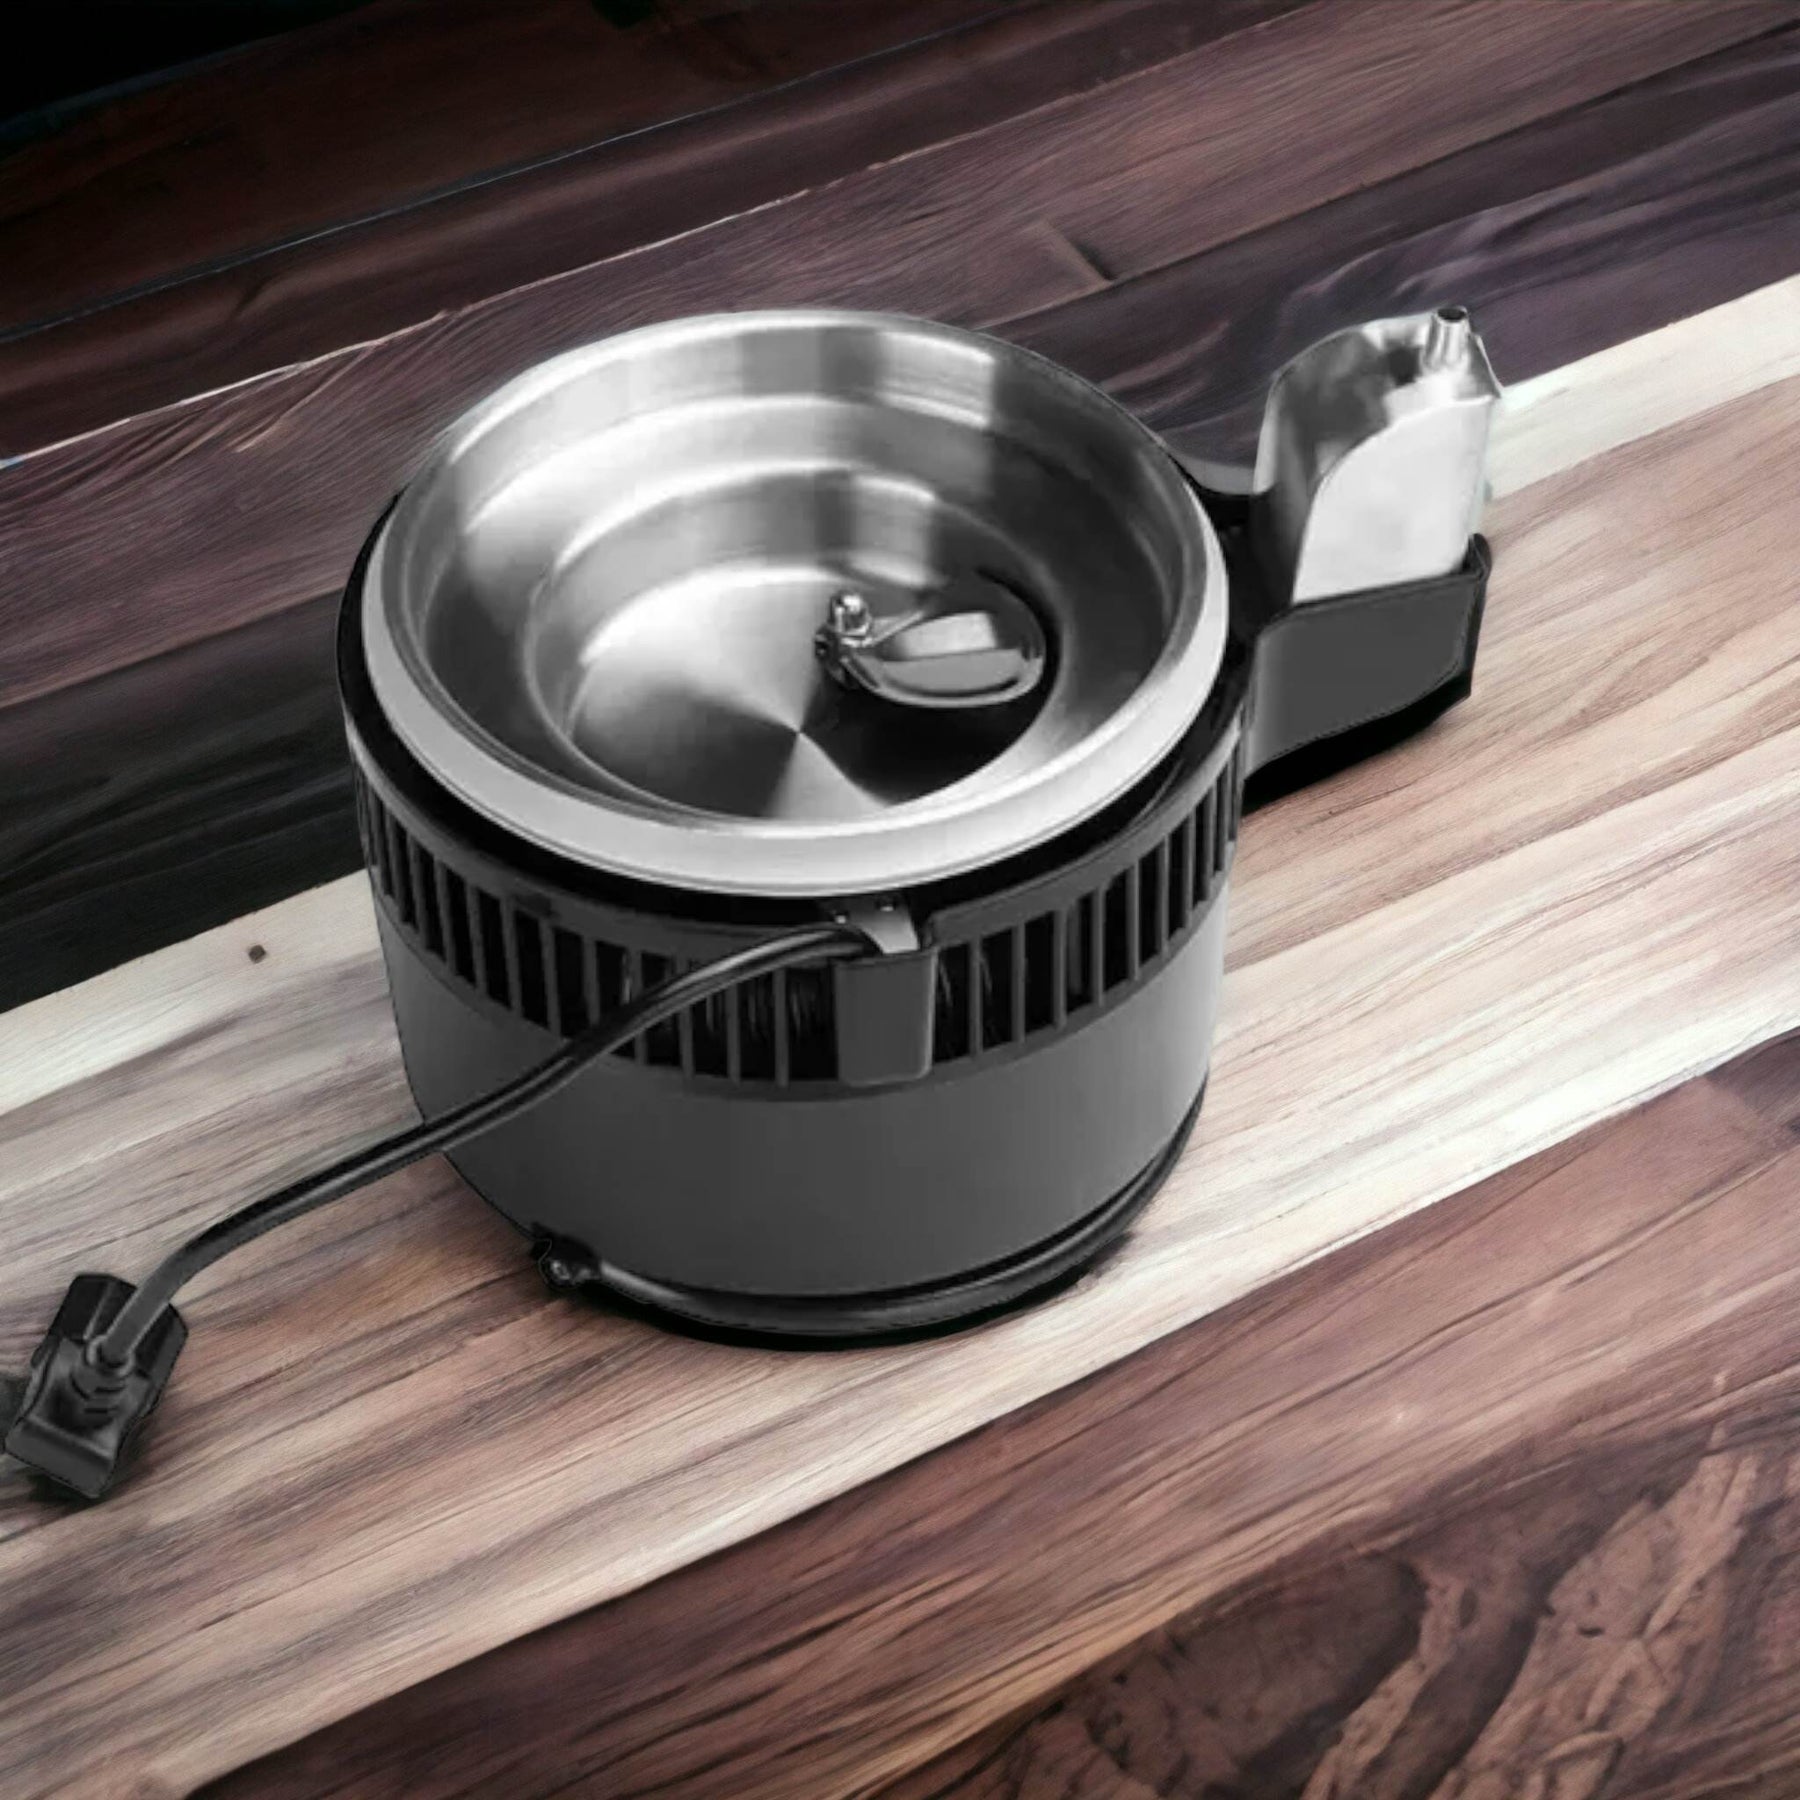
Moonshine Cherry - 1 Gallon Mini Airstill
Check out our Moonshine Cherry AirStill, a compact and user-friendly way to begin distilling your own spirits.
Its plug-and-play design means your delicious moonshine is just a press of a button away. Plus, its concise size makes it an ideal fit for your kitchen counter.
Get started creating your very own moonshine in as little as two hours. Unsurprisingly, the Moonshine Cherry AirStill is named after its deep red hue and its capabilities to produce great moonshine. This small, kettle-like device offers a hassle-free moonshine-making experience.
This still is a fraction of the cost of our other home distilling units, yet is capable of making flavorful moonshine without the use of cooling water and additional parts.

At How to Moonshine, we ship all of our products out of our New York warehouse. This means you aren't stuck waiting for weeks to get started making your first batch. We get your still to you quickly and easily.
Once you have placed your order you will receive a confirmation email signaling that we have received your order in our system and pre-authorized your credit card.
If your item(s) are available for immediate shipment (within 5 business days), we will process the charges and submit the order for shipment.
Damages:
Please inspect the packaging of your item(s) when they arrive. If you notice any damage, you should make note of it when signing for delivery. If your item(s) arrive damaged, please send photos to returns@howtomoonshine.com, and we will process an insurance claim on your behalf.
Cancellations & Refunds:
All orders canceled after 48 hours are subject to a $20 administration fee. If your order has already shipped, you (the buyer) will be responsible for return shipping charges. Refunds will be issued to the credit card you used upon purchase.
Make Your Own Moonshine Cherries
At How to Make Moonshine we are more than just a still supplier. We believe in supporting our customers through every step of their moonshining journey.
From our how-to guides, easy step-by-step recipes, and How to Make Moonshine E-book, we are here to help every step of the way.
This means that your relationship with us does not end when you receive your still. Instead, it is just the beginning.
At How to Make Moonshine, we pride ourselves on our world-class customer service. We are available to answer your technical questions and give you tips to make the most of your moonshine.
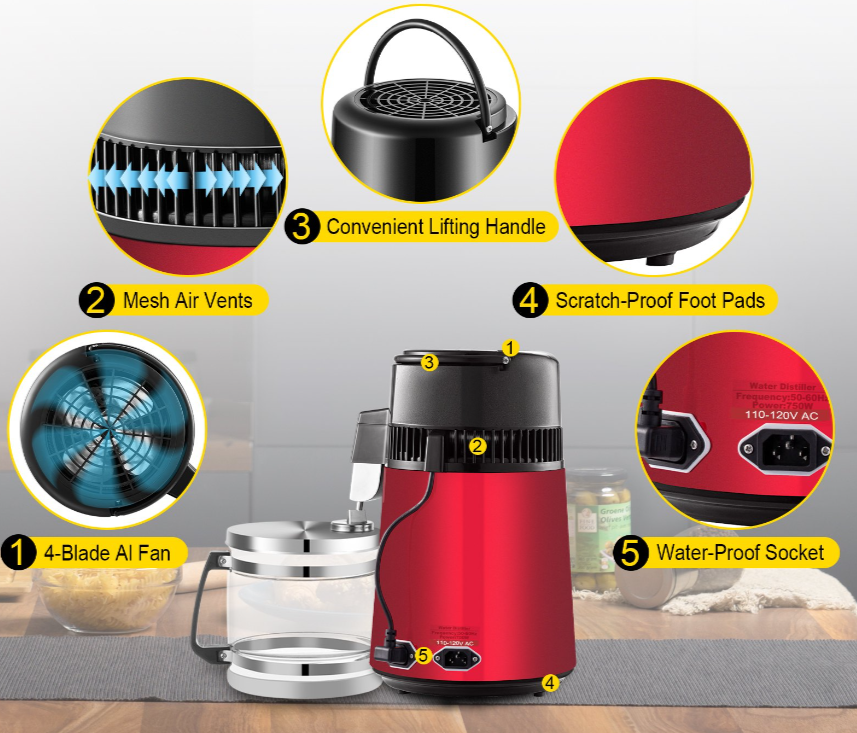
Features