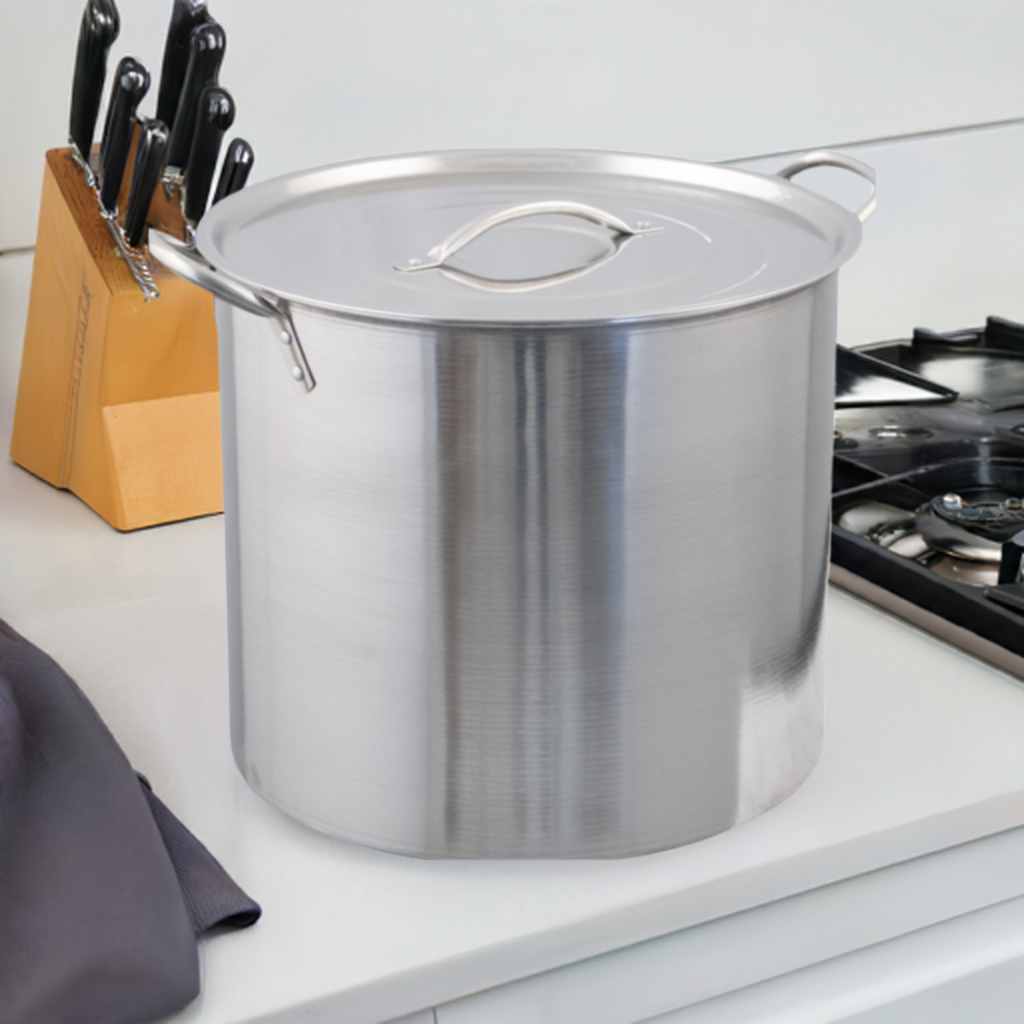
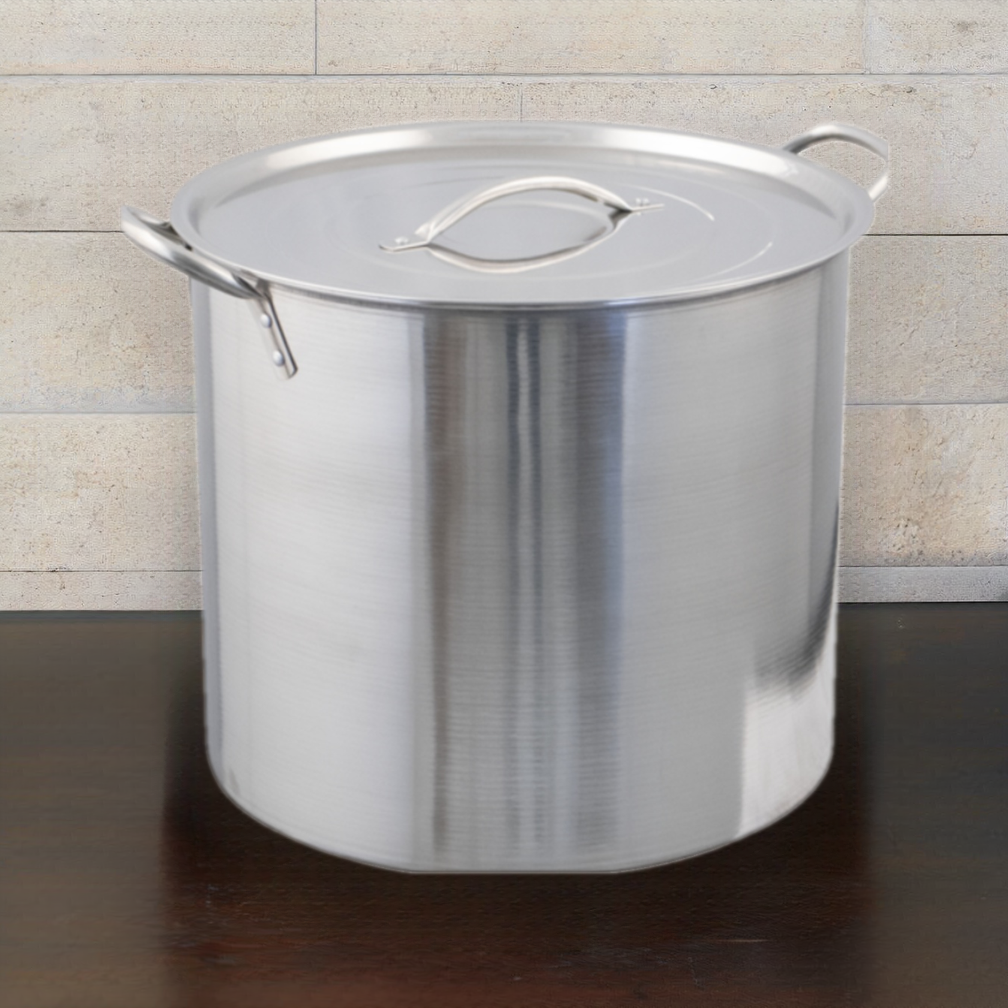
Craft delicious, high-quality bourbon from home with the help of our Bourbon Grain Kit!
- Create a rich and distinctive flavor
- Enjoy a complex flavor beyond the typical corn dominated mash
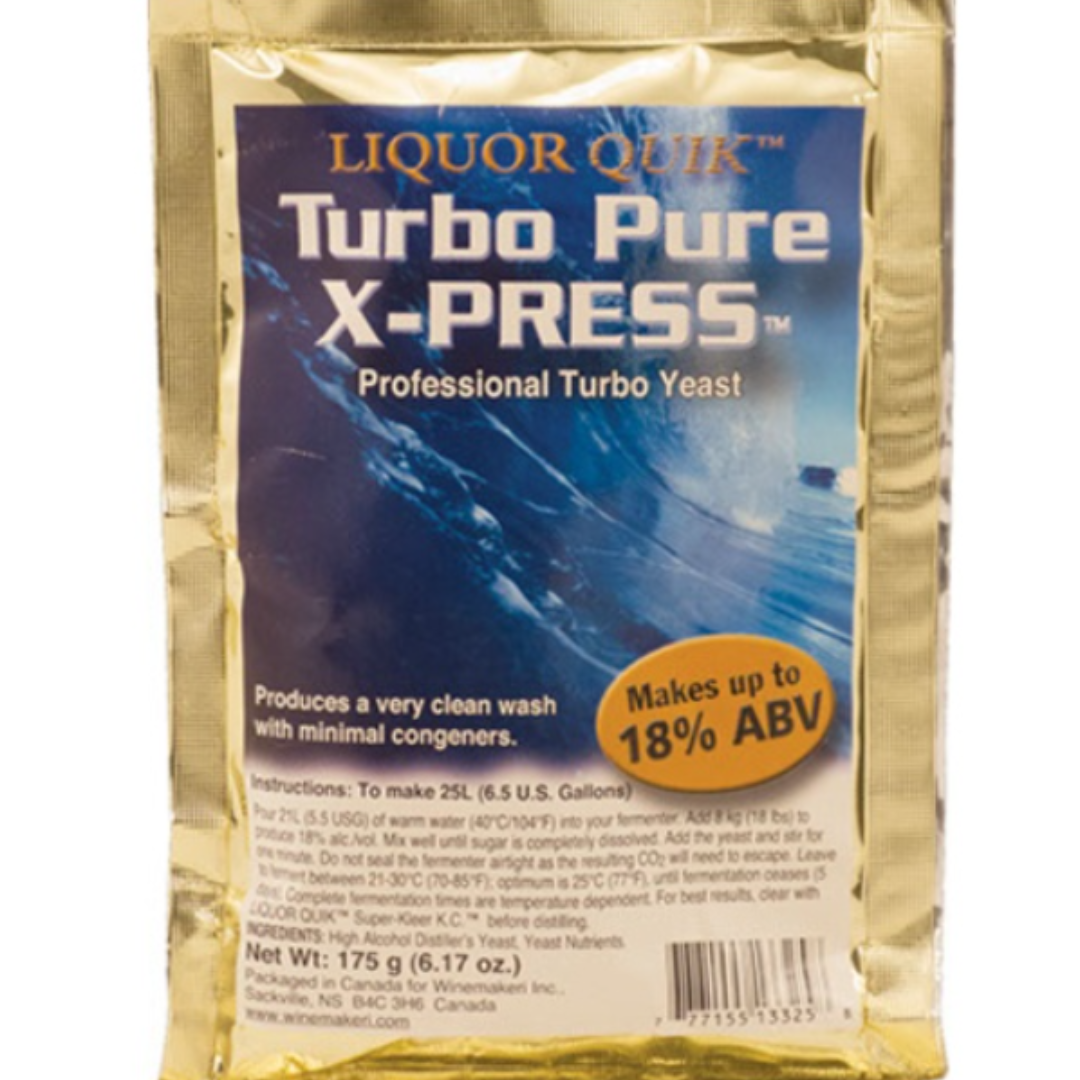
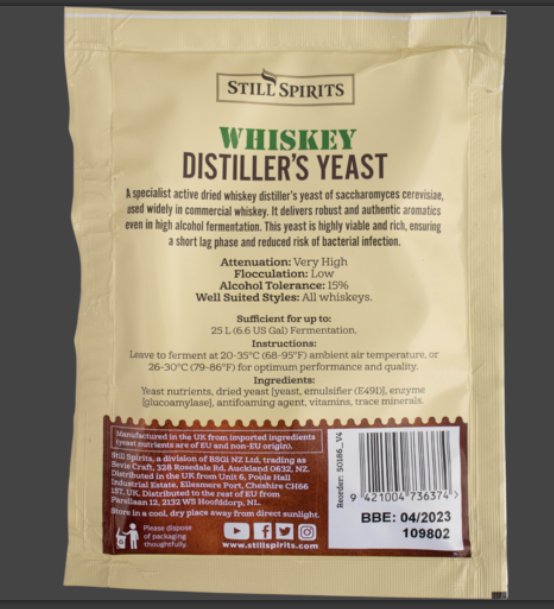
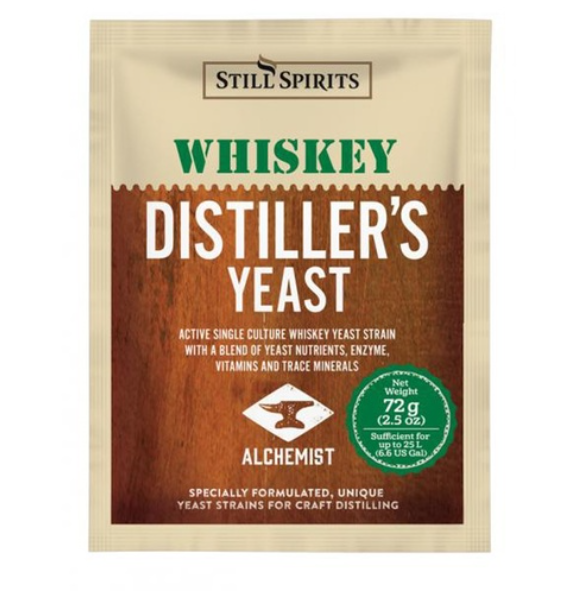
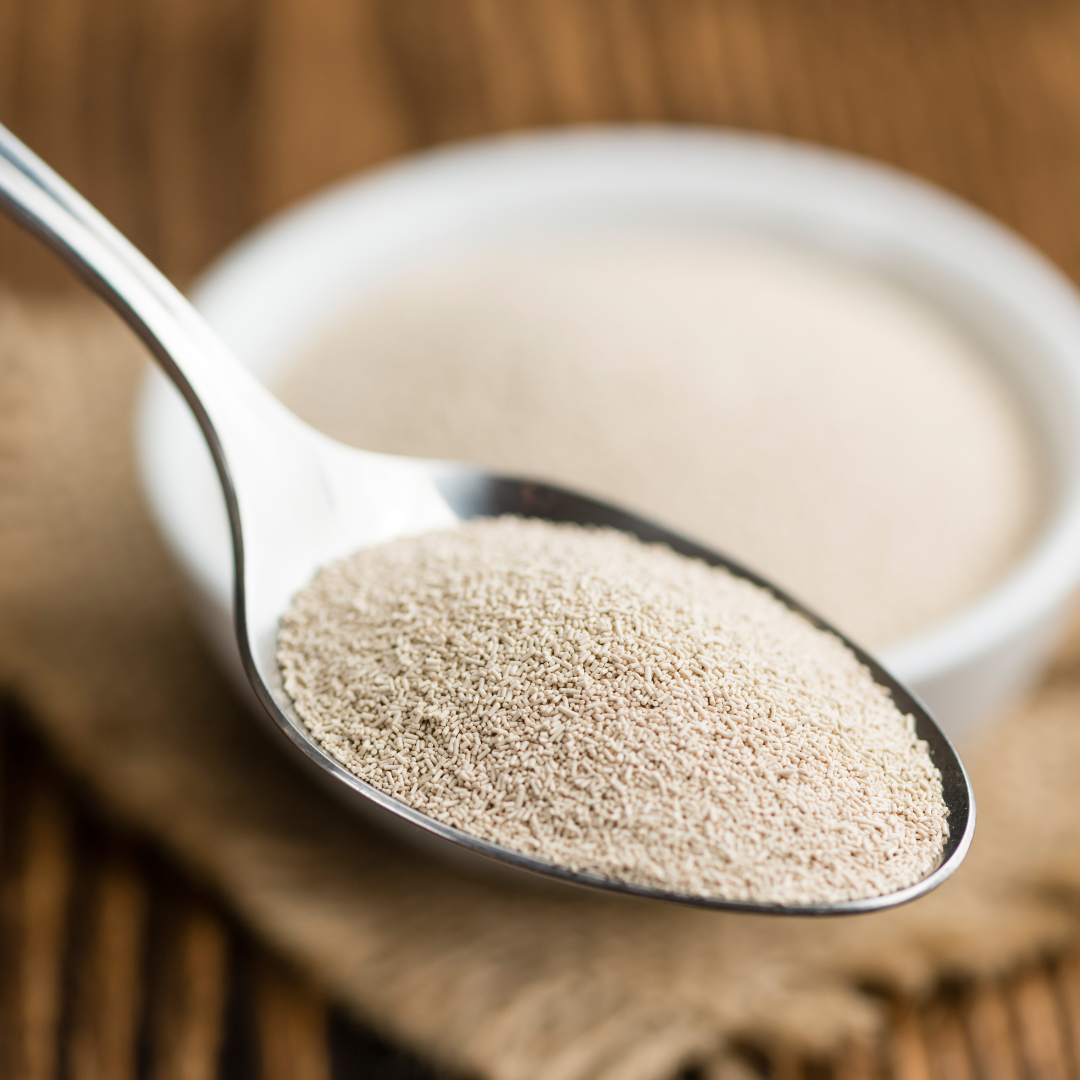
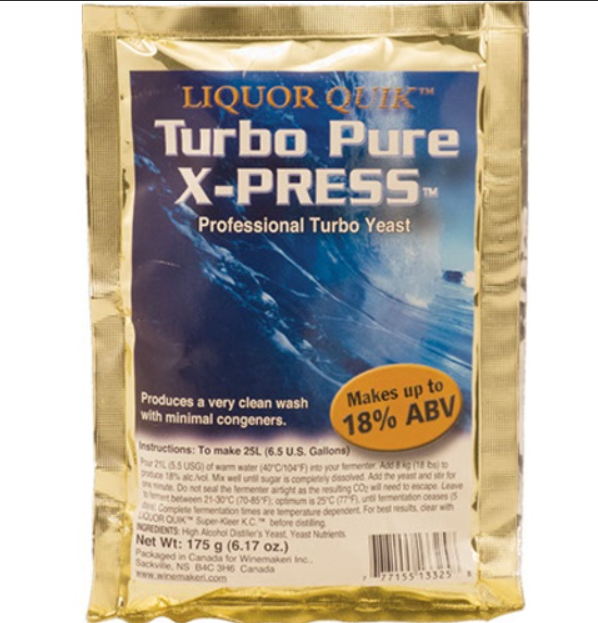
- Includes our specialized yeast strain designed to add much needed nutrients
With the recipe guide we provide and the included ingredients, you'll discover the ease of making your own exceptional drink with minimal effort.
Feel proud of the flavor you created with your own two hands - it's an extraordinary sense of satisfaction! With your custom-made bourbon, make memories that will last a lifetime.
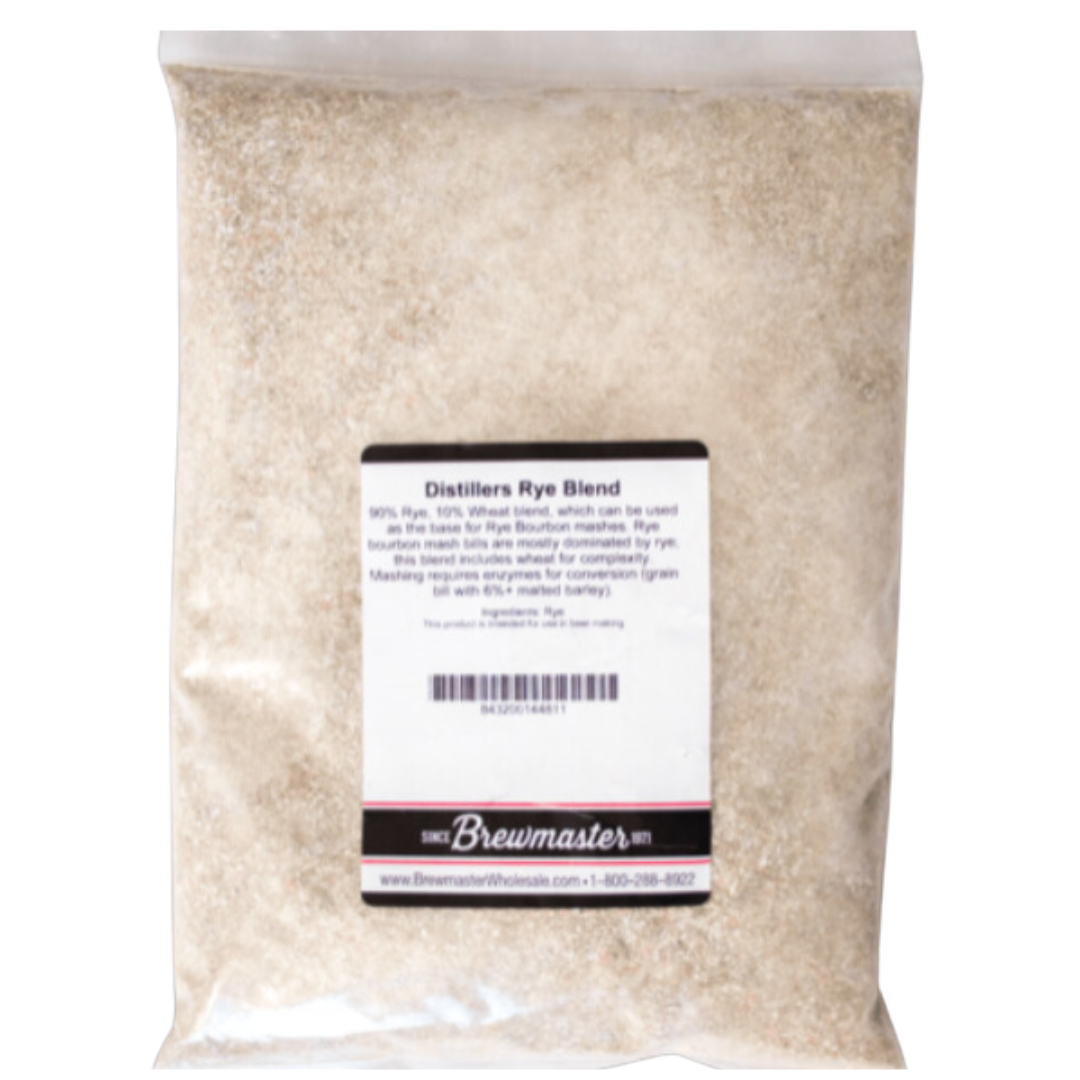
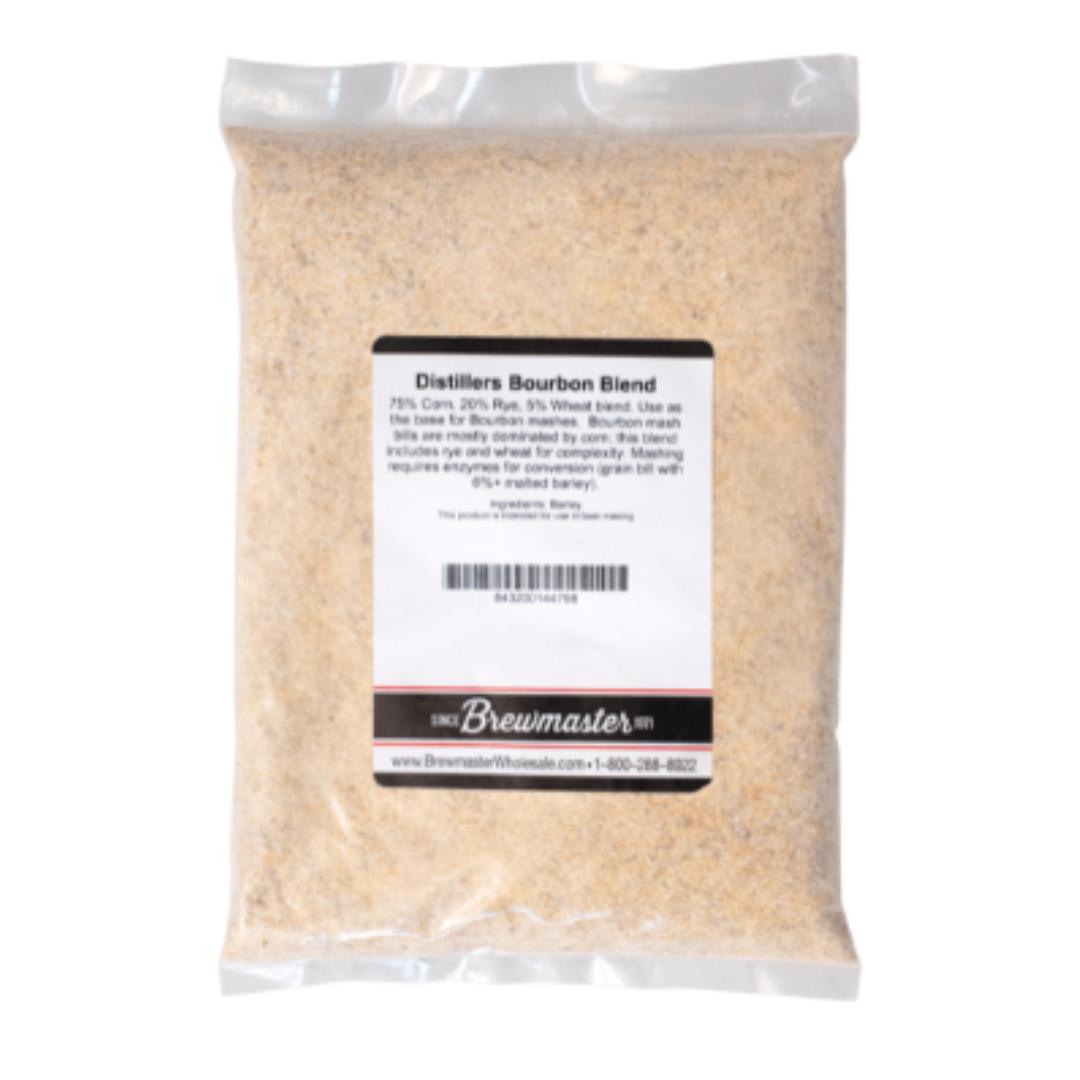
Enjoy the rich, distinctive flavors of our 75% Corn, 20% Rye, 5% Wheat Bourbon Grain Kit blend. Perfect for making Bourbon mashes that boast a complexity of taste beyond a corn-dominant flavor.
Your Bourbon Grain Kit includes:
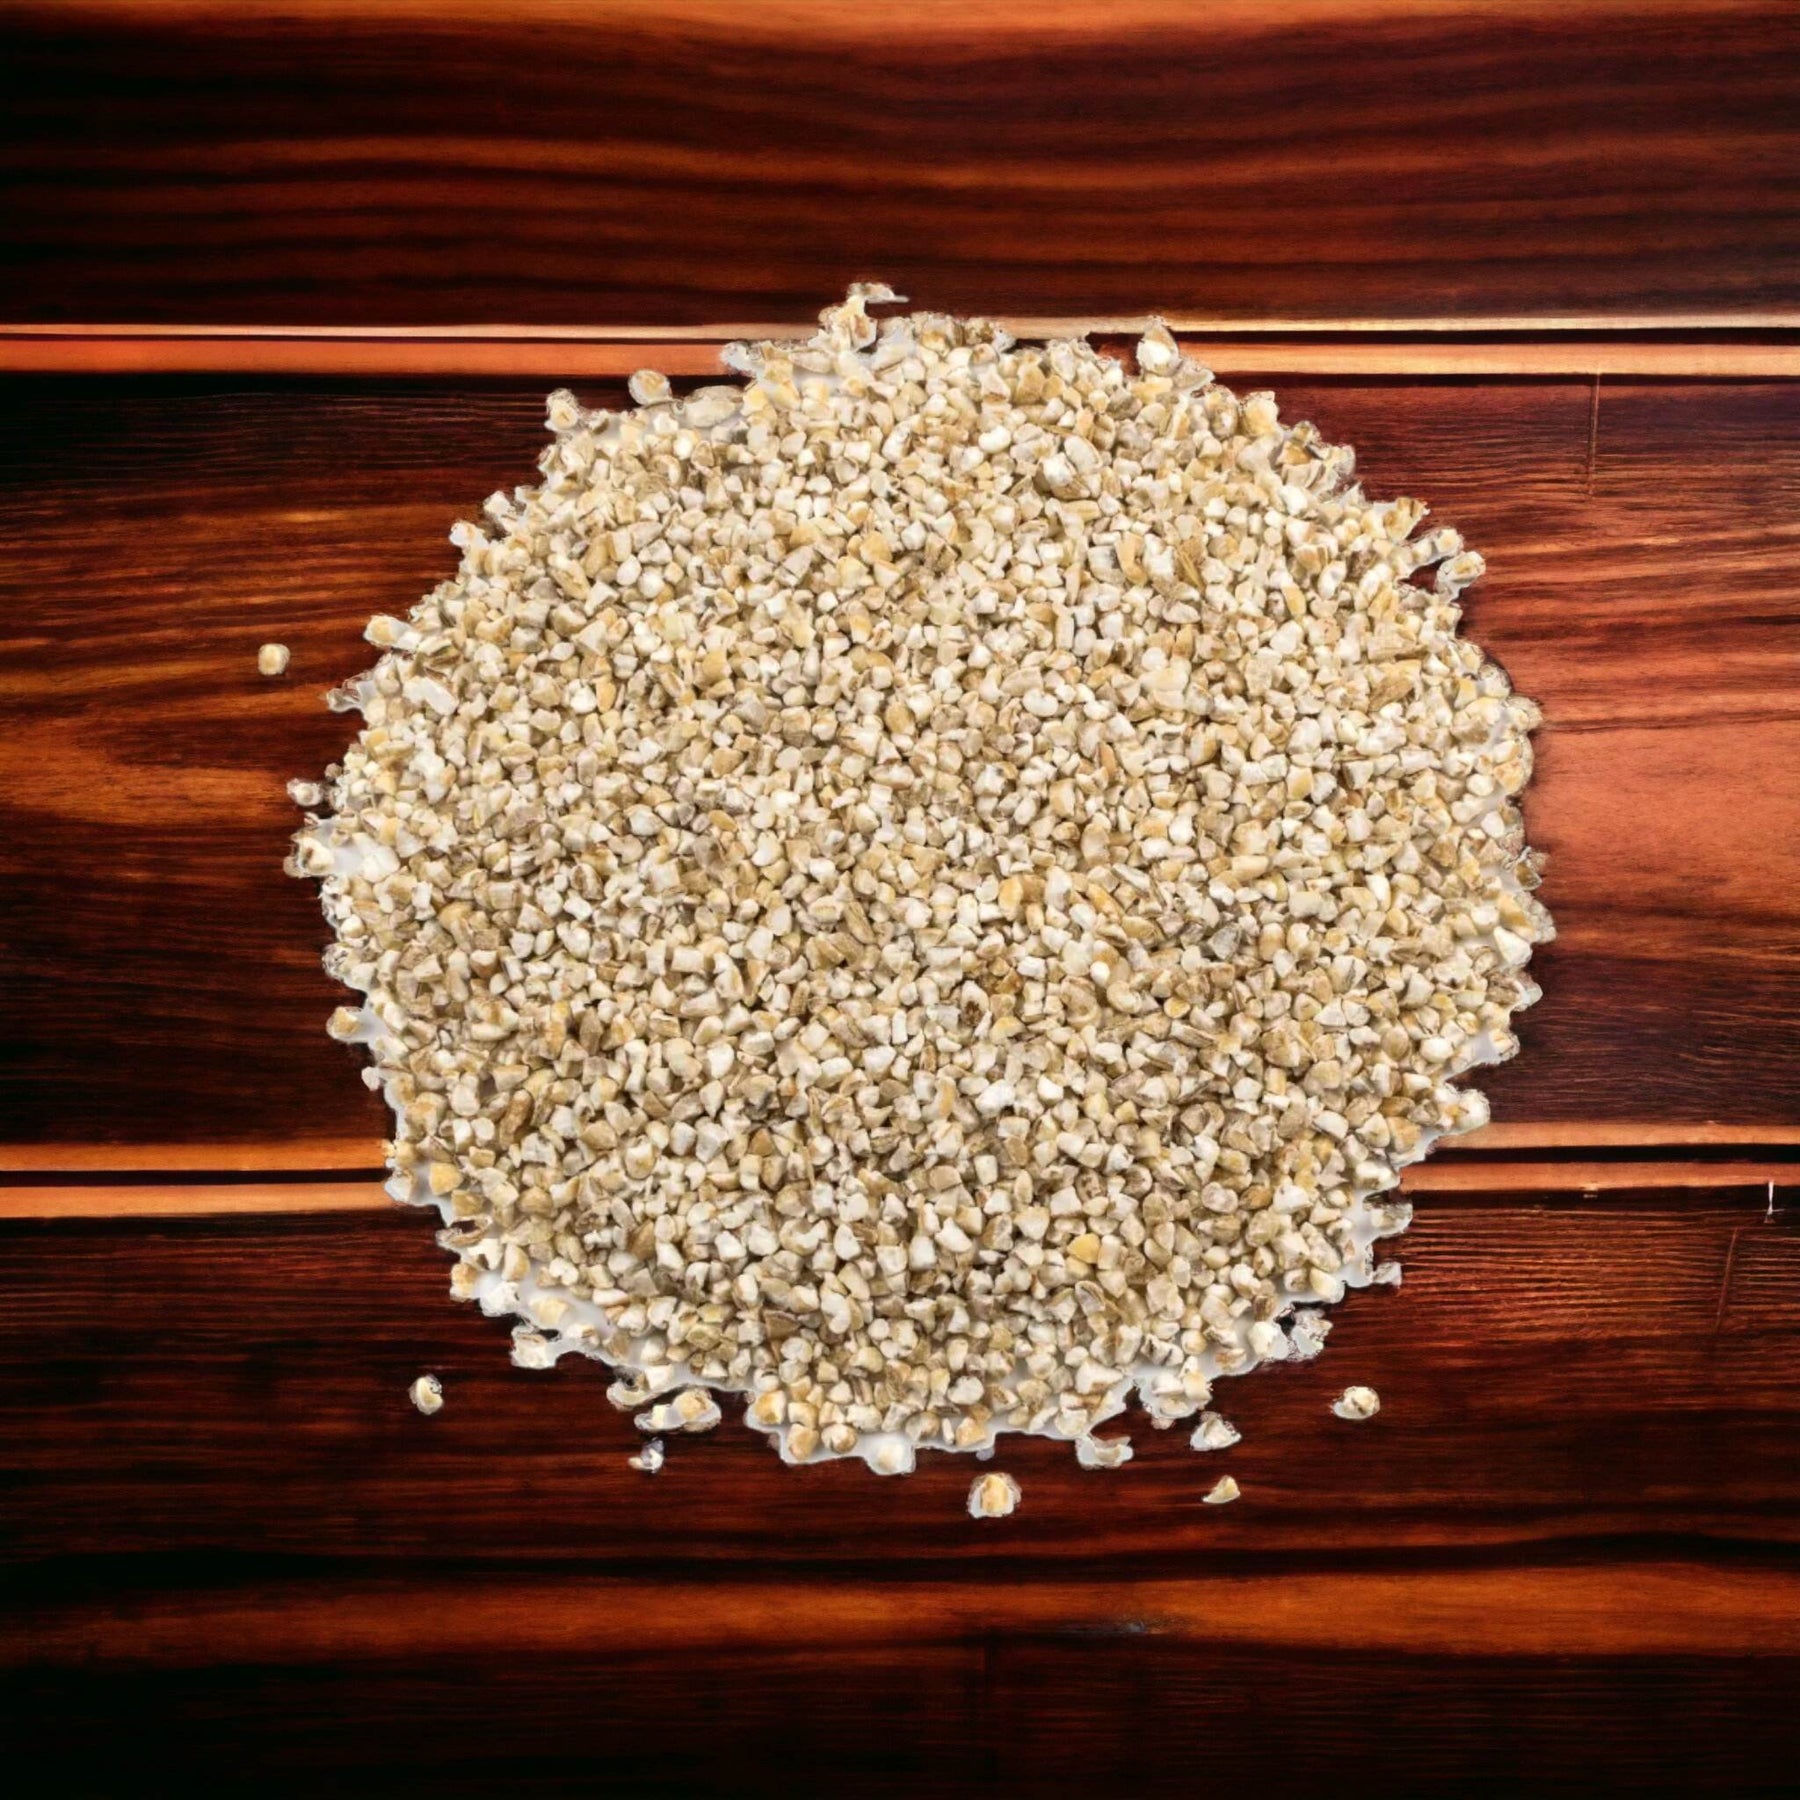
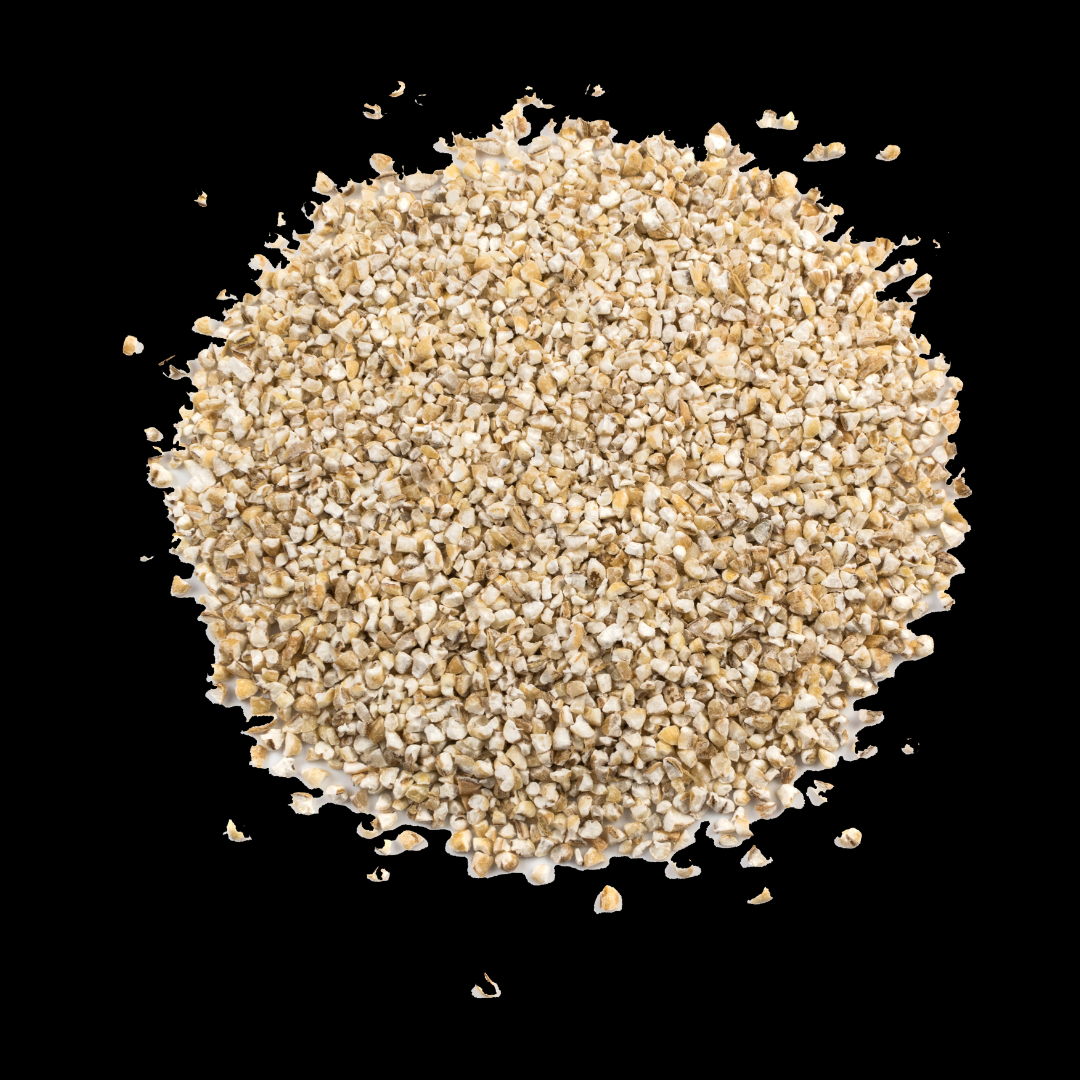
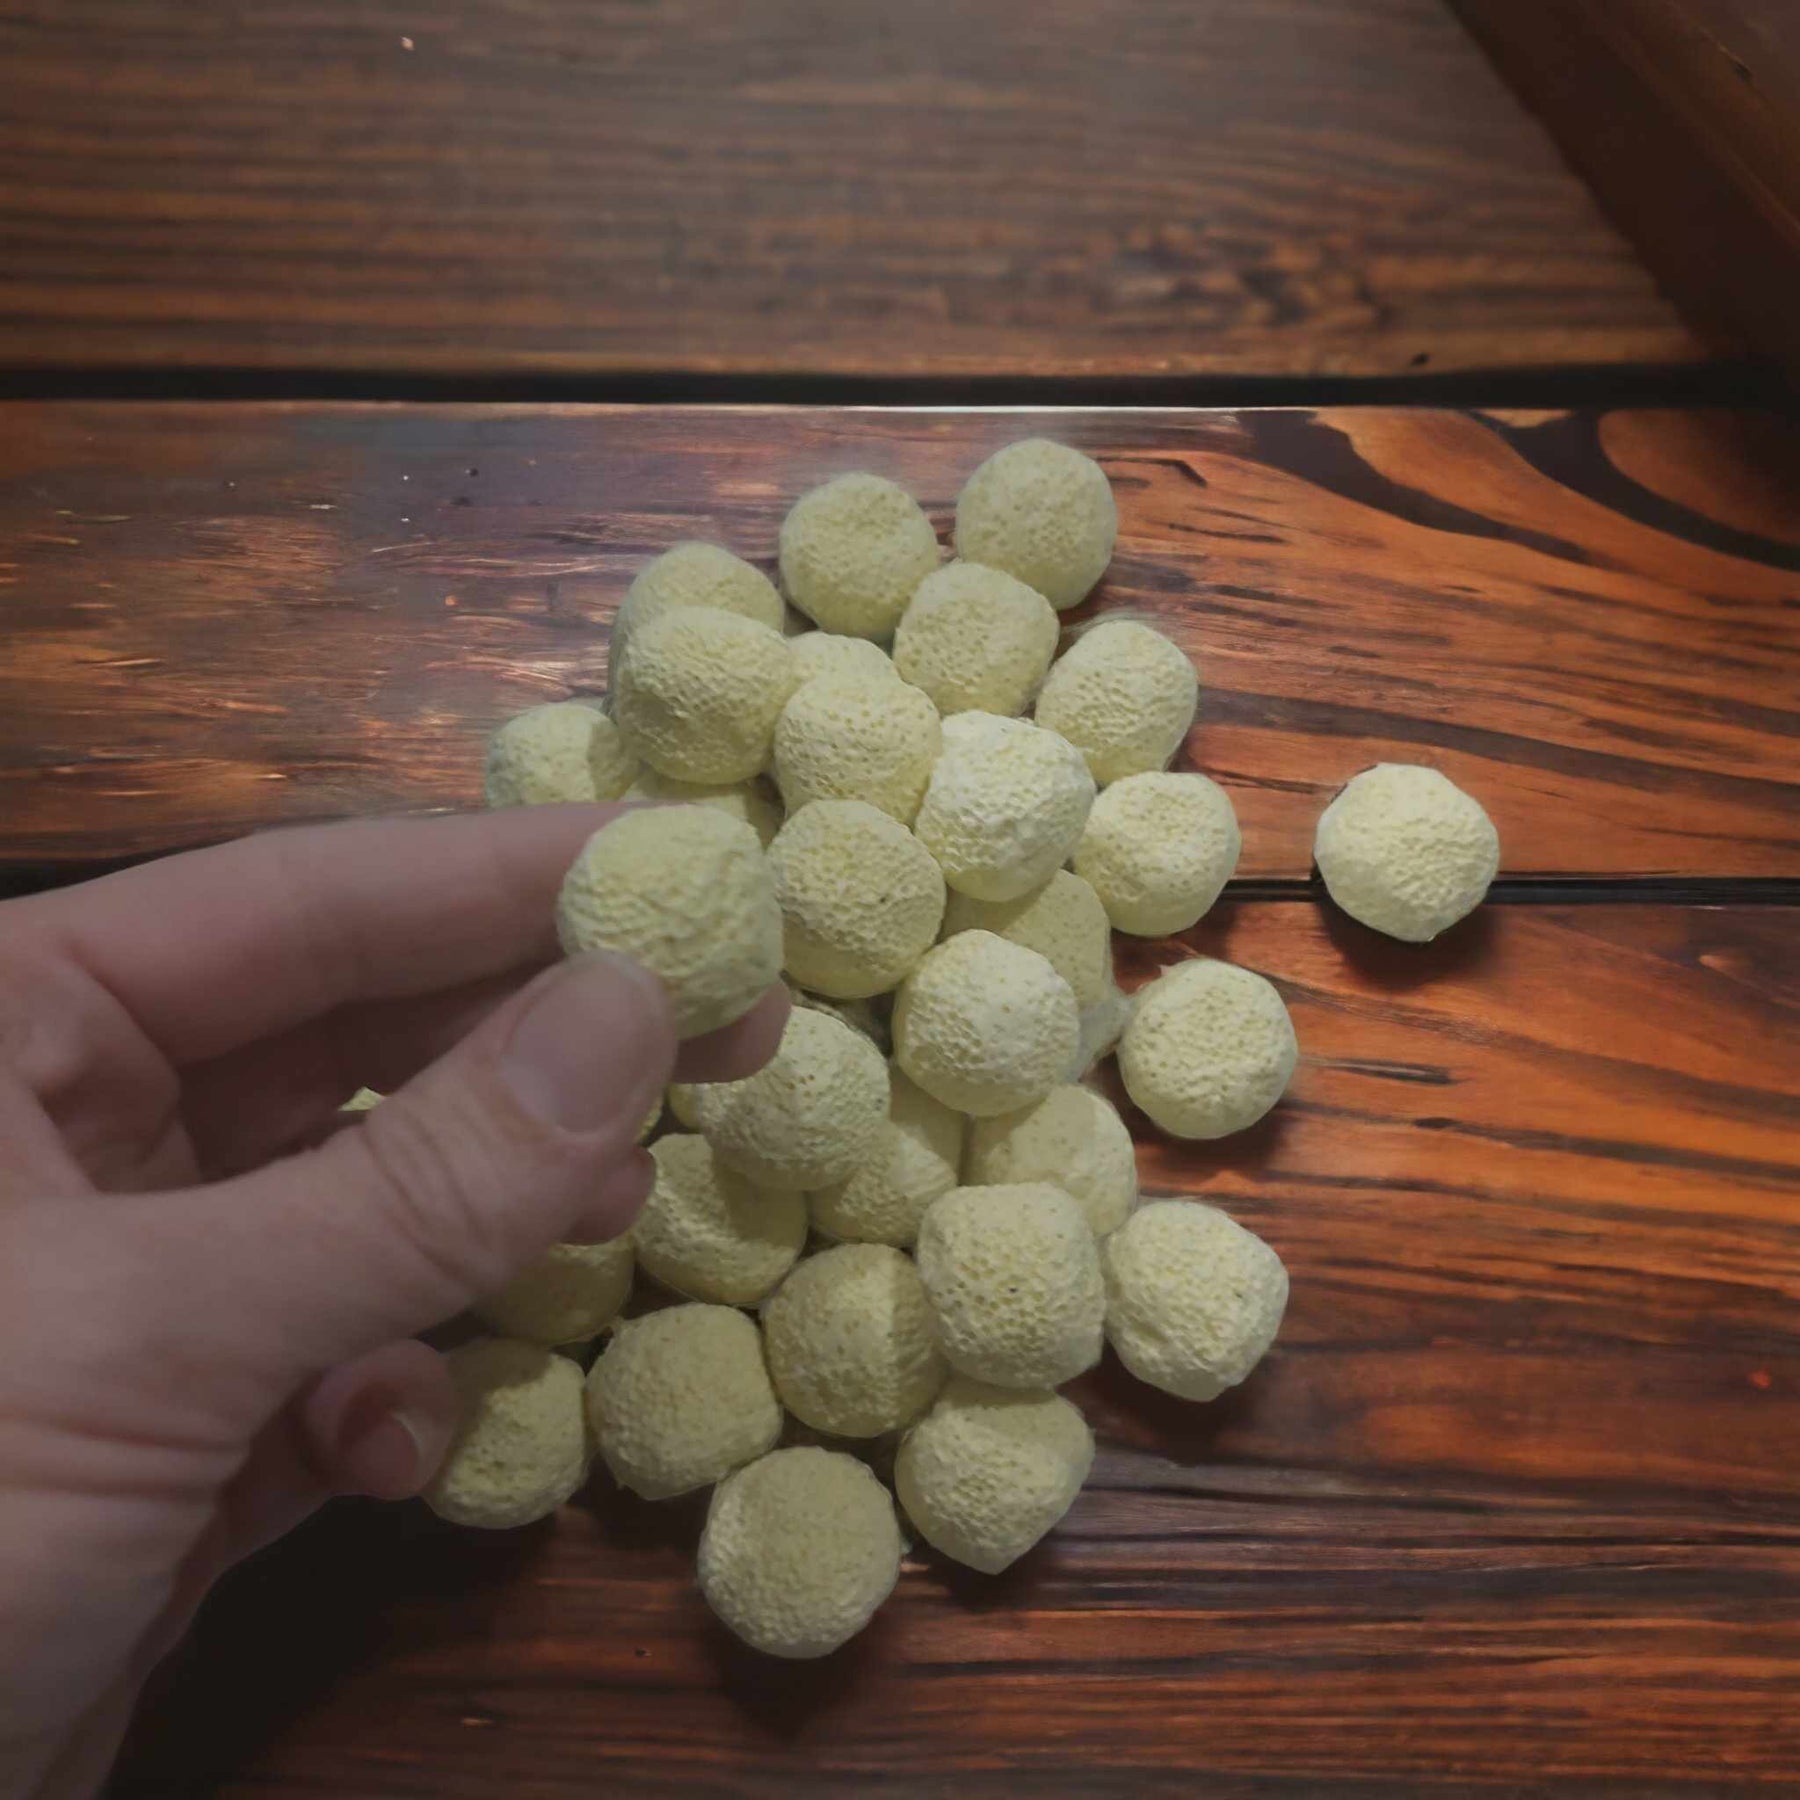
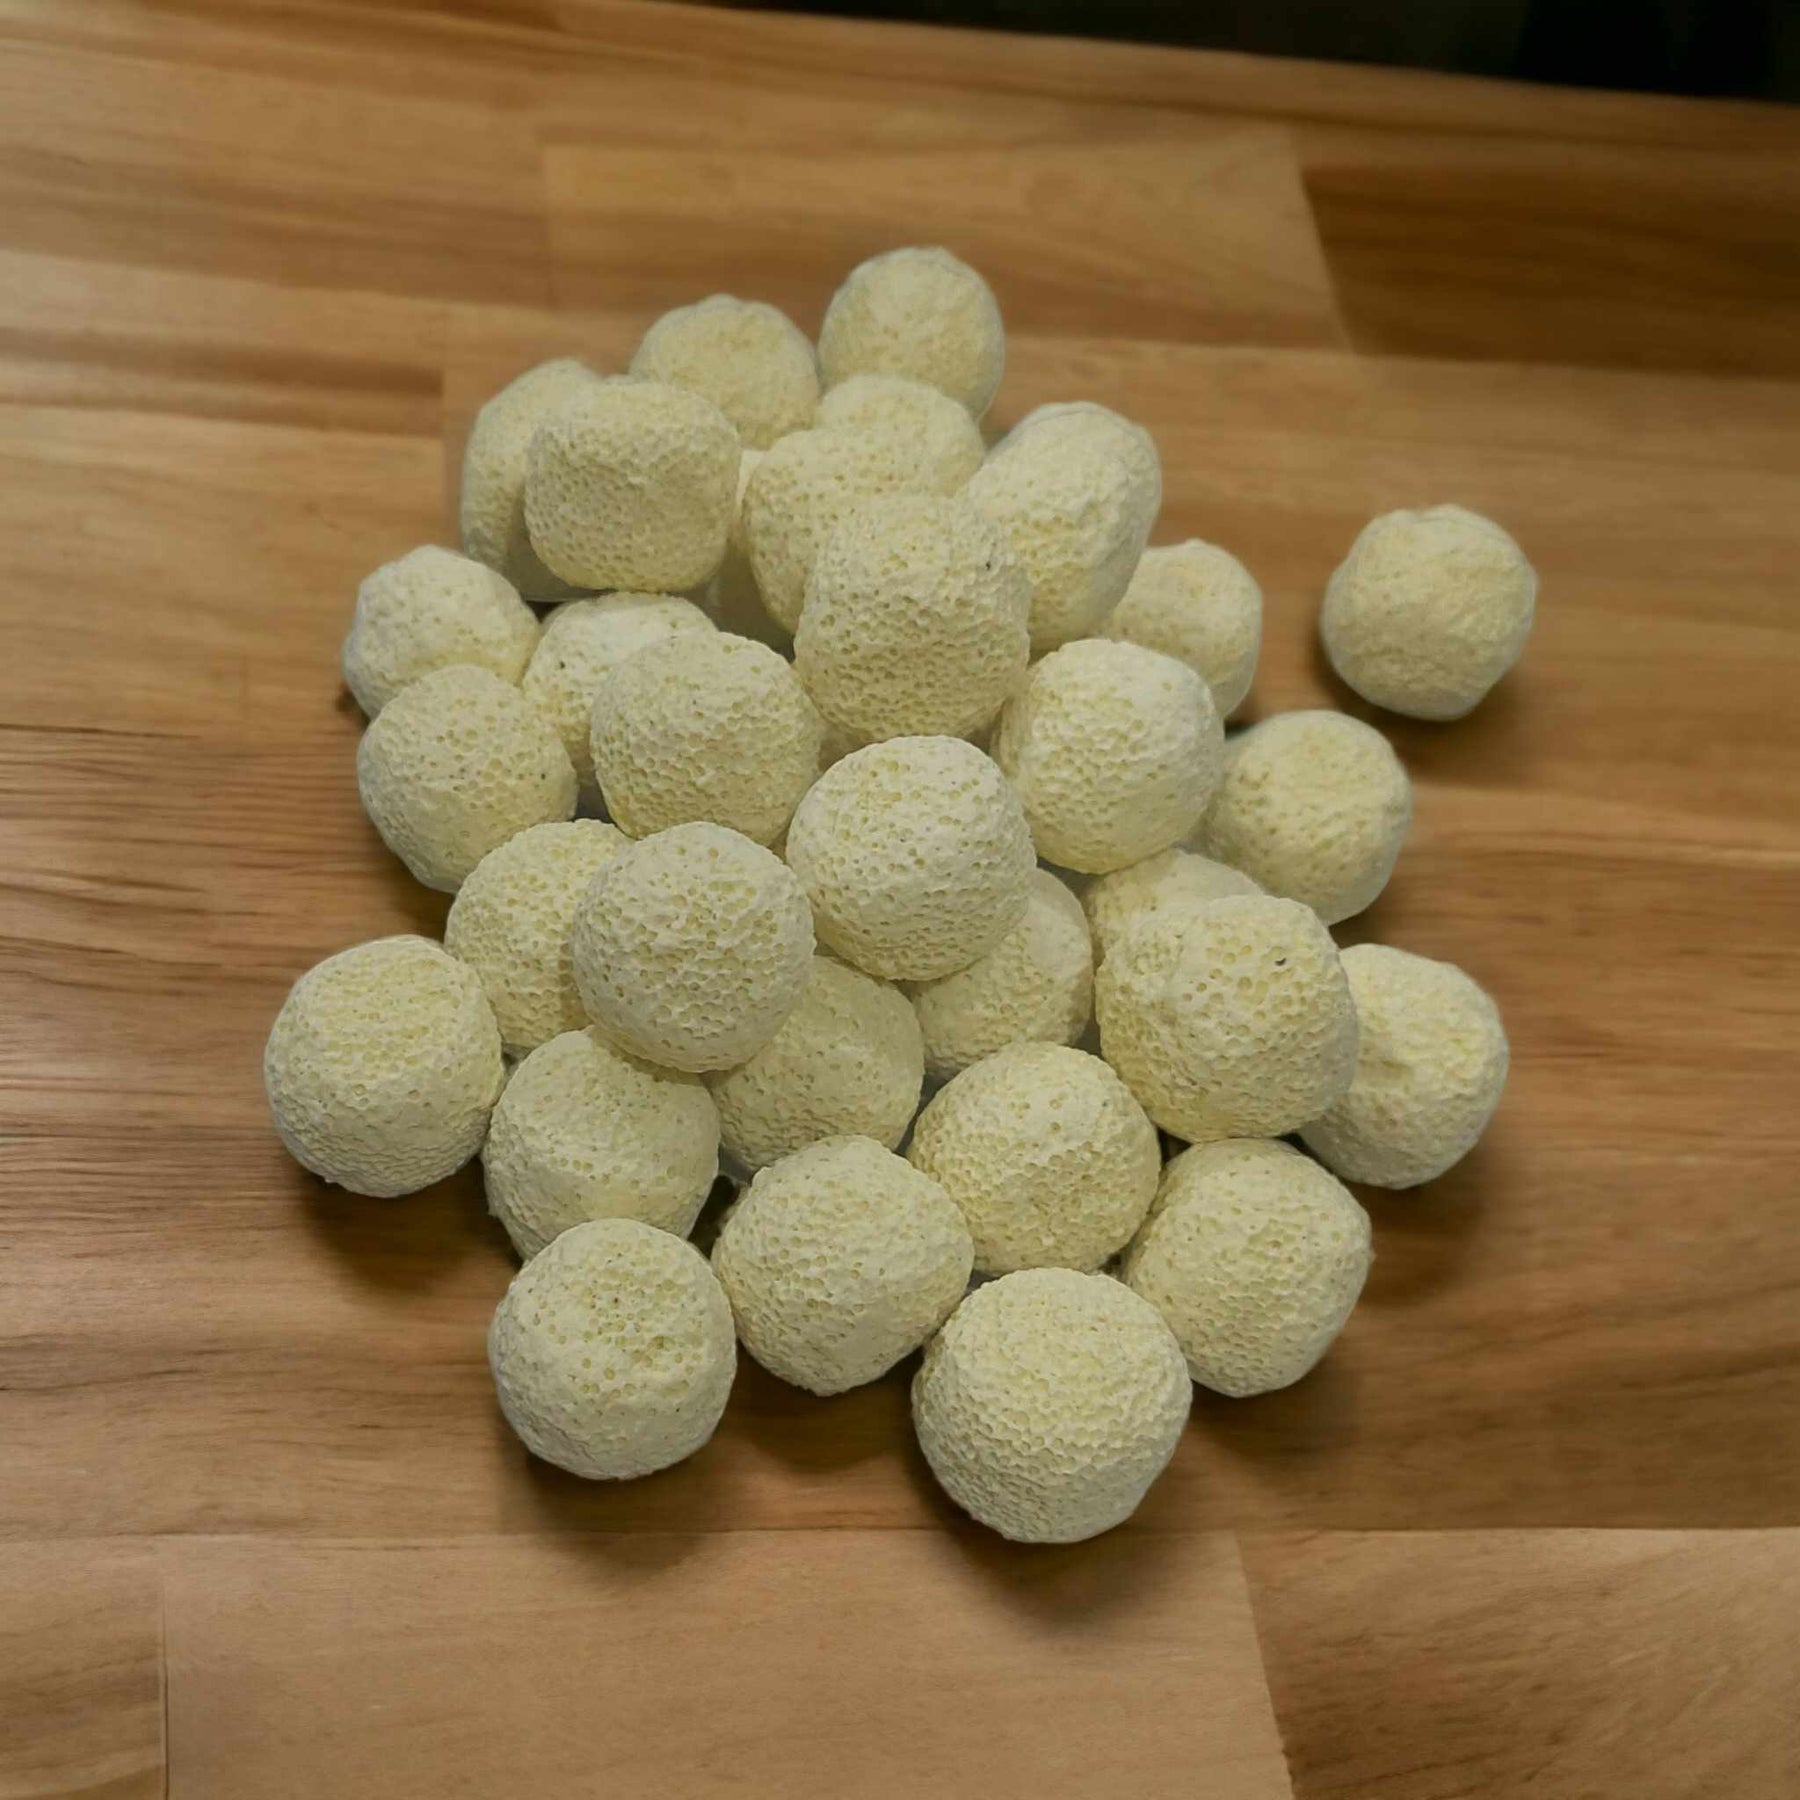
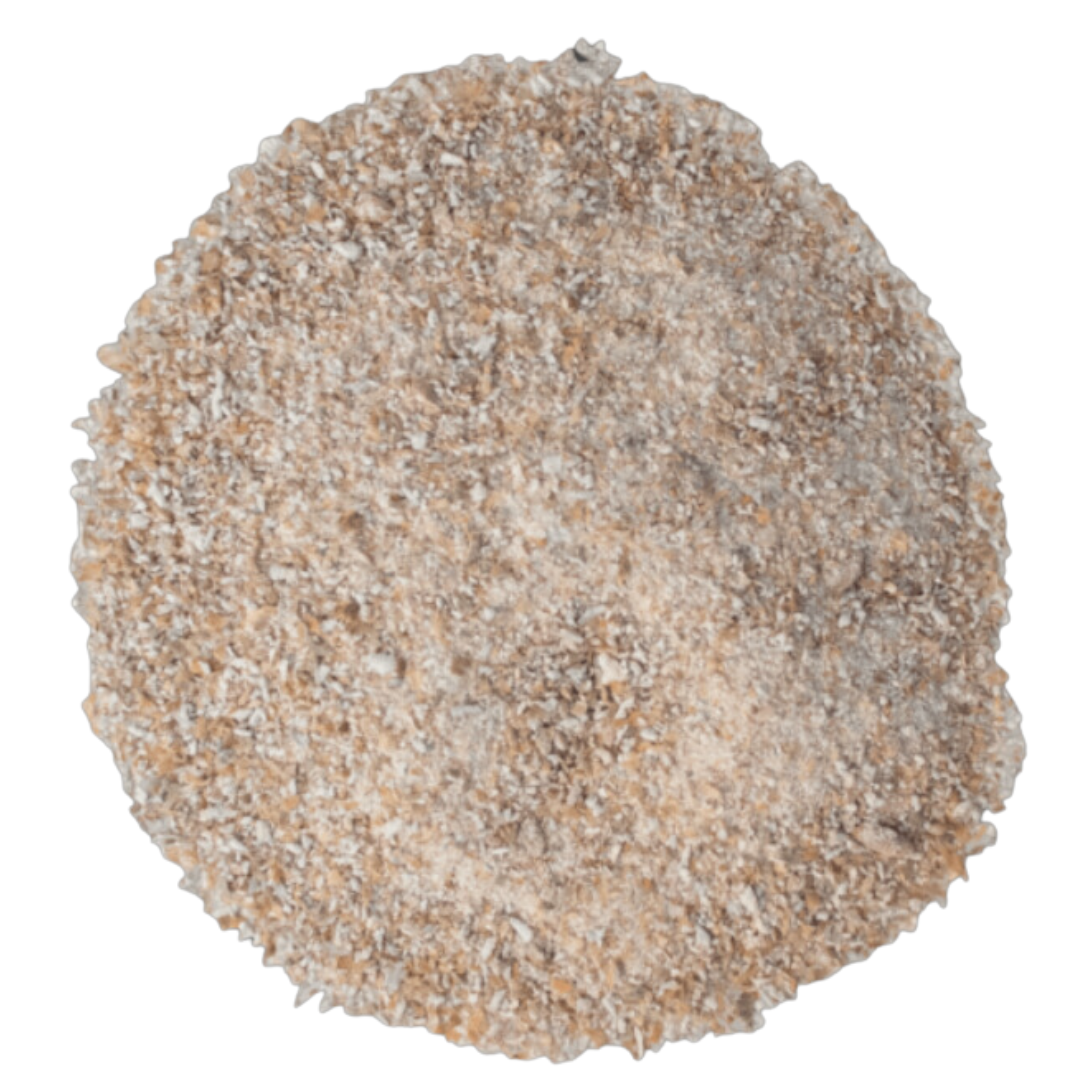
- 9 lbs of bourbon grain mix
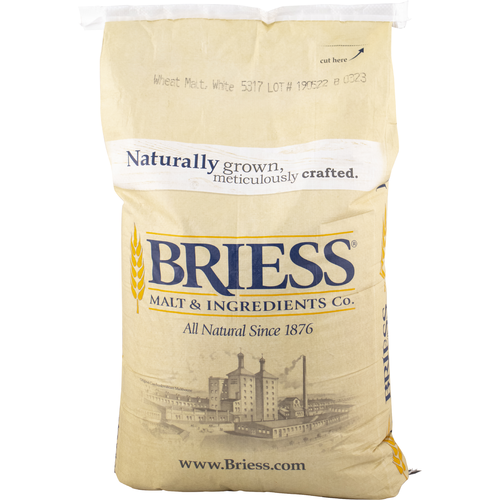
- 2 lbs of malted barley
- Distillers yeast
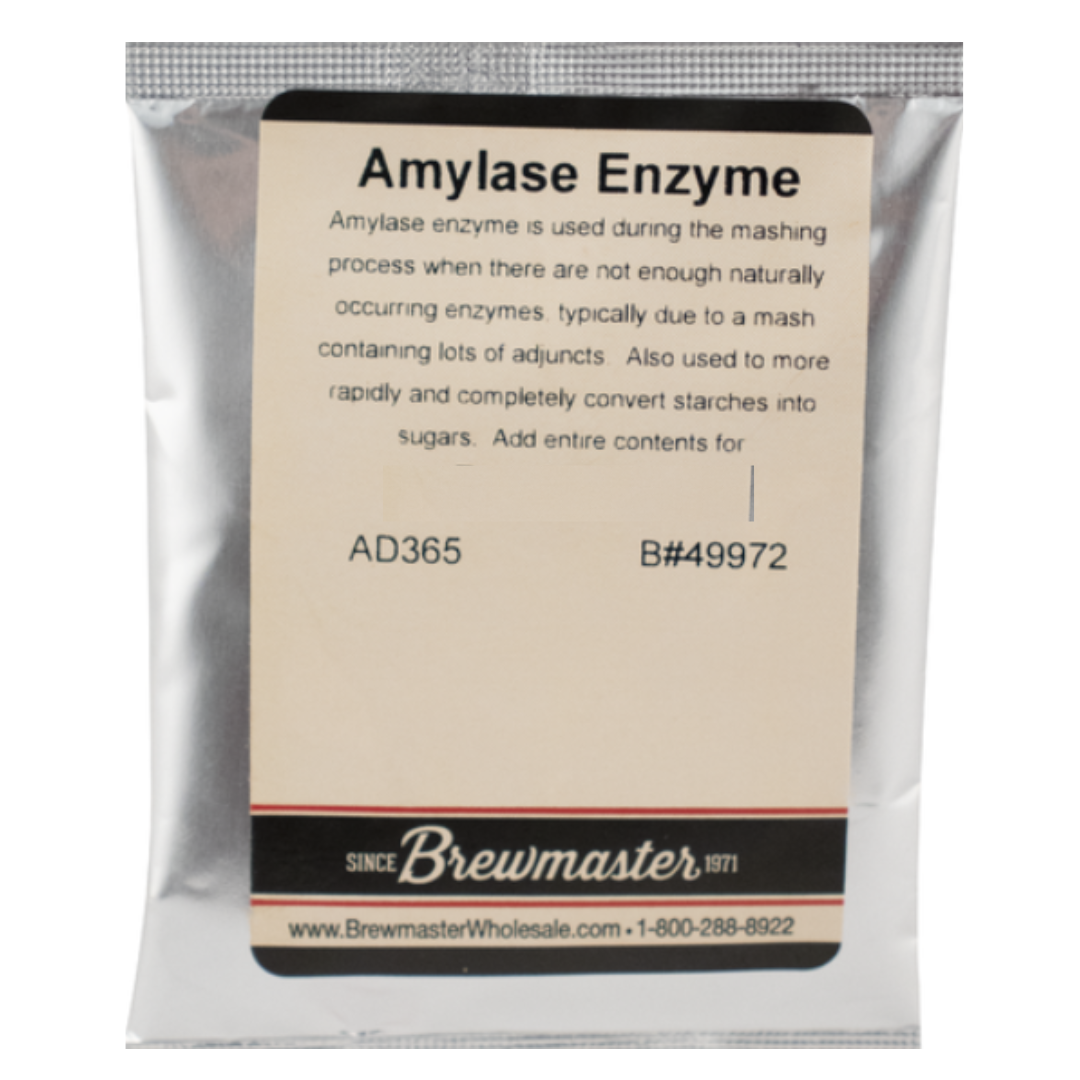
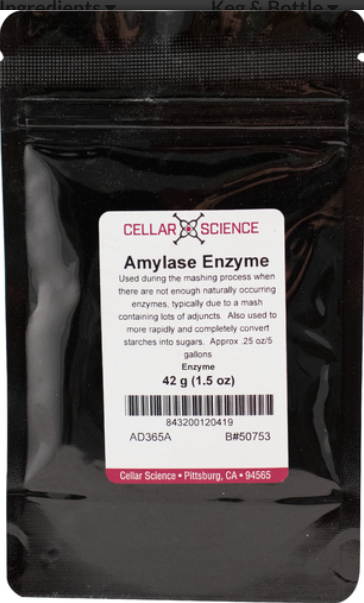
- Amylase
- Digital Recipe Card
From Grain to Glass: A Comprehensive Guide to Making Bourbon
Bourbon is a type of American whiskey that has become synonymous with rich flavors and a smooth finish. It is made primarily from at least 51% corn, along with a mixture of malted grains such as barley, rye, or wheat.
The distillation process begins by converting the starches in the grains into sugars using malted barley or malt extract. This is achieved through cooking the mixture in hot water, then adding yeast to ferment the sugars into alcohol.
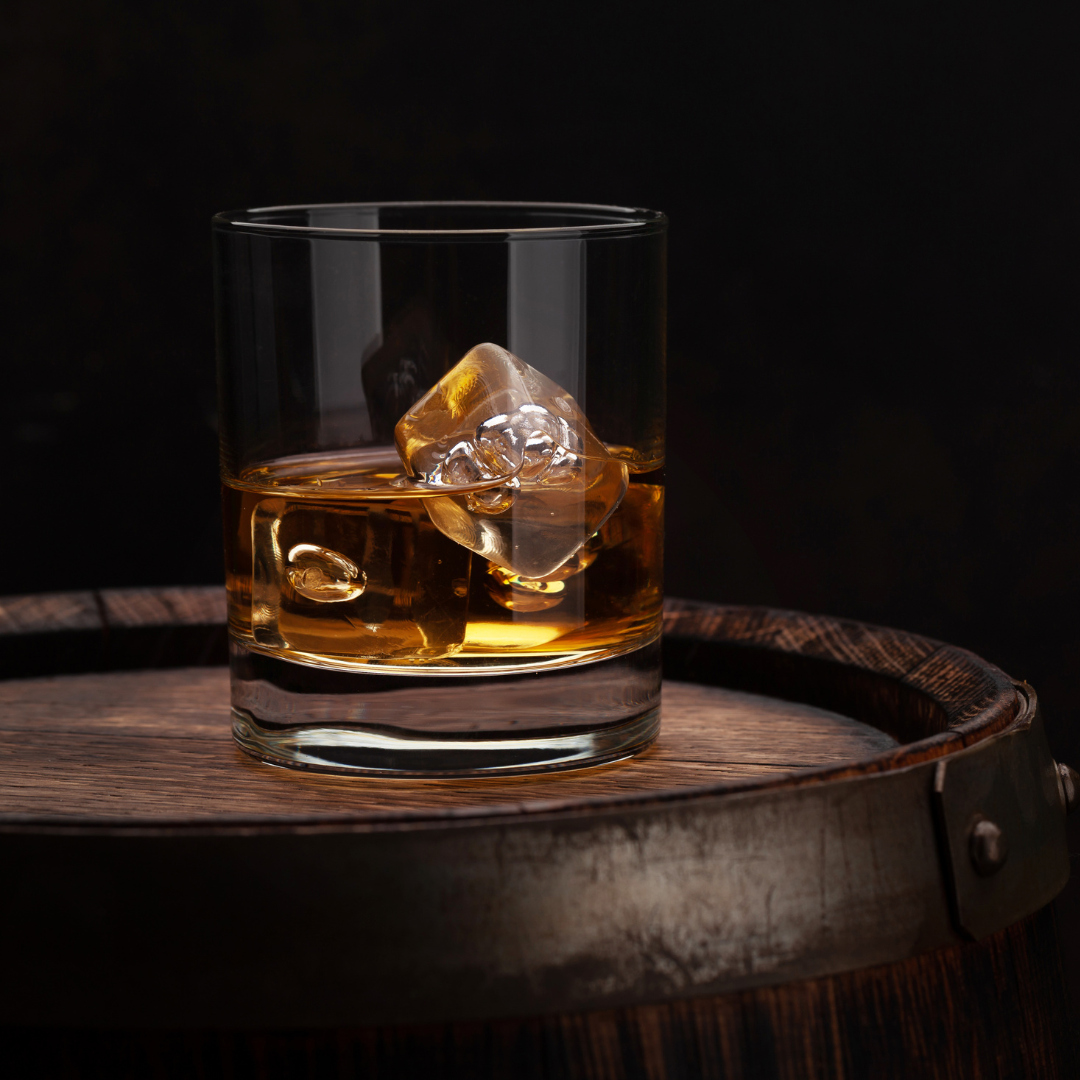
The next step involves distillation, where the fermented liquid, known as the distillate, is heated to separate the alcohol from the impurities. The liquid is then aged in charred oak barrels, typically for a minimum of two years, which gives bourbon its distinct oak flavors and deep amber color.
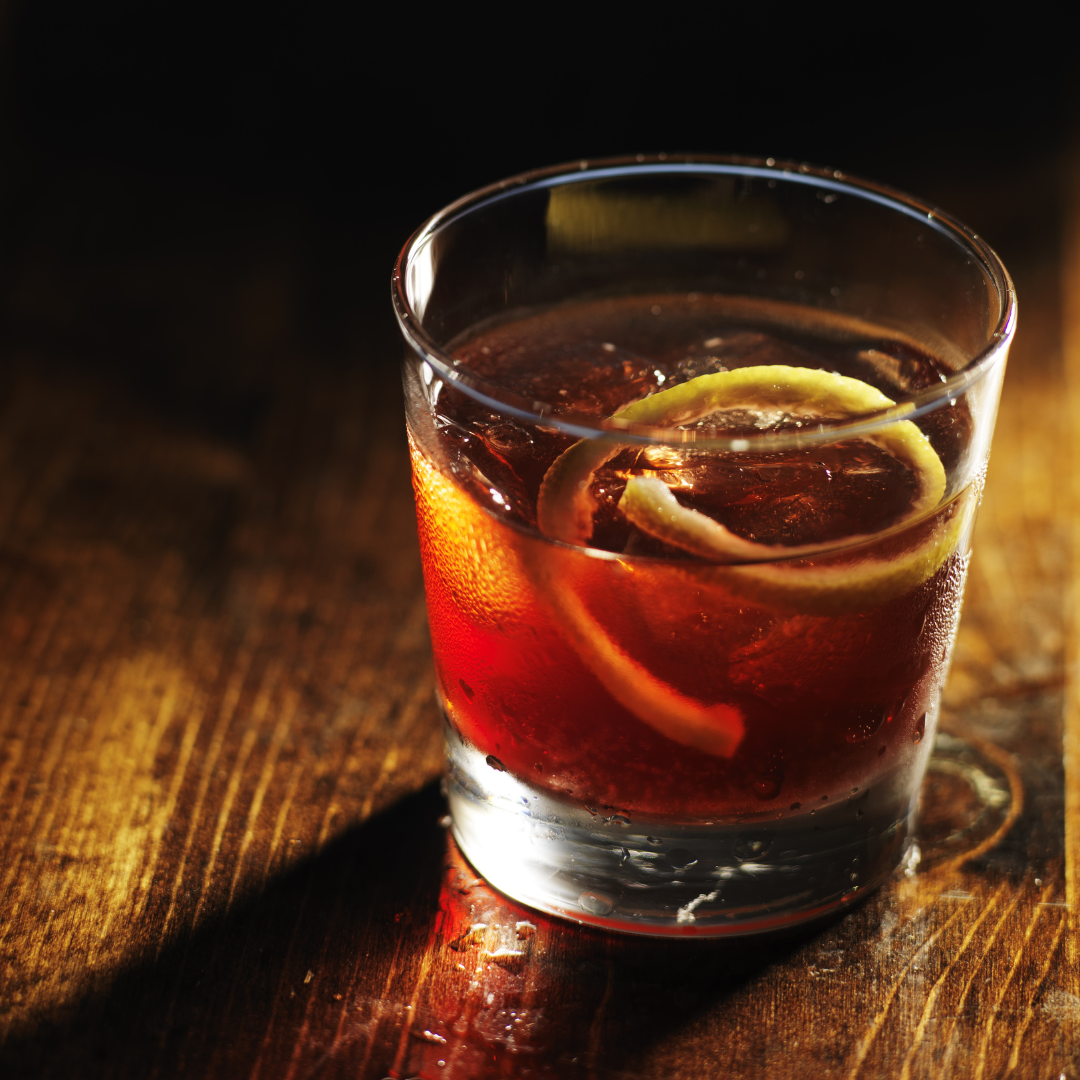
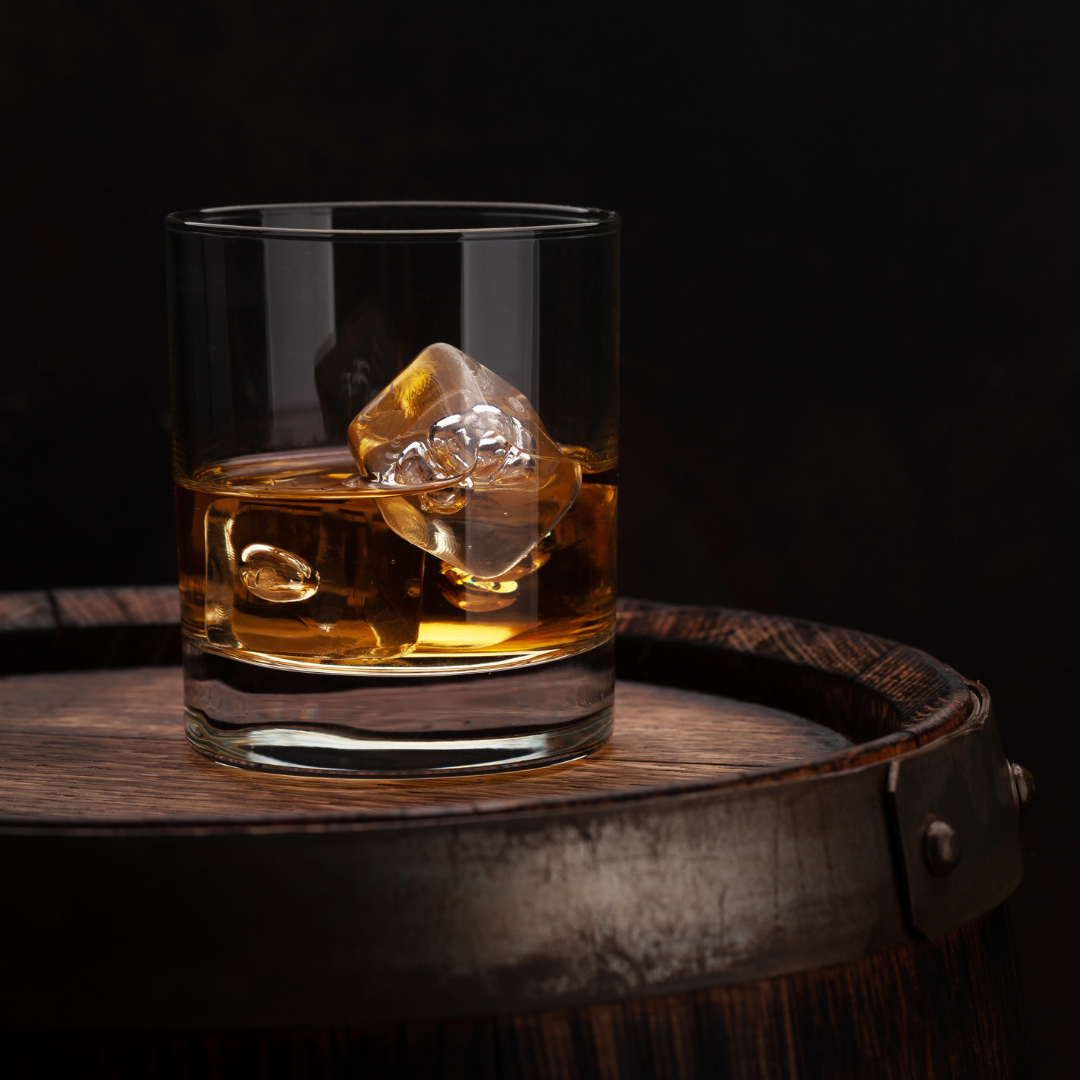
During the aging process, the whiskey absorbs flavors from the barrel, resulting in a complex and robust flavor profile. Bourbon, with its unique mash bill and aging process, has become a beloved spirit enjoyed neat, on the rocks, or as a key ingredient in classic cocktails.
History of Bourbon
Bourbon, a beloved American spirit, has a rich history that dates back to the late 18th century. The name bourbon originated from Bourbon County, Kentucky, where it was first produced.
While the precise origin of the name is debated, many theories suggest that it was named after the French Bourbon dynasty or the Bourbon Street in New Orleans.
Bourbon production was heavily influenced by the arrival of immigrants from the southern United States who settled in Kentucky. These settlers brought with them their distilling expertise and techniques, which played a crucial role in the development of bourbon.
Corn, a staple crop in the American South, became the primary ingredient in bourbon production. To create bourbon, a grain mash is made by combining corn with malted barley and other grains. This mash is then fermented in fermentation tanks or vats, where the starches in the grains are converted into sugar by adding barley malt or malt extracts.
After fermentation, the mash is distilled to produce a clear spirit called "new make" or "white dog." To be legally called bourbon, the spirit must be aged in charred oak barrels. The barrels lend distinct flavors to the bourbon as it ages, with oak flavors and caramel notes being prominent.
Throughout the years, bourbon has become synonymous with the American South and is cherished for its rich history, unique production process, and signature flavors.
Today, master distillers continue to craft this classic American spirit, ensuring that every bottle of bourbon is of the highest quality and pays homage to its heritage.
Ingredients for Making Bourbon
When it comes to making bourbon, the selection of ingredients is crucial in creating the signature taste and character of this beloved whiskey.
The main ingredients in bourbon production include corn, malted barley, and other grains. The use of corn, often in the range of 70-80%, is a key requirement for bourbon.
Along with corn, malted grains such as barley are used to convert the starches in the grains into sugar during the fermentation process. This sugar is essential for the production of alcohol in bourbon.
Additionally, other flavoring grains like rye and wheat may be added to the grain mixture to further enhance the complexity and taste. The combination of these carefully selected ingredients provides the foundation for the distinct flavors and aromas found in bourbon.
Don't miss out on the opportunity to elevate your bourbon-making game. Order your Bourbon grain mix today and start crafting your own signature blend. Cheers to the ultimate bourbon experience!
Grain Mixture
In the art of bourbon making, the grain mixture, or mash bill, plays a crucial role in creating that distinctive taste we all know and love. Typically, bourbon is made with a three-grain mash bill consisting of corn, rye, and malted barley. However, it is the corn that takes center stage, contributing to the unique flavor profile of this beloved spirit.
Corn, with its high sugar content, is the primary grain in bourbon, usually making up around 70-80% of the grain mixture. This sweet grain brings a touch of sweetness and richness to the final product.
Rye and malted barley act as the "flavoring grains" in the mix. Rye adds a spicy and slightly peppery note, while malted barley brings in a hint of nuttiness. Both grains contribute to the depth and complexity of the bourbon's flavor profile.
The malted barley in the mash bill serves another important purpose – it provides enzymes to convert the starches in the other grains into fermentable sugars during the fermentation process. This conversion is a crucial step in creating the alcohol content and flavors in bourbon.
With corn providing the foundation, and rye and malted barley adding their own unique characteristics, the grain mixture in bourbon is carefully crafted to ensure a perfect balance of flavors and aromas. This is what gives bourbon its distinct taste and sets it apart as a true American classic.
Flavoring Grains
In addition to corn and malted barley, flavoring grains play a crucial role in making bourbon, adding depth and complexity to its flavor profile. Two primary options for flavoring grains in bourbon are rye and wheat.
Rye brings an array of spice notes to the bourbon, including pepper, nutmeg, clove, and cinnamon. These spicy elements enhance the overall flavor experience, adding a delightful kick to the taste. On the other hand, wheat contributes a sweeter taste that beautifully complements the natural sweetness of corn and intensifies the vanilla flavors in the bourbon.
Several renowned bourbon brands incorporate wheat as a flavoring grain in their recipes. These include W.L. Weller, Maker's Mark, Old Fitzgerald, Van Winkle, and Rebel Yell. Each of these brands offers a unique interpretation of bourbon, showcasing the versatility and impact of wheat as a flavoring grain.
By carefully selecting and balancing the flavoring grains within the grain mixture, master distillers craft a bourbon with a distinct character and exceptional taste. Whether it's the spicy notes of rye or the sweeter touch of wheat, flavoring grains play a vital role in shaping the flavor profile of this beloved American whiskey.
Brown Sugar
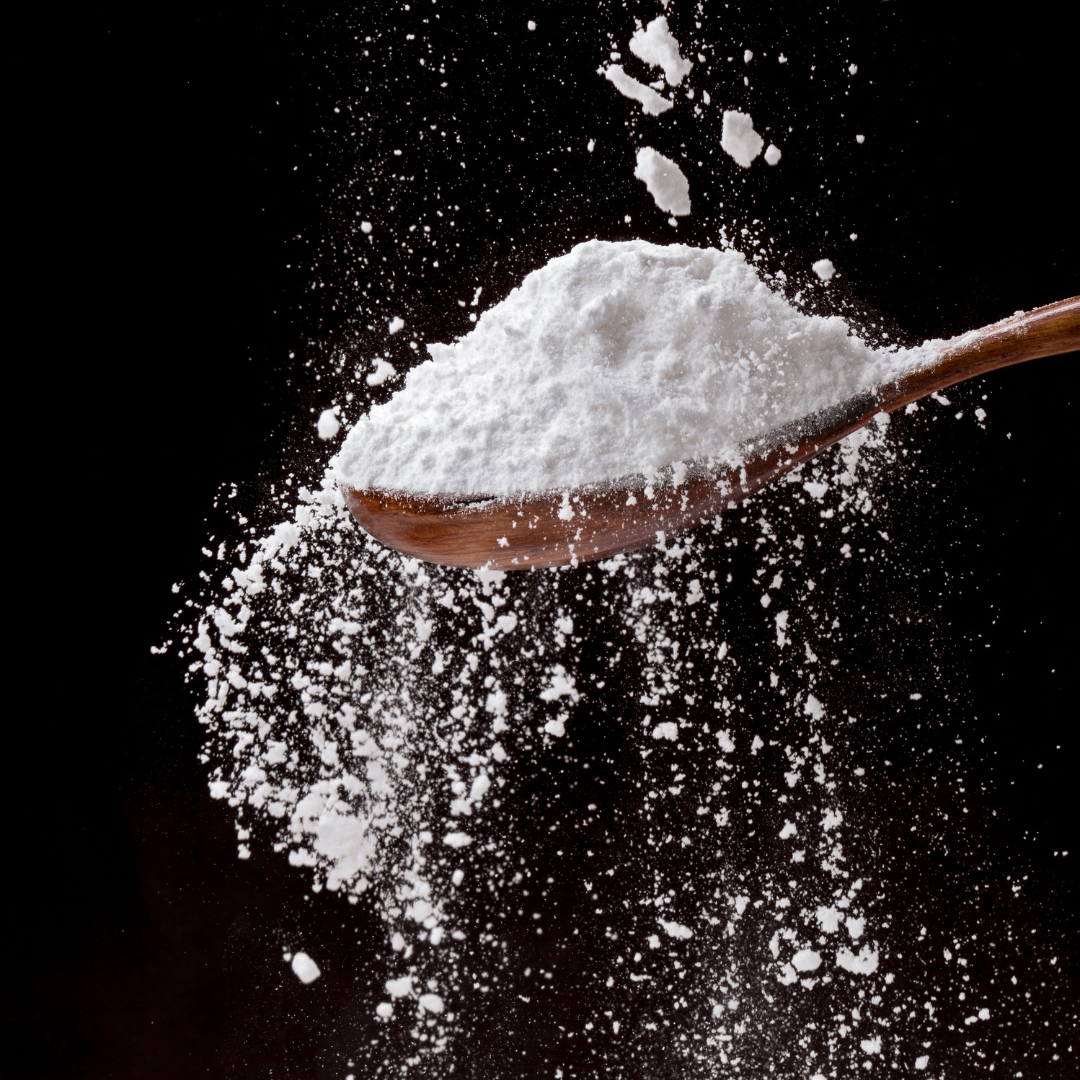
Brown sugar plays a crucial role in the process of making bourbon, adding depth and complexity to the flavor profile of the whiskey. Its unique qualities contribute to the overall sweetness and richness of the bourbon.
When brown sugar is added to the bourbon mixture, it enhances the natural sweetness of the corn and other grains, creating a well-balanced and harmonious taste. The molasses content in brown sugar adds a distinct richness and caramel-like flavor, further enhancing the flavor profile of the whiskey.
There are different varieties of brown sugar that can be used in bourbon production, each with its own impact on the final product. Light brown sugar has a milder flavor, while dark brown sugar has a more pronounced molasses taste. Using a combination of both can create a perfect balance of sweetness and depth.
The amount of brown sugar added to the bourbon mixture can vary depending on the desired flavor intensity. Generally, a small amount is used to avoid overpowering the other flavors in the whiskey. It is important to note that adding too much brown sugar can affect the fermentation process and lead to a higher alcohol content.
In conclusion, brown sugar plays a significant role in enhancing the flavor profile and sweetness of bourbon. Its rich molasses flavor adds complexity and depth to the whiskey, making it a crucial ingredient in the production process. Experimenting with different varieties and amounts of brown sugar can lead to unique and delicious bourbon creations.
Water
Water plays a crucial role in the bourbon making process, particularly in cooking the grains to extract sugars. The quality and type of water used can greatly influence the flavor and overall character of the bourbon.
Fresh spring water is commonly used in bourbon production due to its purity and mineral content. It helps to soften the grains and extract sugars, resulting in a smoother and more balanced flavor profile. The mineral composition of the water can also add subtle nuances to the final product.
Limestone water is another type of water often utilized in bourbon making. This water is rich in calcium carbonate, which helps to control the pH levels during the cooking process. It contributes to the development of desirable flavors and aromas, creating a distinct taste that is often associated with bourbons from certain regions, such as Bourbon County.
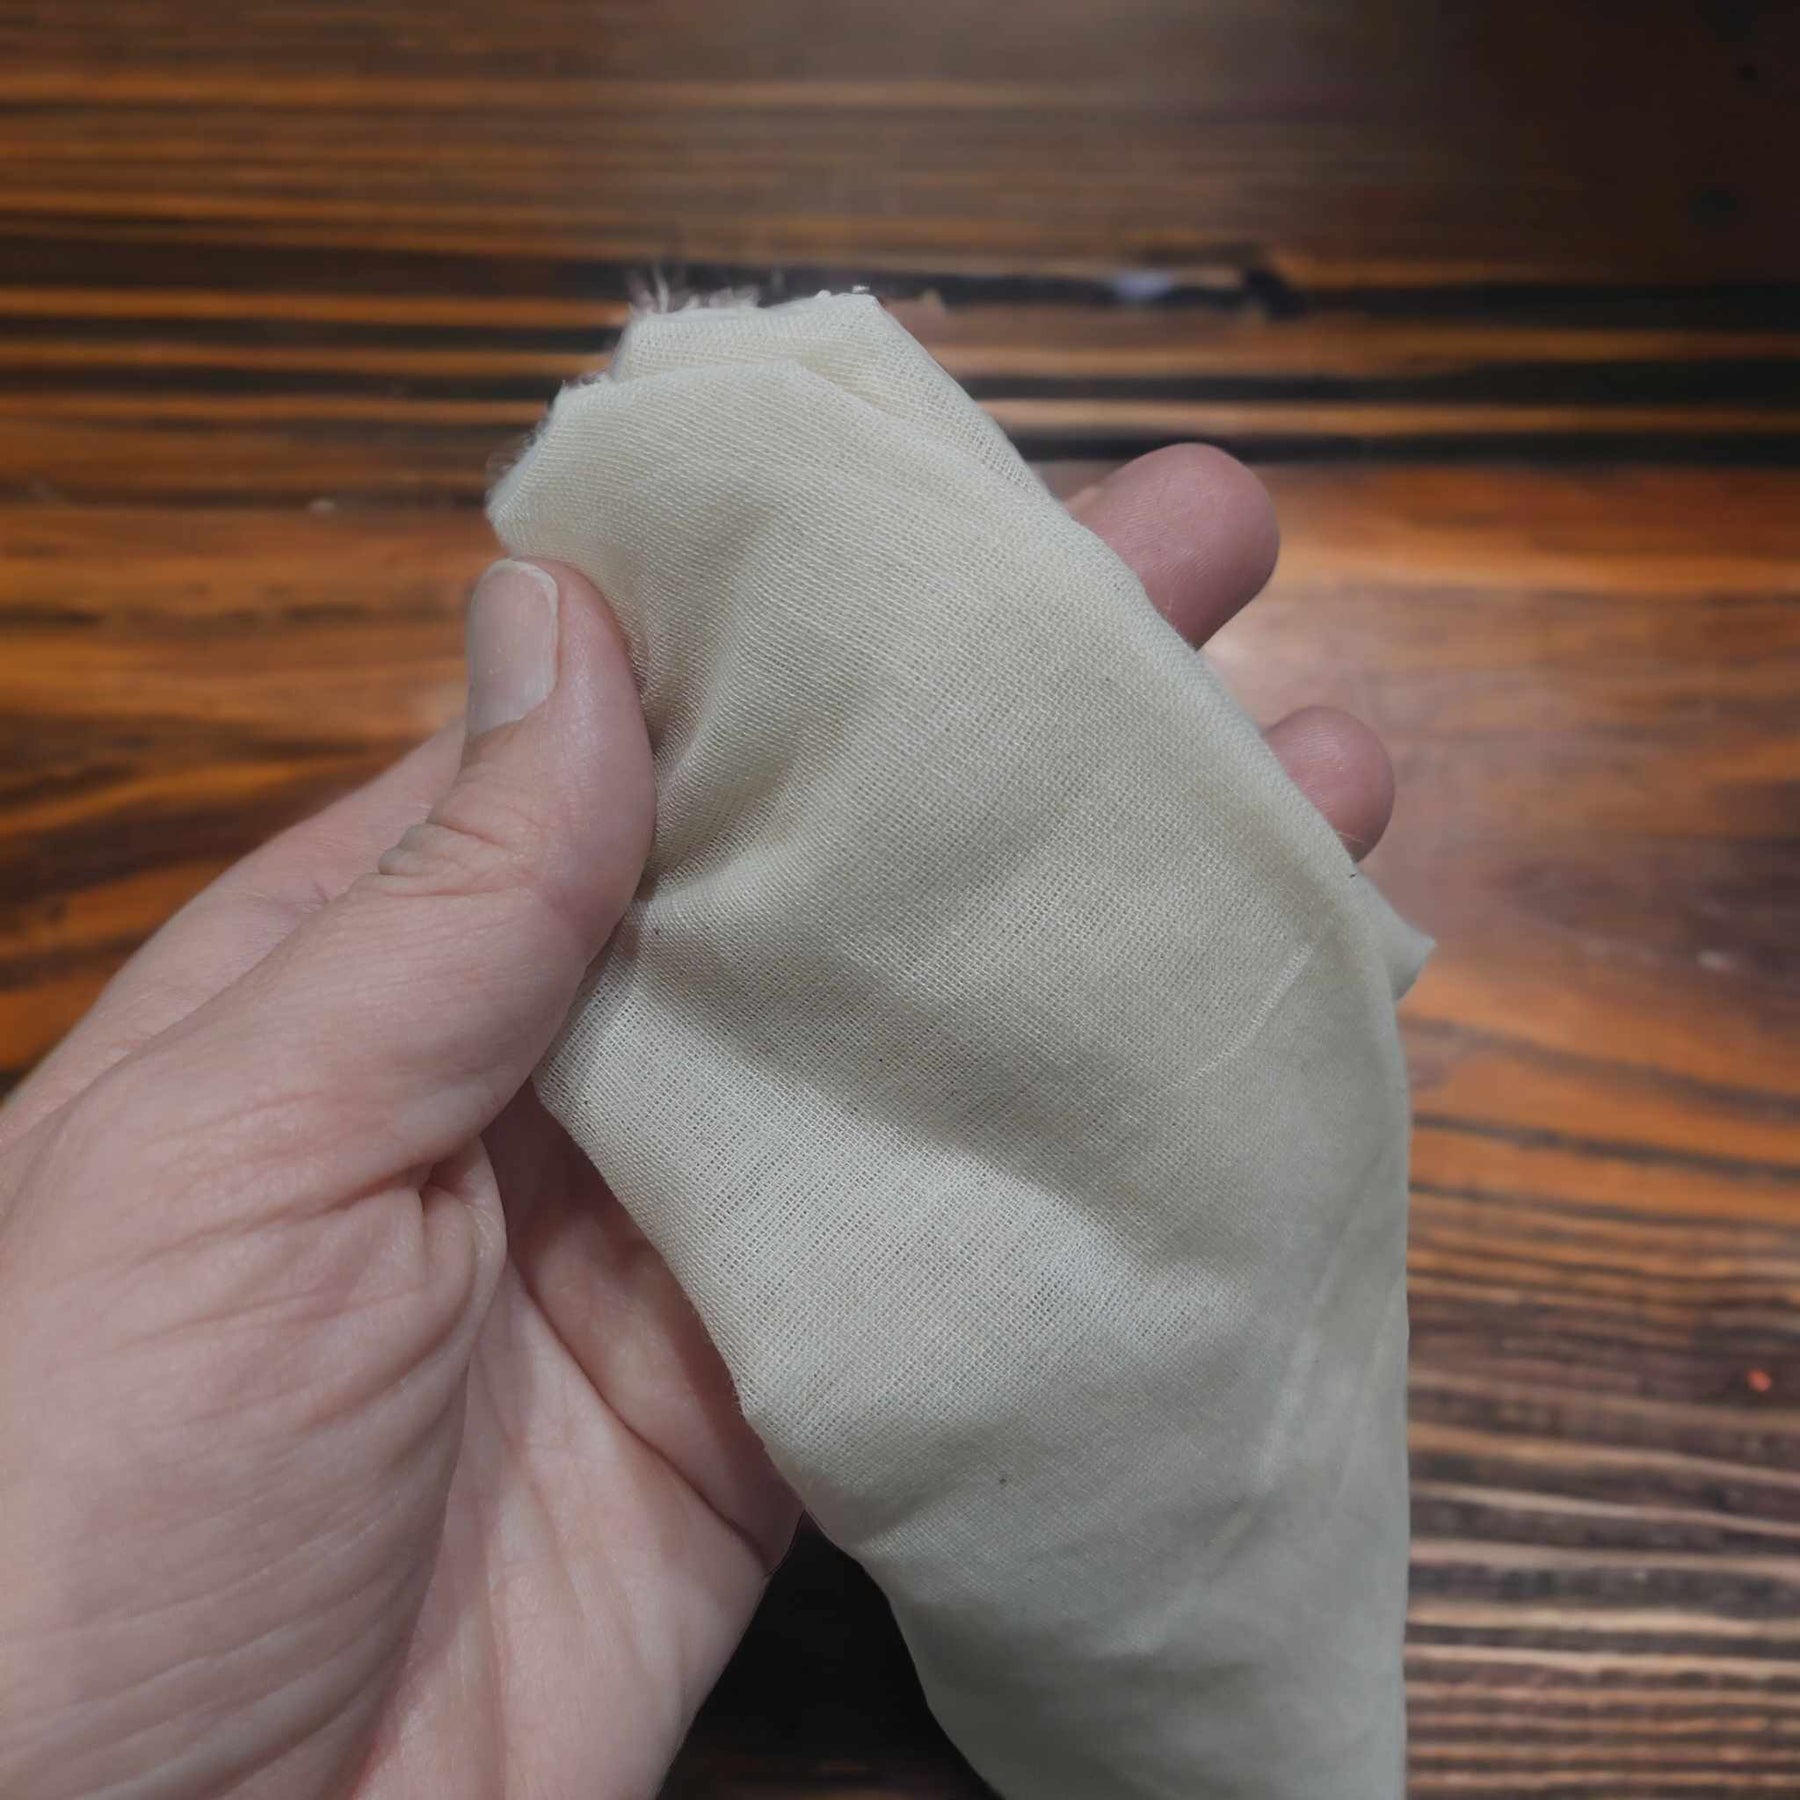
After the fermentation process, the bourbon undergoes filtration to remove impurities and ensure proper alcohol content. Chill-filtering is a common technique used in commercial bourbon production. This process involves cooling the bourbon to allow certain compounds to solidify and be removed, resulting in a smoother and clearer final product.
In summary, water is an essential ingredient in the bourbon making process. It not only plays a crucial role in cooking the grains and extracting sugars but also contributes to the flavor profile and overall quality of the bourbon.
By using fresh spring water or limestone water and employing filtration techniques like chill-filtering, distillers can create a bourbon with the desired characteristics and proper alcohol content.
Process of Making Bourbon
The process of making bourbon involves several key steps, including fermentation, distillation, and aging. Each step is crucial in creating the distinct flavor and character that bourbon is known for.
From selecting the right grains to carefully aging the spirit, every detail must be carefully considered to produce a high-quality bourbon. In this article, we will dive deeper into each stage of the bourbon-making process, exploring the techniques and ingredients that go into making this beloved spirit.
So, whether you're a bourbon enthusiast or simply curious about the art of distilling, let's take a closer look at how bourbon is made.
Malting the Barley
When it comes to the art of making bourbon, one vital step in the process is malting the barley. This essential process involves soaking the barley grains in water and allowing them to germinate.
During germination, enzymes are produced in the barley. These enzymes have the incredible ability to break down starch present in the grains into sugar molecules. This conversion from starch to sugar is crucial for the fermentation process that takes place later.
The malted barley, with its enzyme-rich goodness, plays a critical role in the production of bourbon. The resulting barley malt is mixed with other grains, such as corn and rye, to create what is called the mash.
It's worth noting that while malted barley is traditionally used in bourbon production, some distilleries may opt for lab-created enzymes to convert the starch into sugar. However, the use of malted barley is preferred by many master distillers due to the complex flavors it imparts to the final product.
So there you have it, malting the barley is an essential step in the bourbon-making process. Its enzymes convert the starches in the grain mixture into sugars, setting the stage for the fermentation process and ultimately resulting in the bourbon we know and love.
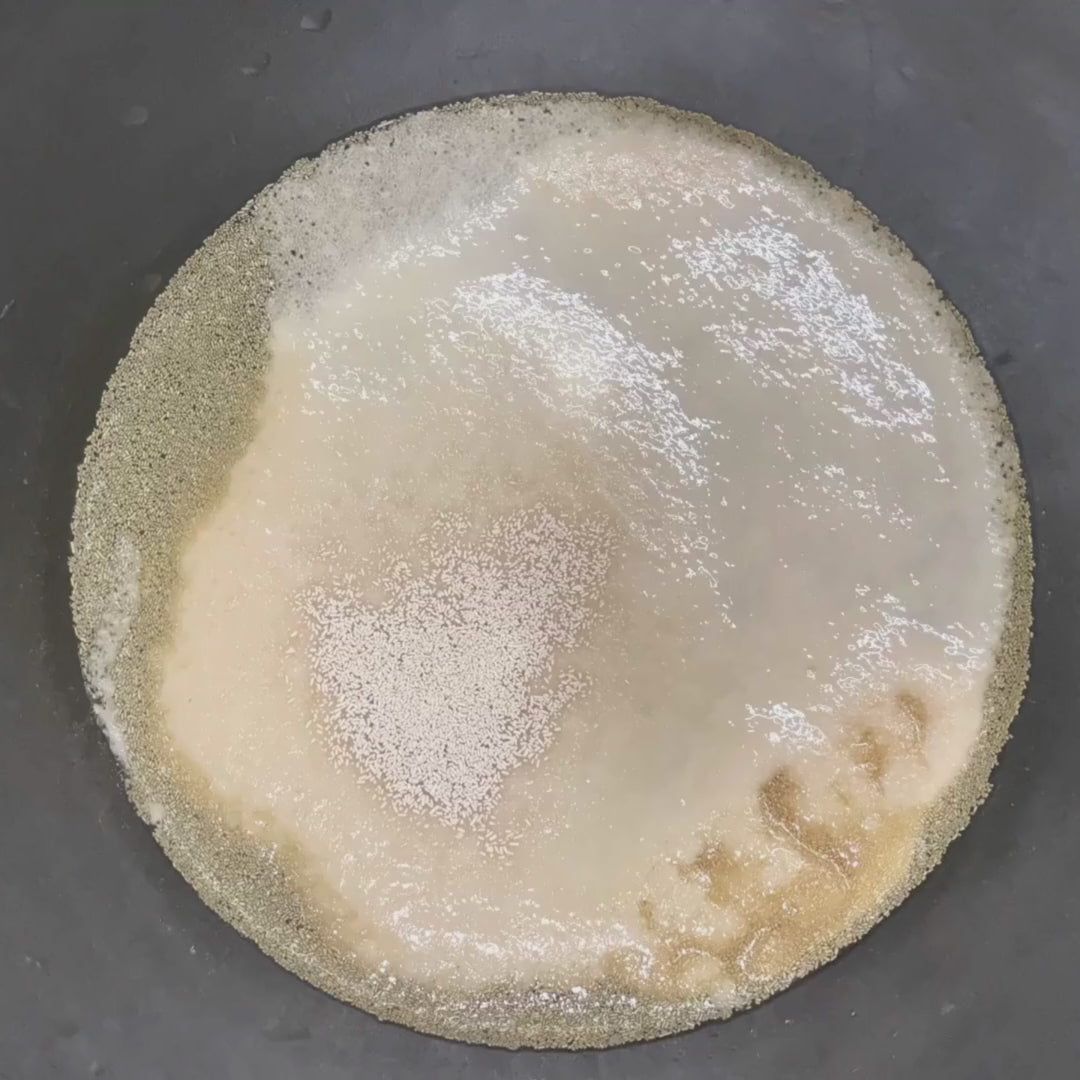
Fermentation Process
The fermentation process is a crucial step in making bourbon, as it transforms the mash into alcohol. After the mash is prepared by mixing malted barley, corn, and rye, it is transferred to fermentation tanks or vessels.
During fermentation, yeast is added to the mash, which consumes the sugars and produces alcohol as a byproduct.
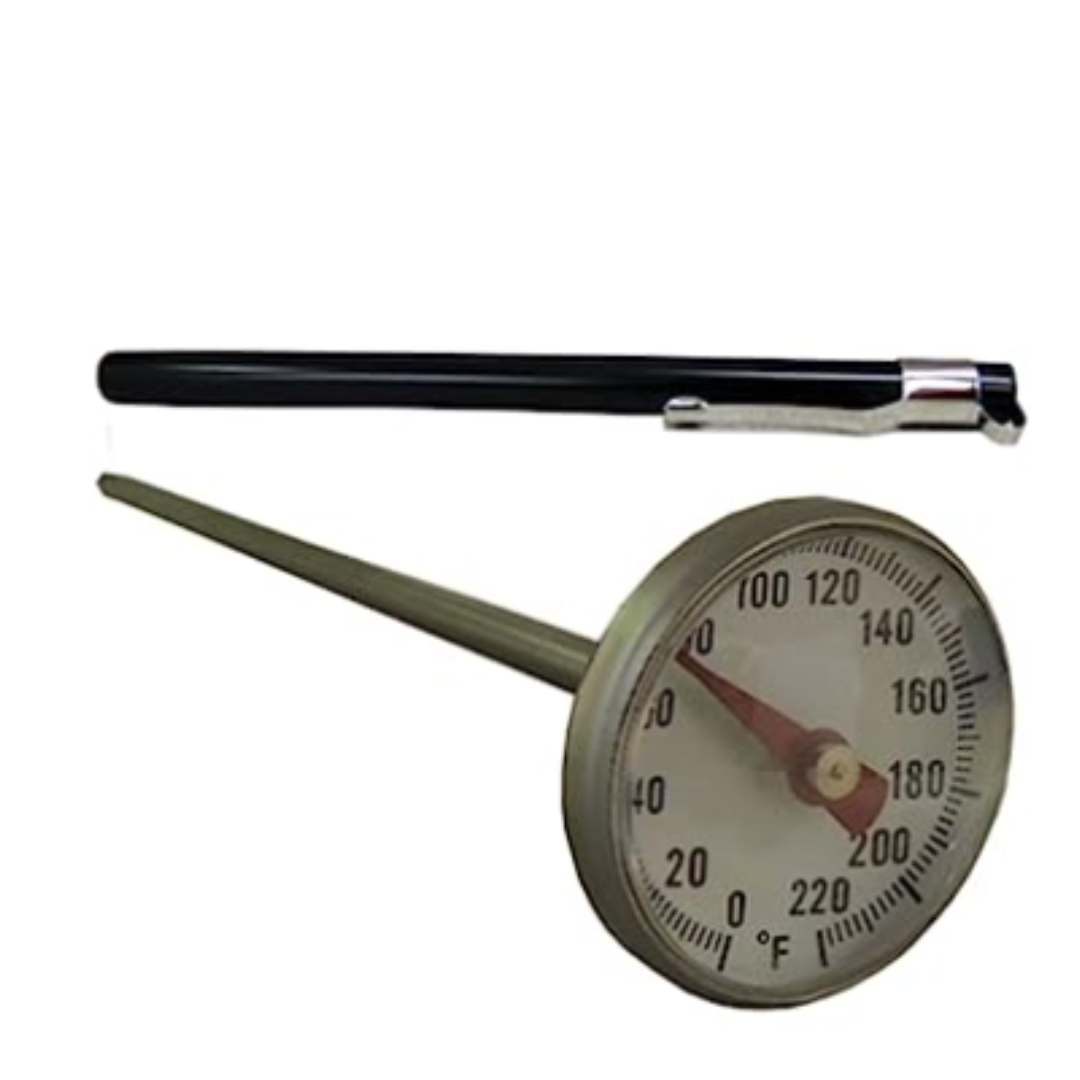
Temperature control is essential during this process to ensure the optimal growth and activity of the yeast. Distilleries often use water-cooled fermenters to maintain the ideal temperature range, typically around 70 to 90 degrees Fahrenheit.
The fermentation process typically takes several days to a week. As the yeast consumes the sugars, it produces carbon dioxide and alcohol. This mixture, known as distiller's beer, is low in alcohol content and has a sweet taste.
To achieve the desired flavors, yeast strains are carefully selected to ferment the mash. Wild yeasts can also contribute unique flavors to the final product. Controlling the temperature and the yeast strains used in fermentation are crucial factors that influence the flavor profile of bourbon.
Once the fermentation process is complete, the distiller's beer is ready to undergo the distillation process, where it will be purified and concentrated to create the bourbon distillate.
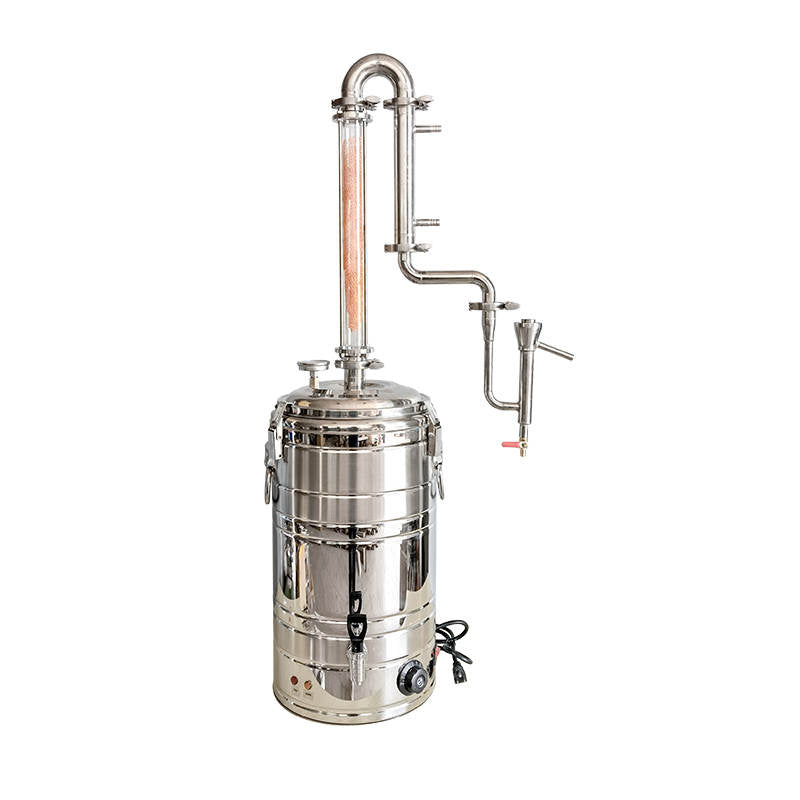
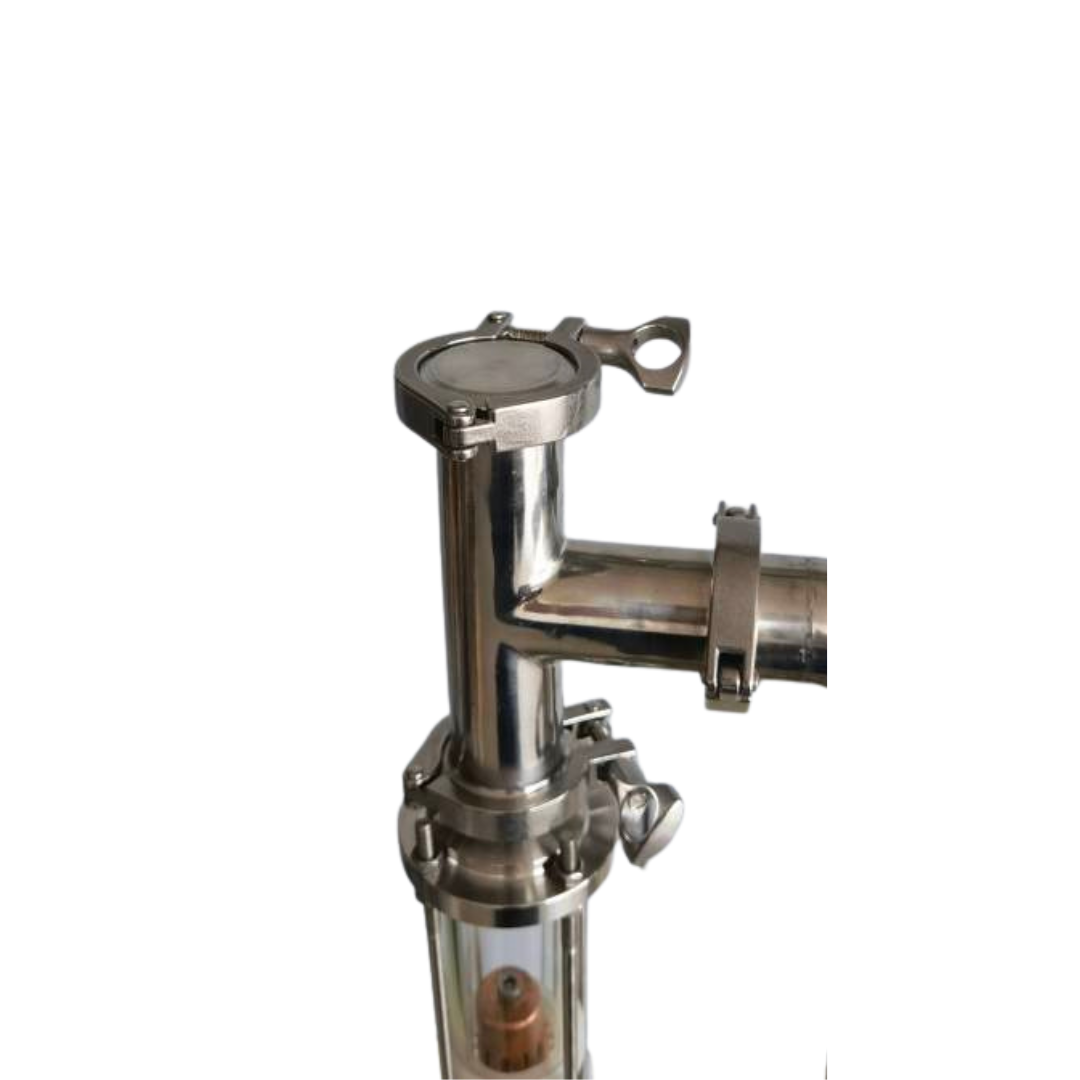
Distillation Process
The distillation process is a crucial step in making bourbon. It involves separating the alcohol from the mash mixture through the use of heat and condensation. This process helps concentrate the alcohol and remove impurities, resulting in a smoother and more refined product.
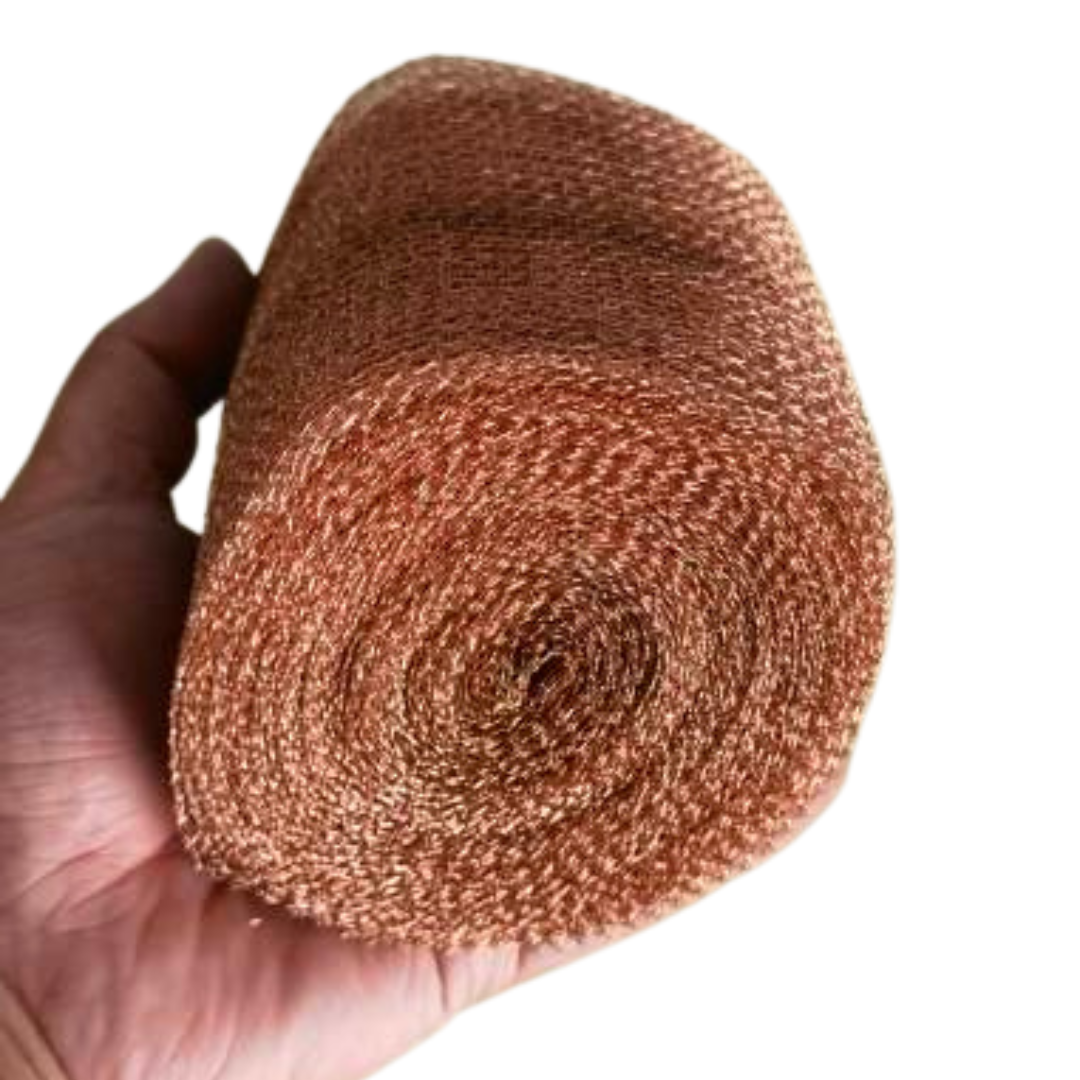
To start, the bourbon mix is heated in a still, typically made of copper, which allows for better heat conductivity. As the heat increases, the alcohol in the mixture begins to vaporize, rising to the top of the still. These alcohol vapors are then condensed into liquid form by cooling them down, usually through a coiled tube submerged in cold water.
While the distillation process is essential, it is also potentially dangerous. One of the dangers lies in the presence of methanol, a toxic substance that can be found in the initial stages of distillation.
It is crucial to discard the first portion of the distillate, known as the foreshots, as it contains higher amounts of methanol. The following portion, called the heads, also needs to be removed due to its toxicity.
Once the foreshots and heads have been discarded, the remaining distillate, known as the hearts, is collected and further distilled to concentrate the desired flavors.
This distillation process is typically performed at least twice, but sometimes even three times, to achieve a higher alcohol content and enhance the bourbon's overall quality.
In summary, the distillation process in bourbon-making involves heating the mash mix to separate the alcohol through evaporation and condensation. Proper precautions, such as discarding foreshots and heads, should be taken to ensure the safety and quality of the final product.
Barrel Aging & Charring
Barrel aging and charring are crucial steps in the production of bourbon, as they greatly contribute to the flavor and character of this beloved whiskey. Once the distillation process is complete, the bourbon is transferred into oak barrels for aging.
During the barrel aging process, the bourbon undergoes a transformation as it interacts with the charred oak barrels. First, the barrels are charred on the inside, creating a layer of carbon known as the char.
This charred layer not only acts as a filter, removing impurities, but also provides a favorable environment for the bourbon to develop its unique flavors.
The charred oak barrels play a vital role in adding flavor and complexity to the bourbon. As the bourbon ages, it gradually absorbs compounds from the oak, such as lignin and tannins, which contribute to its aroma and taste. Additionally, the charring process releases vanillin, which imparts a subtle sweetness and vanilla undertones.
The flavors and aromas resulting from barrel aging can vary depending on factors such as the char level, the age of the barrels, and the previous use of the barrels. Bourbon aged in charred oak barrels can develop notes of caramel, toffee, butterscotch, and even hints of spice and smoke.
Barrel aging and charring are integral steps in the production of bourbon, fundamentally shaping its flavor and character.
The interaction between the bourbon and the charred oak barrels allows for the development of a wide range of distinctive flavors and aromas that make bourbon a beloved spirit among whiskey enthusiasts.
Medium Heat & Proper Alcohol Content
During the fermentation process of making bourbon, medium heat is a crucial element to consider. Maintaining the proper alcohol content is essential to produce high-quality bourbon.
Medium heat is used to initiate and facilitate the fermentation process. The heat allows the yeast to thrive and convert the sugars present in the grain mixture into alcohol. This fermentation process is where the magic happens, as the yeast consumes the sugars and produces alcohol and carbon dioxide.
The heat generated during fermentation can have a significant impact on the temperature in the fermenter and the viability of the yeast.
If the temperature rises too high, it can kill the yeast, which will hinder fermentation and result in a lower yield of alcohol. On the other hand, if the temperature remains too low, the yeast might become dormant and fermentation won't occur.
To ensure proper alcohol content, it is crucial to monitor and control the temperature during fermentation. The desired alcohol content range for bourbon production typically falls between 40% to 60% alcohol by volume (ABV). This range allows the bourbon to develop its characteristic flavors while still providing enough alcohol content.
Master distillers closely monitor the fermentation process, as maintaining the proper alcohol content is vital to producing high-quality bourbon. By carefully controlling the medium heat and ensuring yeast viability, distillers can create bourbon with the ideal alcohol content and flavor profile.
Master Distillers and Their Role in Making Bourbon
Master Distillers are the skilled individuals responsible for overseeing every aspect of bourbon production. Their expertise and dedication play a crucial role in maintaining the tradition and upholding the highest quality standards in the industry.
Throughout the bourbon-making process, Master Distillers make key decisions and perform essential tasks. They carefully select and source the grains, ensuring the right mixture to create the desired flavor profile. They also determine the cooking time and temperature to convert the starches in the grains into fermentable sugars.
During fermentation, Master Distillers monitor and control the temperature to ensure proper alcohol content. They select the yeast strain that will best complement the specific characteristics of the bourbon they aim to produce. They continually assess the progress of fermentation, making adjustments as necessary to achieve the desired flavors.
Master Distillers also oversee the distillation process, carefully separating the alcohol vapors from impurities to create a smooth and flavorful bourbon. They select the type and quality of oak barrels for aging, as these barrels greatly influence the bourbon's flavor and character.
In conclusion, Master Distillers play an integral role in bourbon production. Their expertise, craftsmanship, and commitment to tradition ensure the highest quality standards and consistency in flavor profiles, making them essential in the world of bourbon.
Legal Requirements for Labeling a Whiskey as "Bourbon"
To legally label a whiskey as "Bourbon," it must meet certain requirements. The grain mixture used in bourbon must consist of at least 51% corn. Other grains like malted barley and rye or wheat can be added to create variations in flavor.
The alcohol content of bourbon must not exceed 80% alcohol by volume (ABV) at distillation and cannot be entered into the barrel for aging at less than 62.5% ABV.
Bourbon also has specific aging requirements. It must be aged in new, charred oak barrels. The minimum aging period for bourbon is two years, although many expressions are aged longer to develop more complex flavors.
If the bourbon is aged for less than four years, its label must state the exact aging period.
In terms of barrel requirements, bourbon must be aged in containers with a capacity not exceeding 700 liters (approximately 185 gallons). It is worth noting that bourbon can be aged anywhere in the United States to be labeled as such, but it must be produced in the United States.
Meeting these legal requirements ensures that the whiskey can be labeled and marketed as authentic and true "Bourbon."